
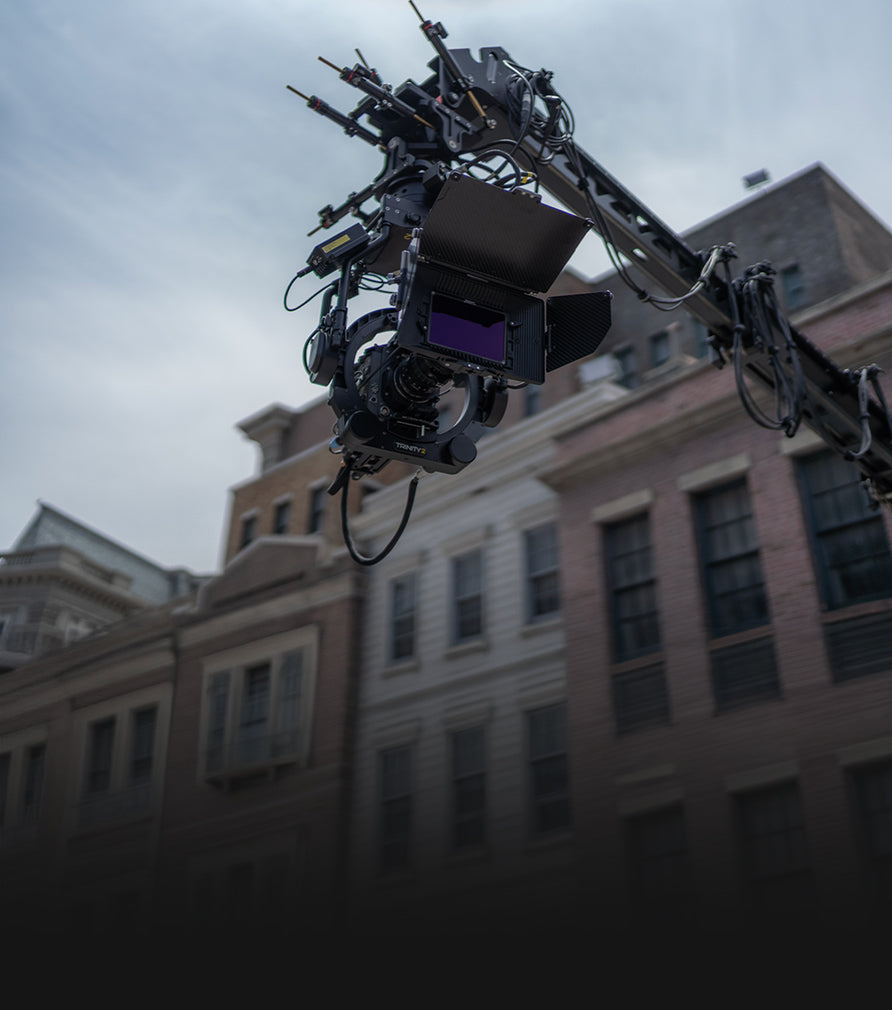
A matte box gives filmmakers more control over the light entering a lens. It can block stray light, reduce unwanted flare and hold cinema filters that control exposure or shape the character of an image.
You do not need a matte box for every camera setup. A threaded filter may be faster for a small mirrorless build. A 4x5.65 matte box system becomes more useful when you change lenses frequently, need to stack filters or want a filtration setup that can move between different cameras.
The best choice depends less on the camera brand and more on your lenses, mounting method, filter requirements and the pace of the production.
Key Takeaways
- A matte box helps control stray light and holds filters in front of the lens.
- ND filters reduce exposure while preserving your preferred aperture and shutter settings.
- Diffusion filters change highlight behavior, contrast and perceived digital sharpness.
- The 4x5.65 format allows one filter collection to work across multiple lenses and camera systems.
- Clamp-on matte boxes are well suited to lightweight builds, while rod-mounted setups provide more support for larger rigs.
- A modular system lets you begin with one filter stage and expand as your workflow changes.
What Does a Matte Box Do?
A matte box mounts in front of the lens and performs two main jobs:
- It holds filters.
- It helps prevent unwanted light from striking the front of the lens.
The top flag can be positioned to block a bright source sitting just outside the frame. More advanced hoods may also include side flags, giving the operator additional control over stray light from different directions.
This can help reduce unwanted flare and preserve contrast, but it does not guarantee a flare-free image. Lens design, filtration, camera angle and the position of the light source all affect the result.
A matte box also makes it easier to use the same 4x5.65 filters across multiple lenses. Rather than purchasing a separate filter for every thread diameter, you can adapt the matte box to the lens and keep the filtration consistent.
Do You Actually Need a Matte Box?
A matte box is worth adding when it solves a real production problem. It should not be added simply to make a camera look more production-ready.
A matte box makes sense when you:
- Change filters regularly during a shoot
- Use several lenses with different front diameters
- Need to combine ND and diffusion
- Want a top flag for controlling stray light
- Work with industry-standard 4x5.65 cinema filters
- Need a filtration system that can move between cameras
- Are building a rod-supported cinema rig
A threaded filter may be better when you:
- Want the lightest possible handheld or gimbal setup
- Use one or two lenses with the same filter diameter
- Rarely need to change filters
- Only need one filter at a time
- Want a compact setup for travel or run-and-gun shooting
Neither format is automatically better. Threaded filters prioritize size and speed. Matte boxes prioritize flexibility and a repeatable cinema workflow.
What Is the Benefit of 4x5.65 Filters?
The 4x5.65 format is widely used in cinema production because a single filter can be used with many lenses and camera systems.
The filter sits in a tray inside the matte box rather than threading directly onto the lens. This makes it easier to move the same ND or diffusion filter between different lenses, provided the matte box is correctly adapted and the lens offers adequate image coverage.
A 4x5.65 system is particularly useful when:
- A production uses several lenses
- Multiple cameras need matching filtration
- Filters need to be changed quickly
- ND and diffusion need to be combined
- The camera package may expand over time
Kondor Blue’s 4x5 Matte Box System supports industry-standard 4x5.65 filters and can be configured from a single-stage setup to a triple-stage arrangement. It supports direct clamp-on configurations as well as 15mm rod-based builds.
Matte Boxes, ND Filters and Diffusion: What Does Each One Do?
| Tool | Primary purpose | Use it when |
|---|---|---|
| Matte box | Holds filters and helps block stray light | You need faster filter changes or a scalable filtration system |
| Top or side flag | Blocks off-axis light before it reaches the lens | A light source sits near the edge of the frame |
| ND filter | Reduces the total amount of light entering the lens | You want to maintain aperture and shutter settings in bright conditions |
| Diffusion filter | Changes highlights, contrast and perceived sharpness | You want to shape the image in-camera |
| Polarizing filter | Reduces certain reflections and changes how some surfaces render | You are shooting water, glass, foliage or reflective surfaces |
| Adapter ring | Connects the matte box to a specific lens diameter | You want to use the same matte box across several lenses |
How Do ND Filters Work?
A neutral density filter reduces the amount of light reaching the camera sensor without requiring the operator to change the intended aperture, ISO or shutter setting.
For example, you may want to shoot an exterior scene with:
- A wide aperture for shallow depth of field
- A 180-degree shutter angle for natural motion
- The camera at its preferred exposure index
In bright daylight, that combination may overexpose the image. Adding the correct ND strength reduces the incoming light while preserving those creative settings.
ND filters are not designed specifically to remove glare or reflections. That is generally the role of a polarizer. The primary job of an ND filter is exposure control.
ND filters are useful for:
- Maintaining shallow depth of field outdoors
- Holding a consistent shutter angle
- Matching exposure as lighting changes
- Keeping camera settings consistent across a sequence
- Managing exposure without closing the lens excessively
Kondor Blue FullSpec ND filters are built in the 4x5.65 format using SCHOTT glass, with full-spectrum and infrared control designed to maintain consistent, neutral results across the available strengths.
[Shop 4x5.65 FullSpec ND Filters]
What Does a Diffusion Filter Do?
Diffusion changes the character of an image rather than simply reducing exposure.
Depending on the filter and strength, diffusion can affect:
- Highlight rolloff
- Halation around bright sources
- Fine texture and perceived digital sharpness
- Skin rendering
- Contrast
- The appearance of practical lights
Diffusion should not be treated as a universal “cinematic look” switch. Its effect changes with the lens, lighting, focal length, exposure and filter strength.
A bright practical light behind a subject will reveal a diffusion filter differently than a softly lit daytime exterior. Testing the filter under conditions similar to the final shoot is the best way to select a strength.
How Does Opaline Diffusion Affect an Image?
Kondor Blue 4x5.65 Opaline Diffusion Filters are available in 1/16, 1/8, 1/4 and 1/2 strengths.
Opaline combines a white halation effect with a particle structure intended to retain contrast while softening highlights and reducing some of the clinical sharpness associated with modern digital capture. The filters use 2mm SCHOTT B270 glass in a metal frame with corner grab tabs for handling.
Choosing an Opaline strength
| Strength | General effect | Good starting point for |
|---|---|---|
| 1/16 | Very subtle diffusion | Wide shots, high-resolution capture and productions that need a restrained effect |
| 1/8 | Noticeable but controlled | Interviews, commercial work and general-purpose diffusion |
| 1/4 | More visible halation and softening | Portraits, music videos and scenes with prominent practical lighting |
| 1/2 | Strong creative effect | Stylized close-ups, night exteriors and intentionally diffused imagery |
These are starting points, not fixed rules. A 1/8 filter on a sharp modern lens may appear different from the same strength on vintage glass.
[Shop 4x5.65 Opaline Diffusion Filters]
ND vs. Diffusion: What Is the Difference?
The simplest distinction is:
ND controls exposure. Diffusion controls image character.
An ND filter lets you preserve your aperture and shutter choices under brighter lighting. A diffusion filter changes how highlights, contrast and fine detail appear.
They can also be used together. For example:
- ND controls an exterior interview’s exposure.
- Diffusion softens highlight transitions and changes the rendering of skin and background practicals.
A matte box with multiple filter stages makes this combination easier to manage, but stacking filters can increase weight, reflections and the risk of vignetting. Every combination should be checked before rolling.
Clamp-On vs. Rod-Mounted Matte Boxes
The right mounting method depends on the lens and the rest of the camera build.
Clamp-on matte box
A clamp-on matte box attaches to the front of the lens using the appropriate back or adapter ring.
It is often the better choice for:
- Compact cinema cameras
- Mirrorless rigs
- Handheld operation
- Gimbals
- Documentary shooting
- Builds where minimizing weight matters
A clamp-on system keeps the matte box connected to the lens and avoids adding a rod baseplate solely for filtration.
Rod-mounted matte box
A rod-mounted matte box is supported independently by 15mm rods.
It is often better for:
- Heavy cinema lenses
- Larger shoulder-mounted builds
- Multiple filter stages
- Lenses that extend while focusing or zooming
- Swing-away workflows
- Camera packages that already use rod support
Rod mounting reduces the amount of weight carried by the lens and can make it easier to maintain alignment across a larger cinema build.
How Do You Choose the Right Matte Box?
Before buying a matte box, check these six areas.
1. Lens front diameter
Confirm the front diameter of every lens you plan to use. Still lenses often require threaded adapter rings, while cinema lenses may use standardized clamp-on diameters.
2. Lens movement
Some lenses extend while focusing or zooming. A matte box clamped directly to a moving lens may interfere with that movement, making rod support the safer choice.
3. Filter format
Confirm that the matte box accepts the filters you own or plan to purchase. The Kondor Blue system is designed around the 4x5.65 cinema format.
4. Number of filter stages
A one-stage setup is sufficient when you only need ND or diffusion. A dual-stage setup allows the two to be combined. A triple-stage system provides more options but adds size and weight.
5. Wide-lens coverage
Wide-angle lenses require additional attention. The hood, adapter ring, filter trays or stacked filters may enter the image if the setup is not properly matched to the lens.
6. Rig support
Decide whether the matte box will attach directly to the lens or integrate with 15mm rods. Larger systems may also benefit from dedicated lens support.
Which Kondor Blue Matte Box Setup Should You Choose?
The Kondor Blue 4x5 Matte Box System is modular, so the setup can be built around the job rather than forcing every camera into the same configuration.
| Setup | Best for | Recommended filtration |
|---|---|---|
| Single-stage configuration | Gimbals, compact handheld rigs and filmmakers using one filter at a time | ND or diffusion |
| Dual-stage configuration | Interviews, commercials and general production | ND plus diffusion |
| Triple-stage configuration | Larger cinema builds and more complex filtration | Multiple filter combinations |
| Hollywood Hood configuration | Anamorphic lenses, stronger light control and advanced production builds | Stacked filtration with top and side flag control |
The standard 4x5 Matte Box System can expand from a single stage to three stacked filters. The system also supports lens adapters, direct clamp-on use and 15mm rod configurations.
The Hollywood Hood expands the system with nesting top and side flags, tension-controlled positioning, a front filter slot and anti-twist accessory mounts. It is designed for more developed cinema and anamorphic workflows where light control and stacked filtration become a larger part of the build.
[Shop the Kondor Blue 4x5 Matte Box System]
What Should You Buy First?
For most filmmakers moving into 4x5.65 filtration, the practical order is:
1. Matte box and correct lens adapter
Start with the mounting configuration that fits your primary lens. Do not assume that the matte box will attach to every lens without the correct adapter.
2. The filter that solves your most common problem
Choose ND first when exposure control is the priority. Choose diffusion first when you already have internal ND or primarily want to shape the image.
3. Additional filter stage
Add a second stage when you regularly need ND and diffusion at the same time.
4. Rod support
Move to a rod-mounted configuration when the lens, filtration or accessories make a direct clamp-on build impractical.
5. Expanded flag control
Add a more complete hood when the production requires side flags, anamorphic coverage or stronger control over stray light.
This keeps the first setup functional without requiring the entire ecosystem at once.
A Practical Exterior Interview Setup
Consider an exterior interview where the cinematographer wants to maintain:
- A consistent 180-degree shutter angle
- A relatively wide aperture
- Stable camera settings as sunlight changes
- Subtle diffusion on skin and highlights
A two-stage matte box allows the operator to use FullSpec ND for exposure and Opaline diffusion for image character.
As the camera angle changes, the top flag can be repositioned to prevent off-axis sunlight from striking the lens. If the light level changes, the ND can be replaced without changing the chosen aperture or shutter angle.
The value is not that the equipment automatically creates a better image. It gives the crew a faster, more repeatable way to protect the visual decisions already made.
Matte Box and Filter Checklist
Before rolling:
- Confirm that the matte box and adapter are securely attached.
- Inspect each filter for fingerprints, dust and smudges.
- Make sure every filter is fully seated in its tray.
- Check the frame for vignetting, particularly with wide lenses.
- Position the top and side flags without allowing them to enter the frame.
- Recheck exposure after adding or changing ND.
- Evaluate highlights and skin after adding diffusion.
- Check the camera’s balance after changing the matte box configuration.
- Store unused filters in a protective case.
- Avoid stacking more filters than the shot requires.
Frequently Asked Questions
What is a matte box used for?
A matte box holds filters in front of the lens and helps block stray light that could create unwanted flare or reduce contrast.
Does a matte box improve image quality?
A matte box does not inherently increase camera resolution or dynamic range. It gives the cinematographer more control over light and filtration, which can lead to a more consistent image.
Do I need a matte box if my camera has internal ND?
Not necessarily. Internal ND may already solve your exposure needs. A matte box can still be useful for diffusion, polarizers, graduated filters, faster filter changes and flag-based light control.
Are matte boxes specific to camera brands?
Usually not. Compatibility is determined primarily by the lens diameter, adapter ring, mounting method, filter size and support system.
What size filters does the Kondor Blue matte box use?
The Kondor Blue 4x5 Matte Box System is designed for industry-standard 4x5.65 filters and can be configured with up to three filter stages.
What is the difference between ND and diffusion filters?
ND reduces the amount of light entering the lens. Diffusion changes the rendering of highlights, contrast, skin texture and perceived sharpness.
Can ND and diffusion filters be used together?
Yes. A multi-stage matte box can hold ND and diffusion simultaneously. Check for reflections and vignetting whenever filters are stacked.
Which Opaline strength should I choose?
Choose 1/16 for the most restrained effect, 1/8 for subtle general-purpose diffusion, 1/4 for more visible halation and 1/2 for a stronger stylized result. Testing with your lenses and lighting is recommended.
Is a clamp-on or rod-mounted matte box better?
Clamp-on matte boxes are generally lighter and faster. Rod-mounted systems provide more support for larger lenses, multiple filter stages and expanded cinema builds.
Build a Filtration System Around the Way You Shoot
A matte box is most useful when it makes the camera easier to operate, not simply larger.
For a compact rig, that may mean one filter stage and a clamp-on adapter. For a larger production build, it may mean rod support, stacked ND and diffusion, and expanded top and side flag control.
The goal is to create a filtration workflow that can move between lenses, respond quickly to changing light and give the cinematographer direct control over exposure and image character.