
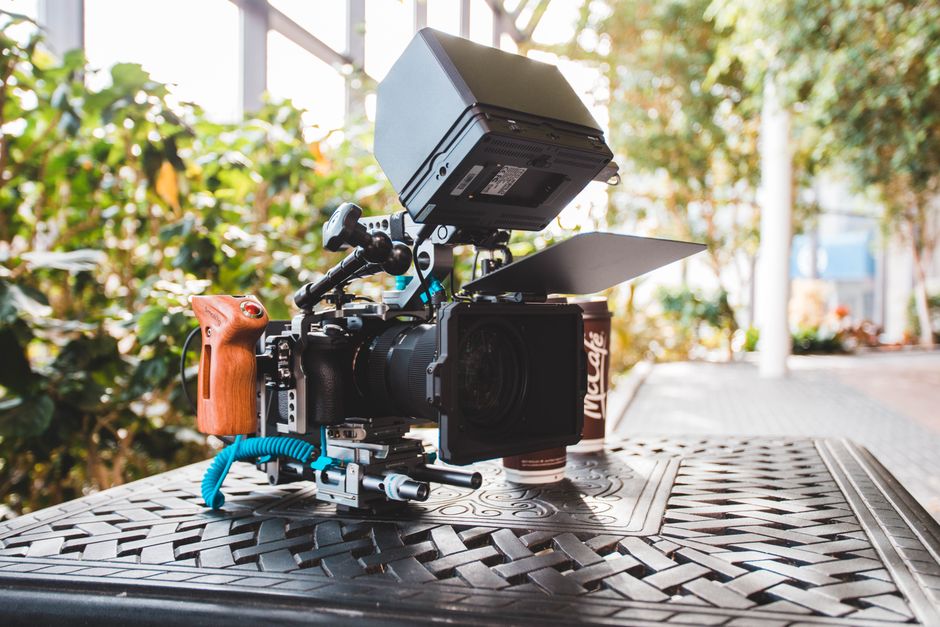
Building a professional camera rig can transform your video production, offering more control, stability, and creative flexibility. Whether you’re new to filmmaking or looking to upgrade your setup, understanding the essential components and how they work together is the first step toward capturing cinematic footage.
What Is a Camera Rig and Why Do Filmmakers Use Them?
A camera rig is a system of parts and accessories that support and enhance a camera for filming. Rigs improve stability, allow for mounting extra gear (like lights and microphones), and help filmmakers achieve professional-looking shots.
Key benefits of using a camera rig:
- Reduces camera shake for smoother footage
- Enables attachment of multiple accessories
- Improves ergonomics and handling
- Expands creative shooting options
What Are the Essential Components of a Professional Camera Rig?
Building a solid camera rig involves combining several core parts:
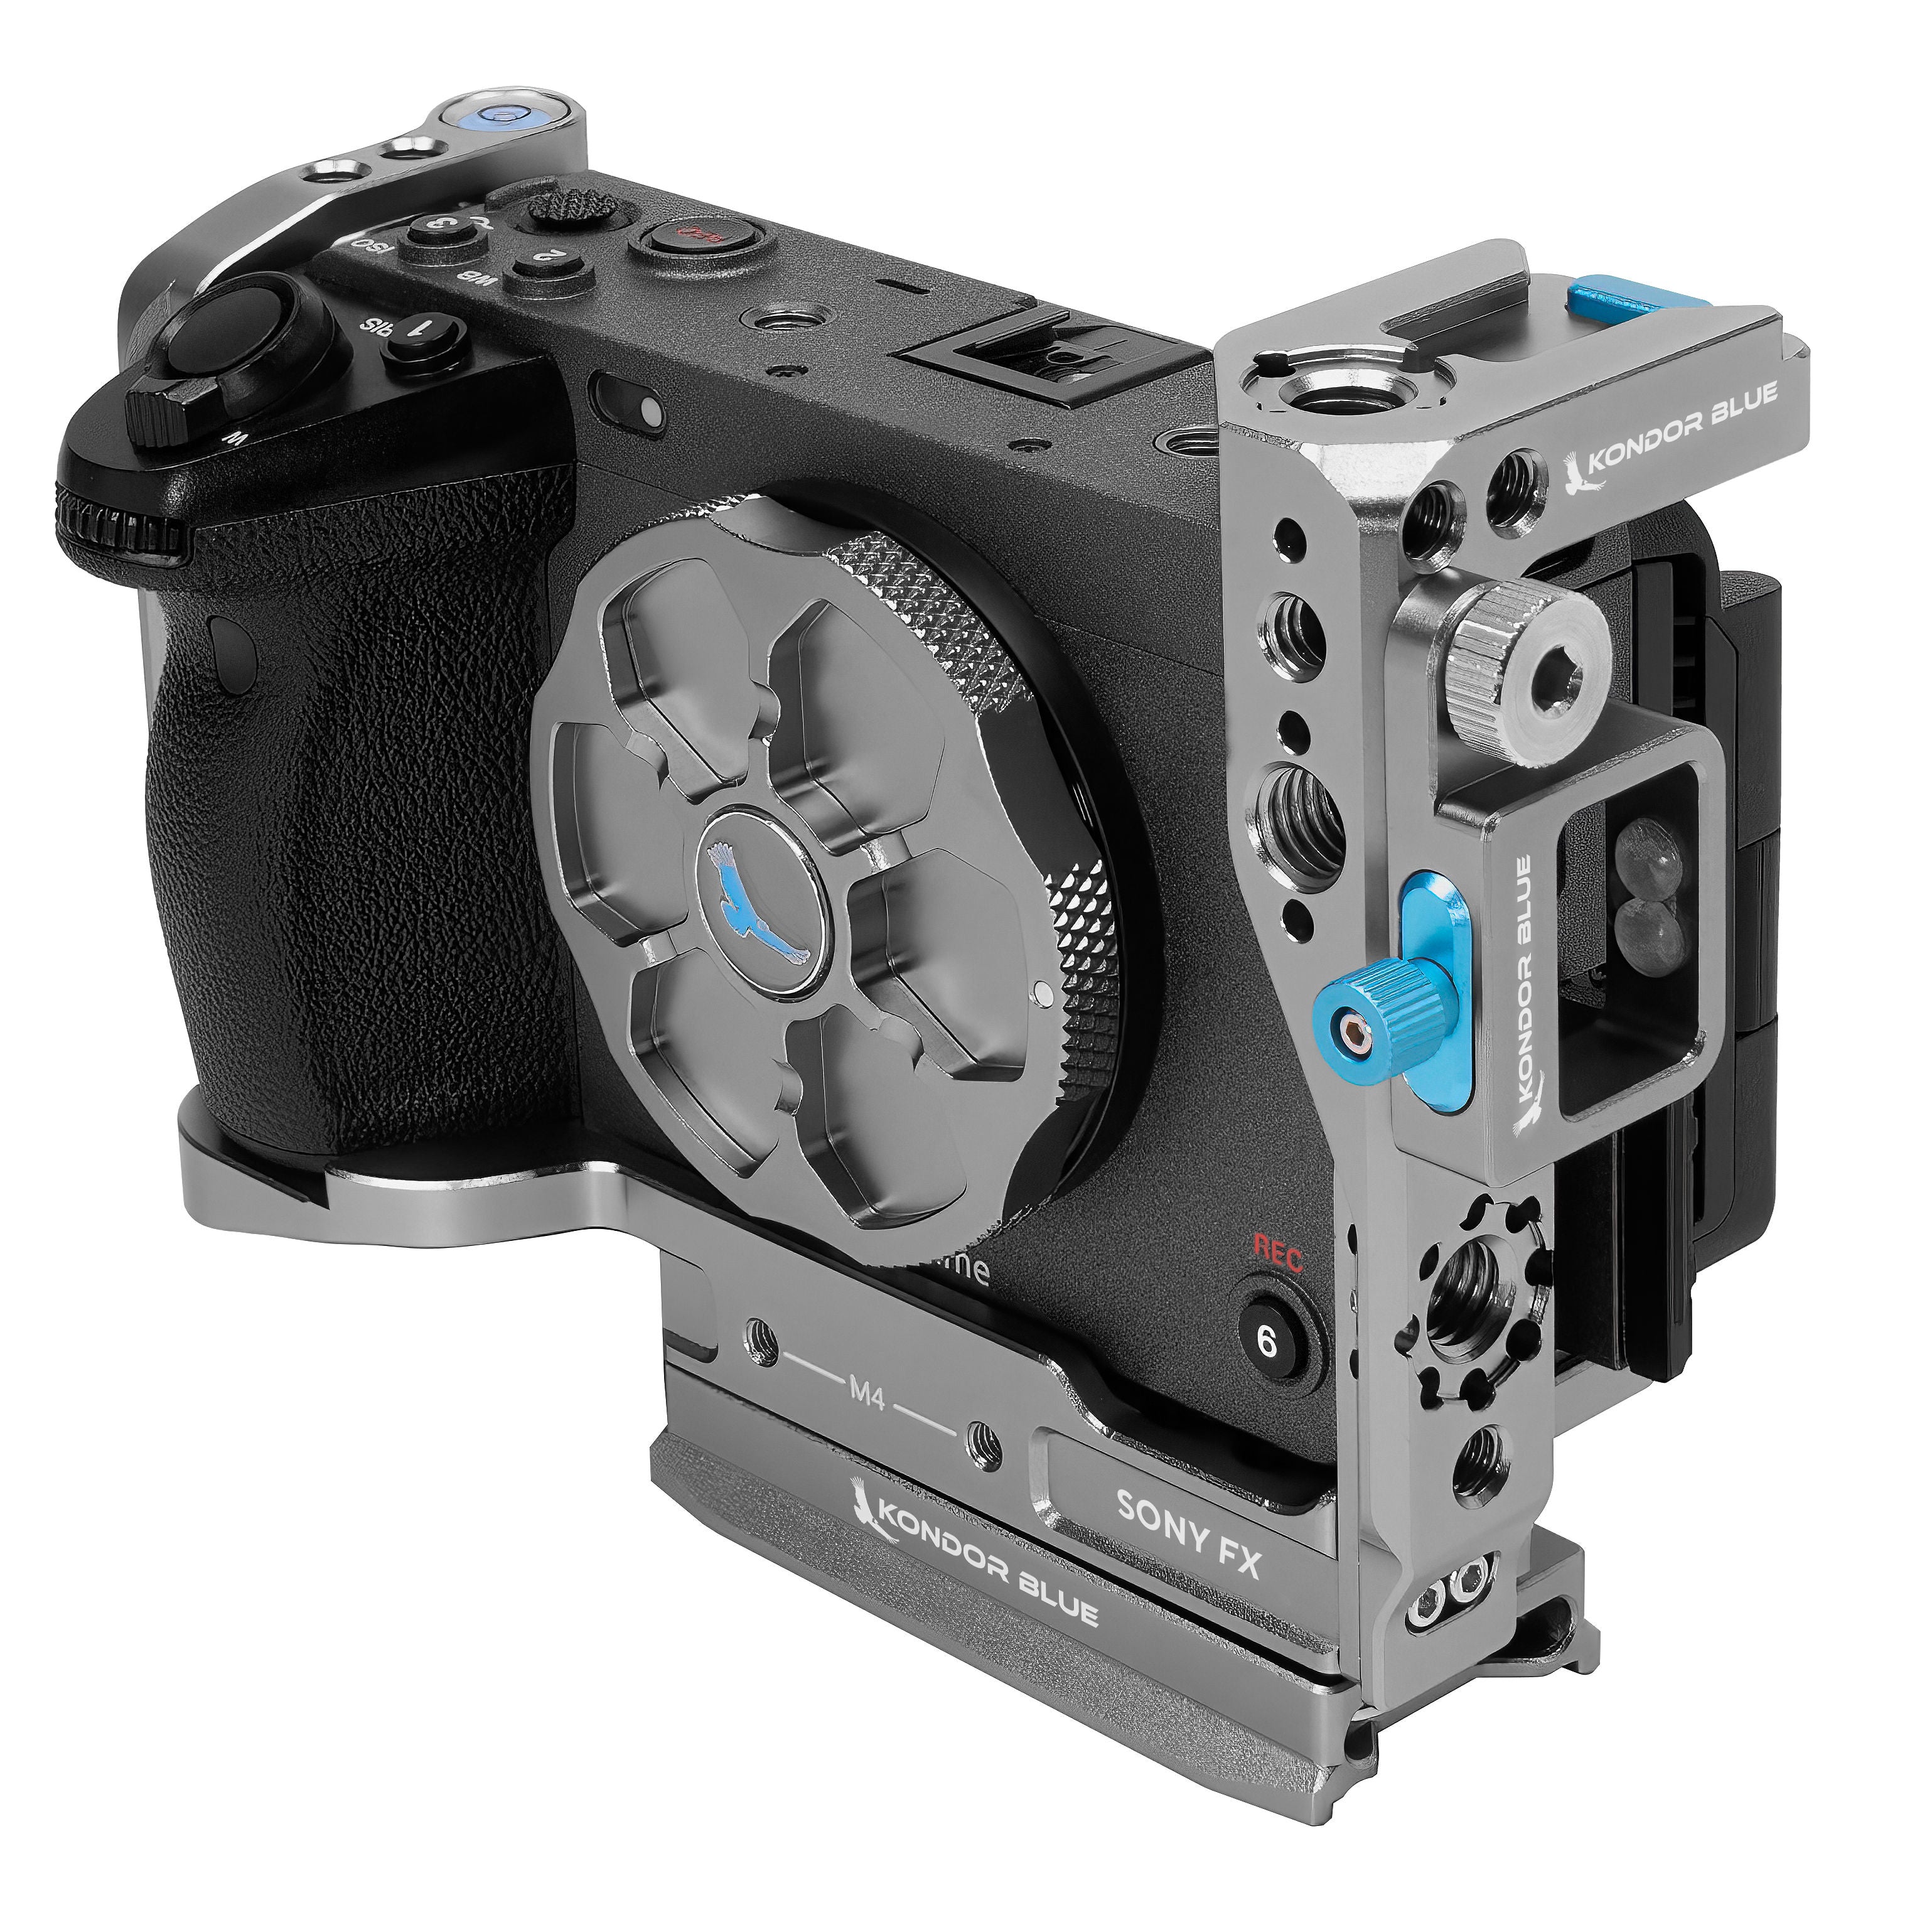
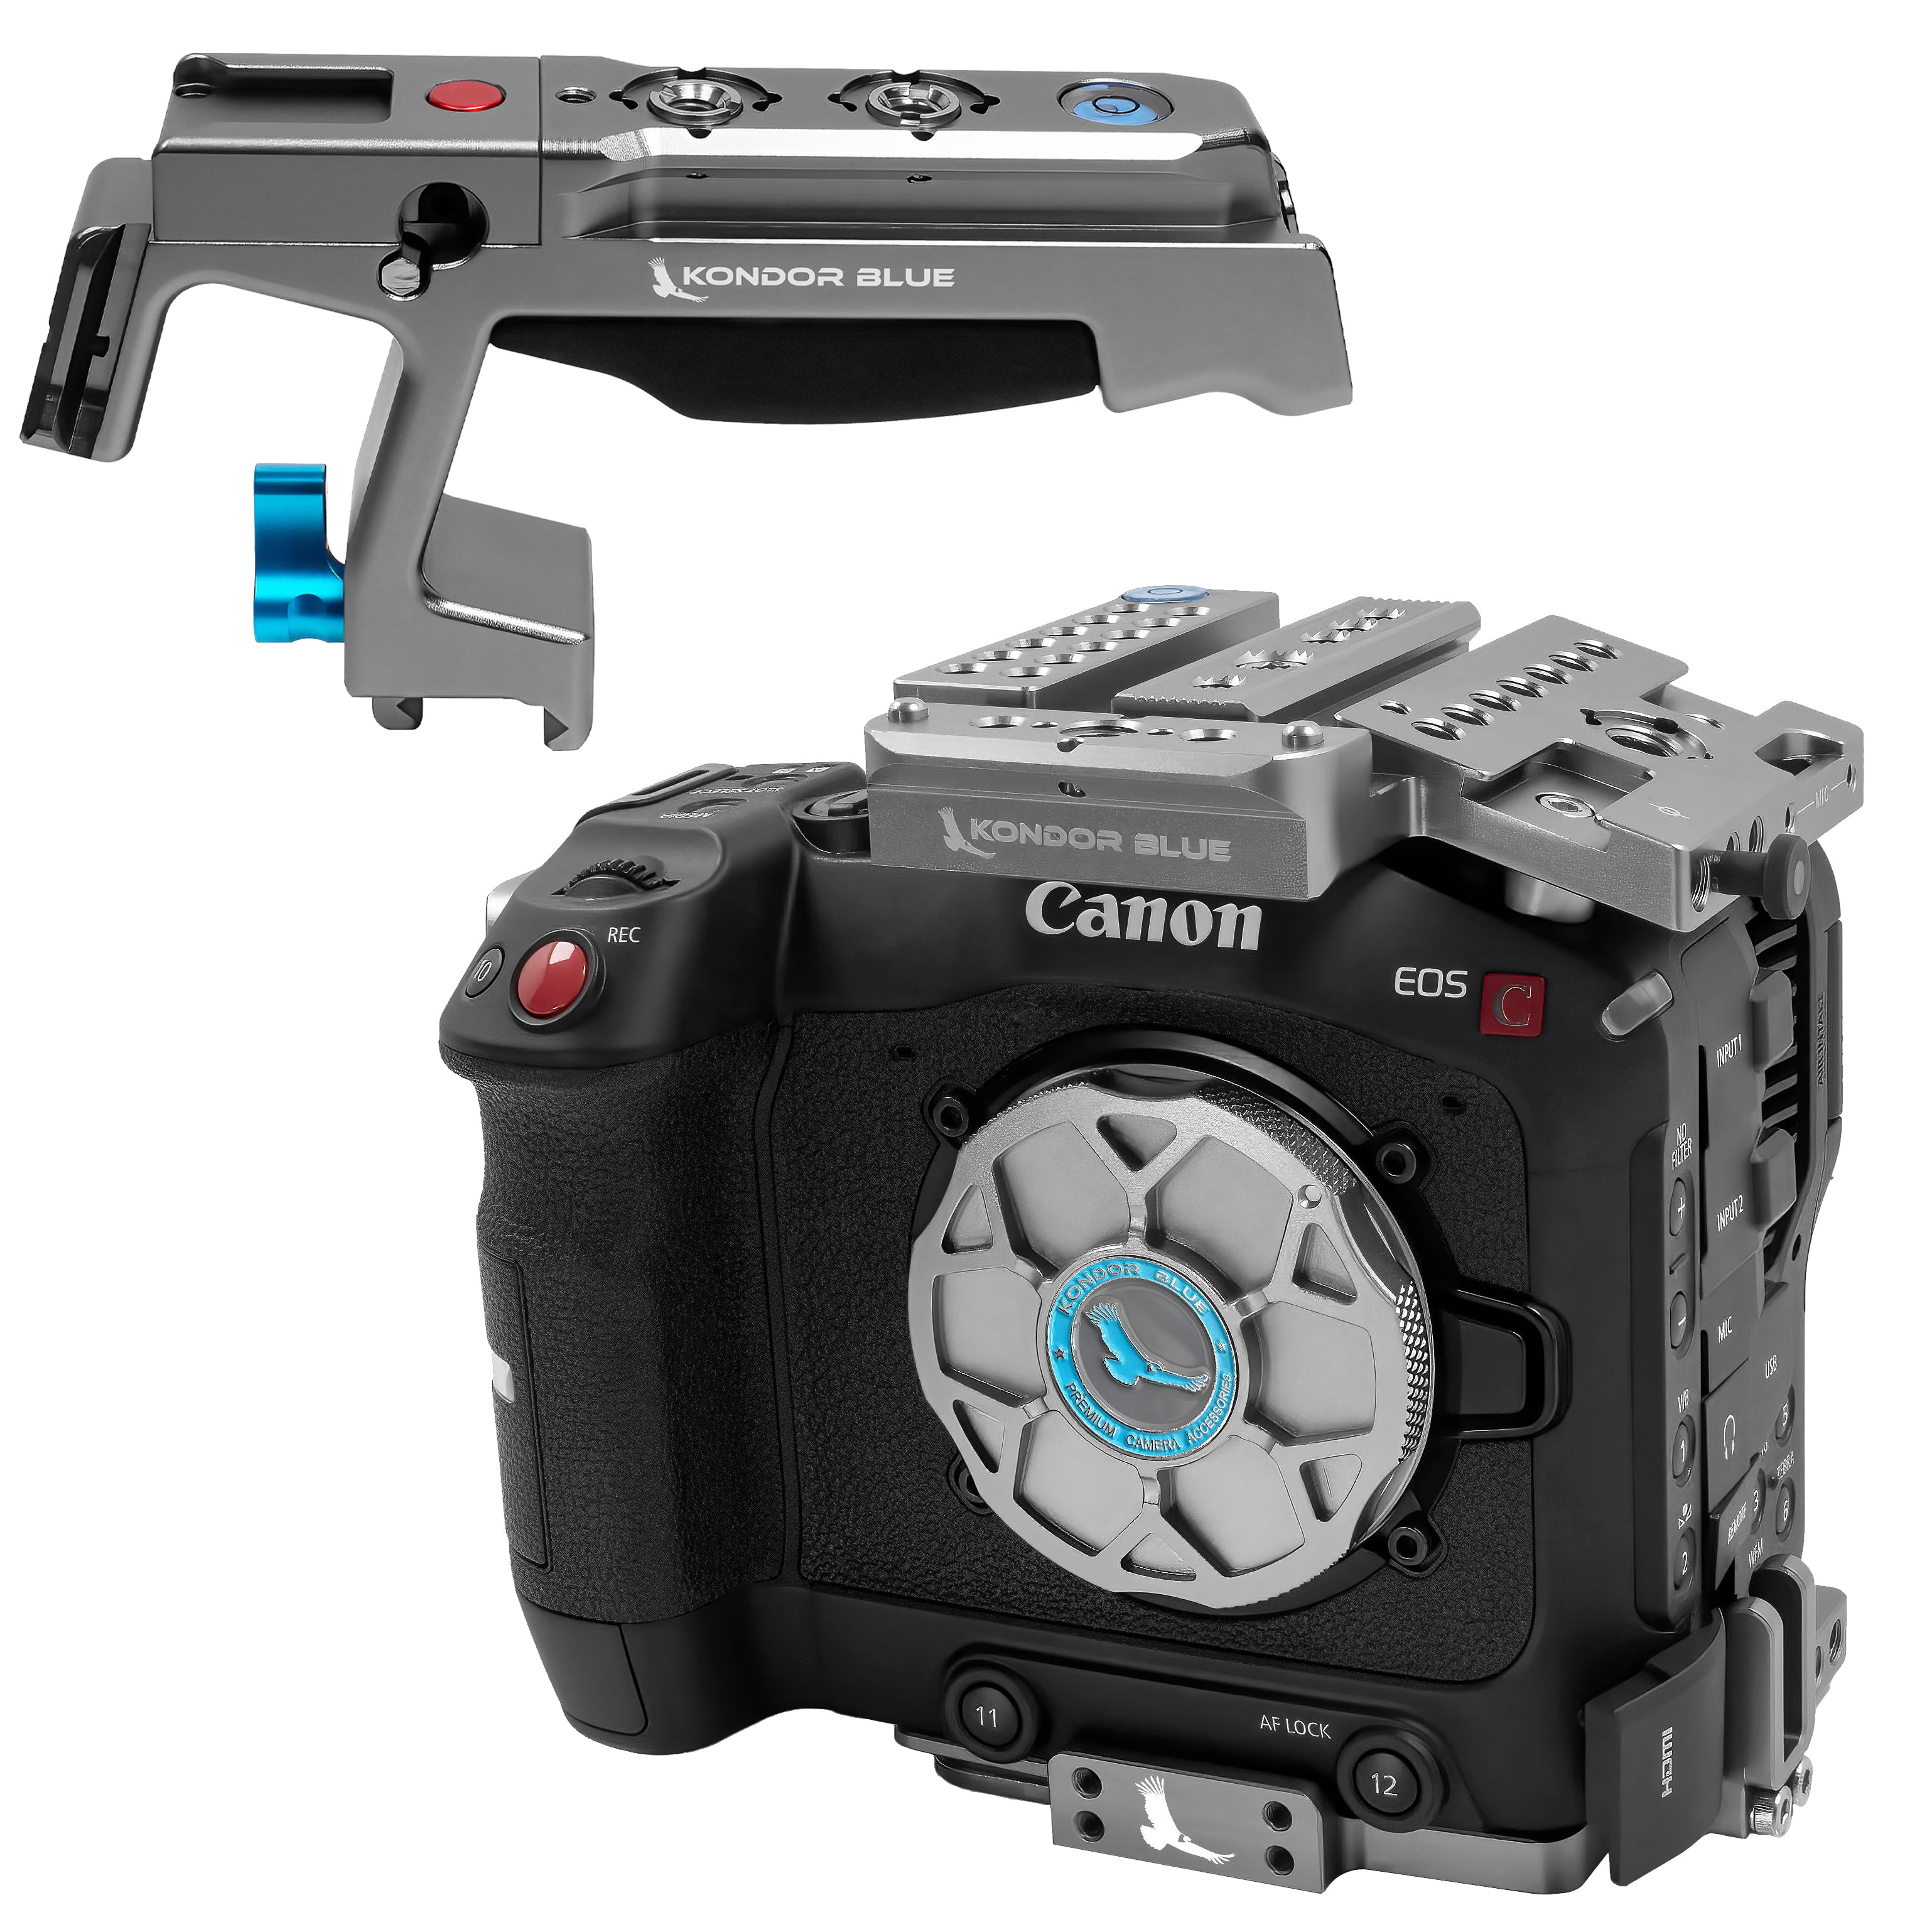
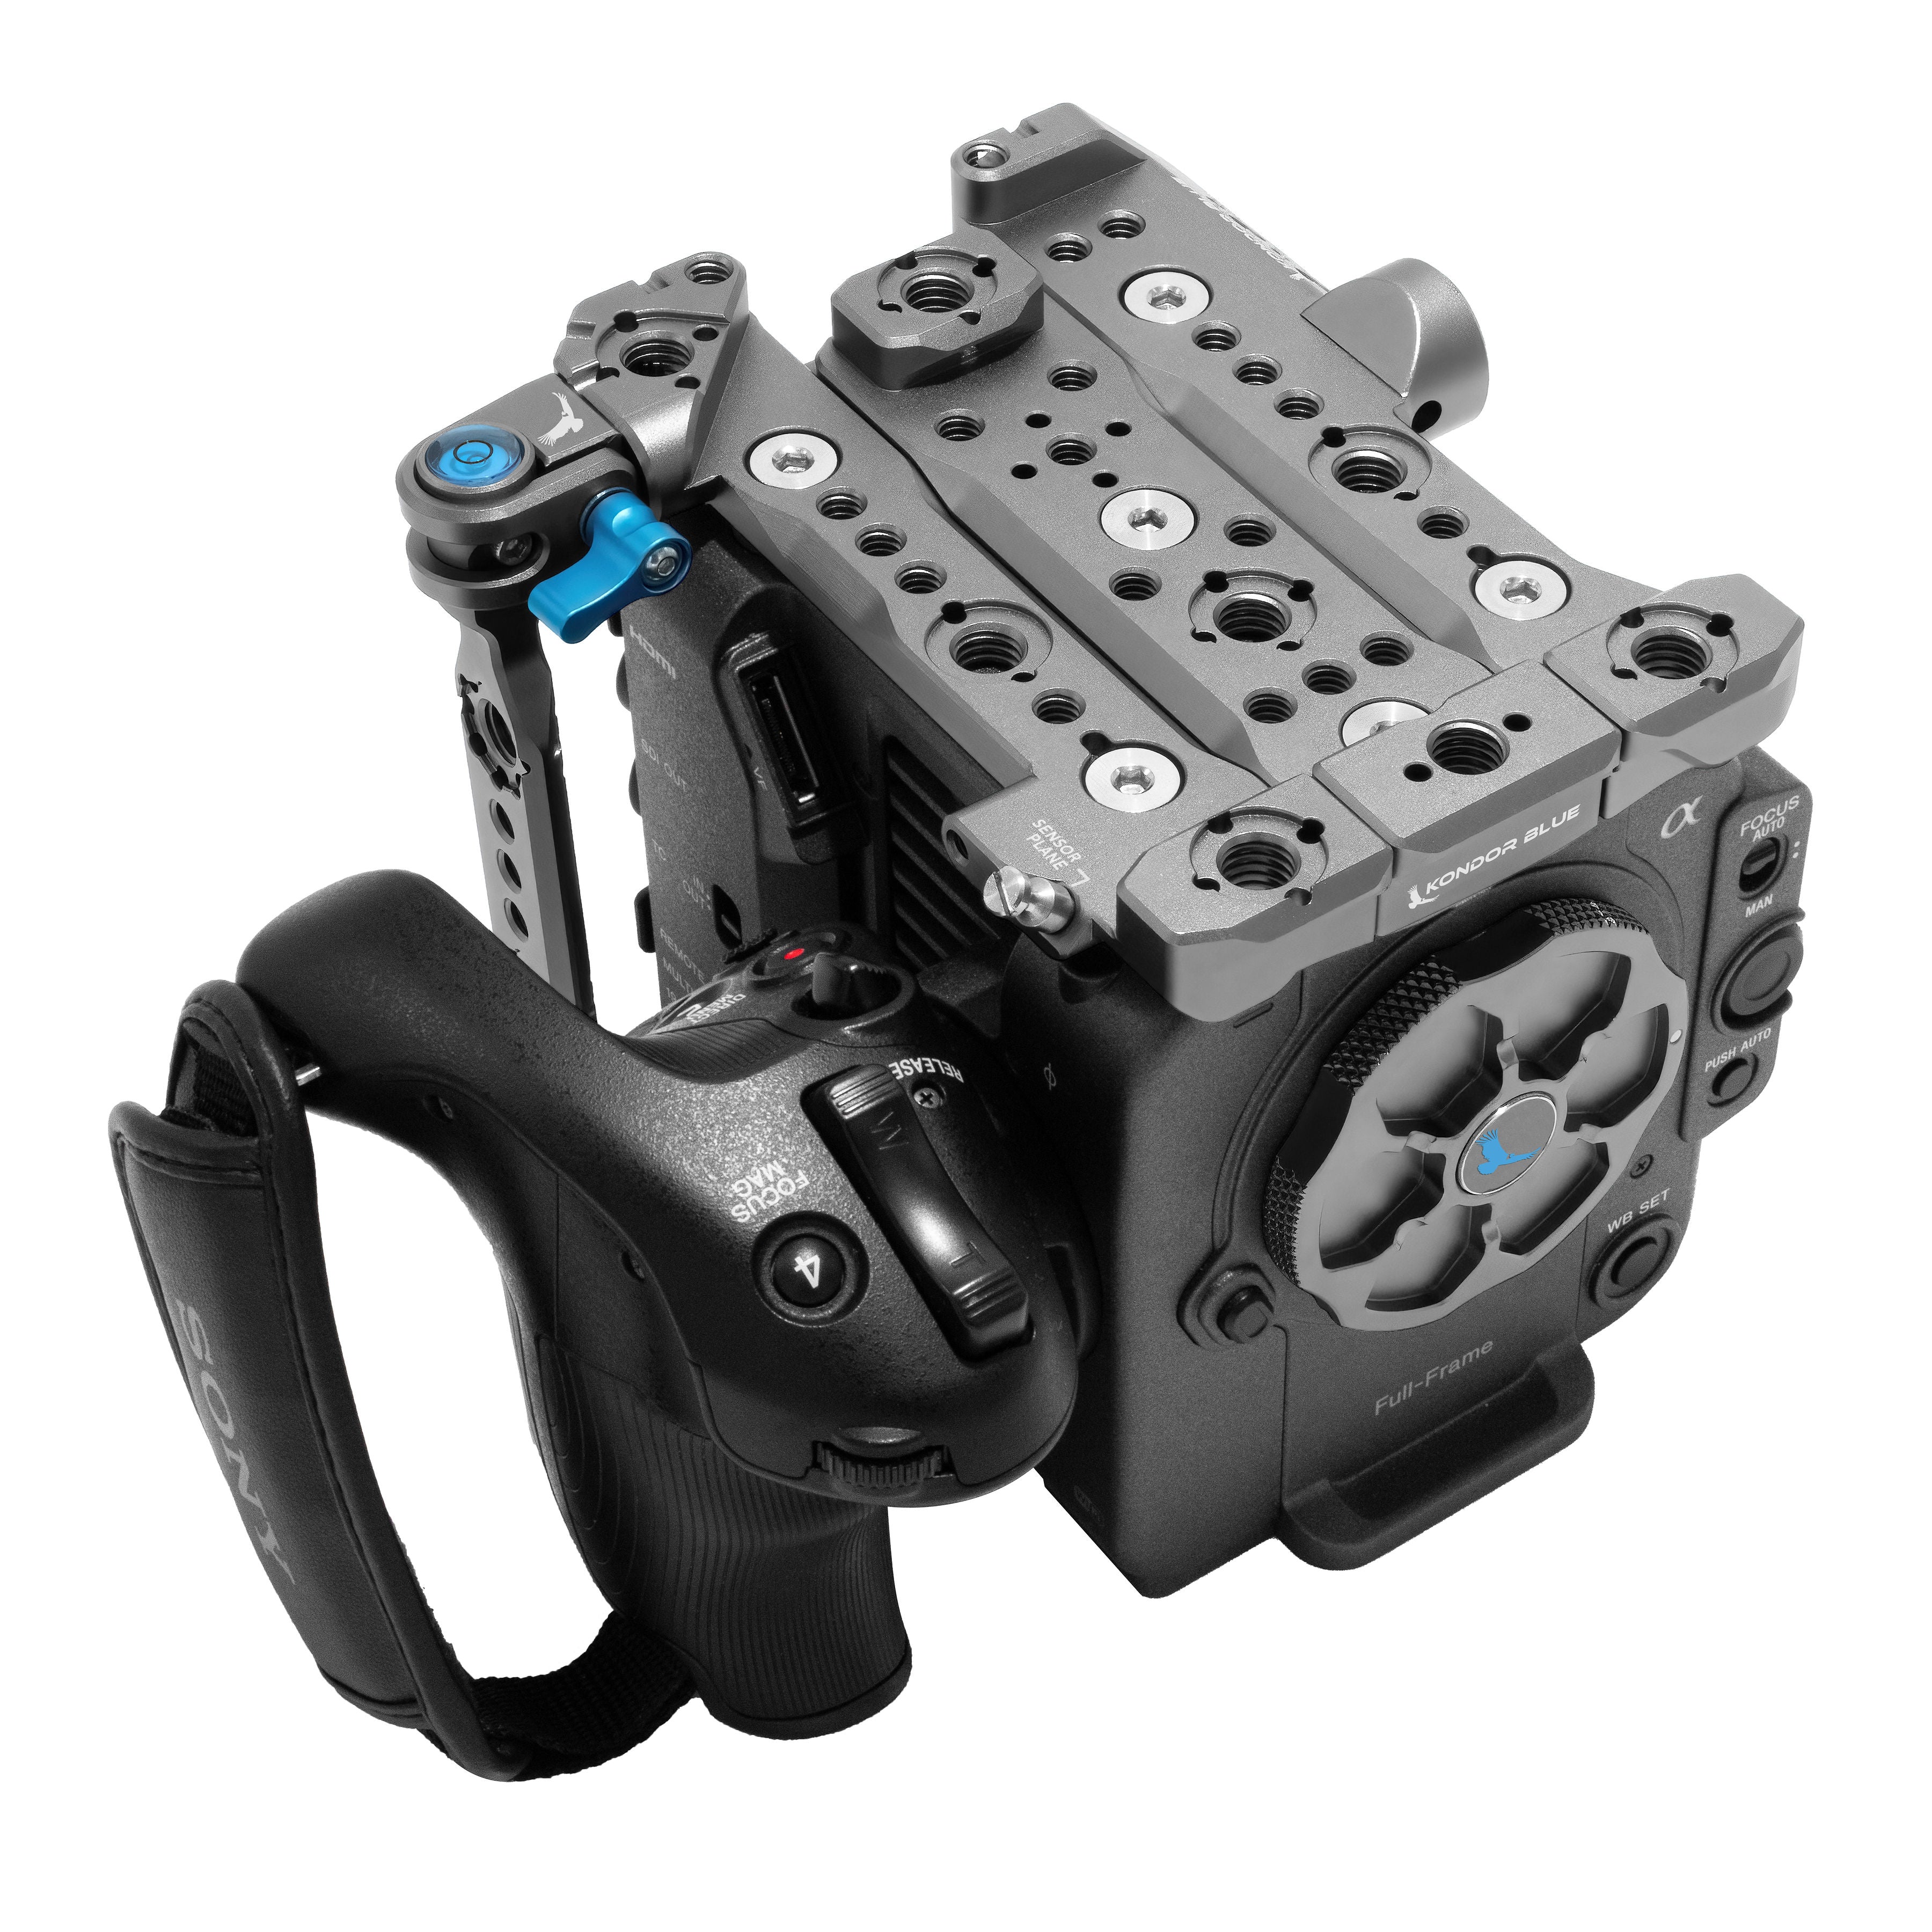
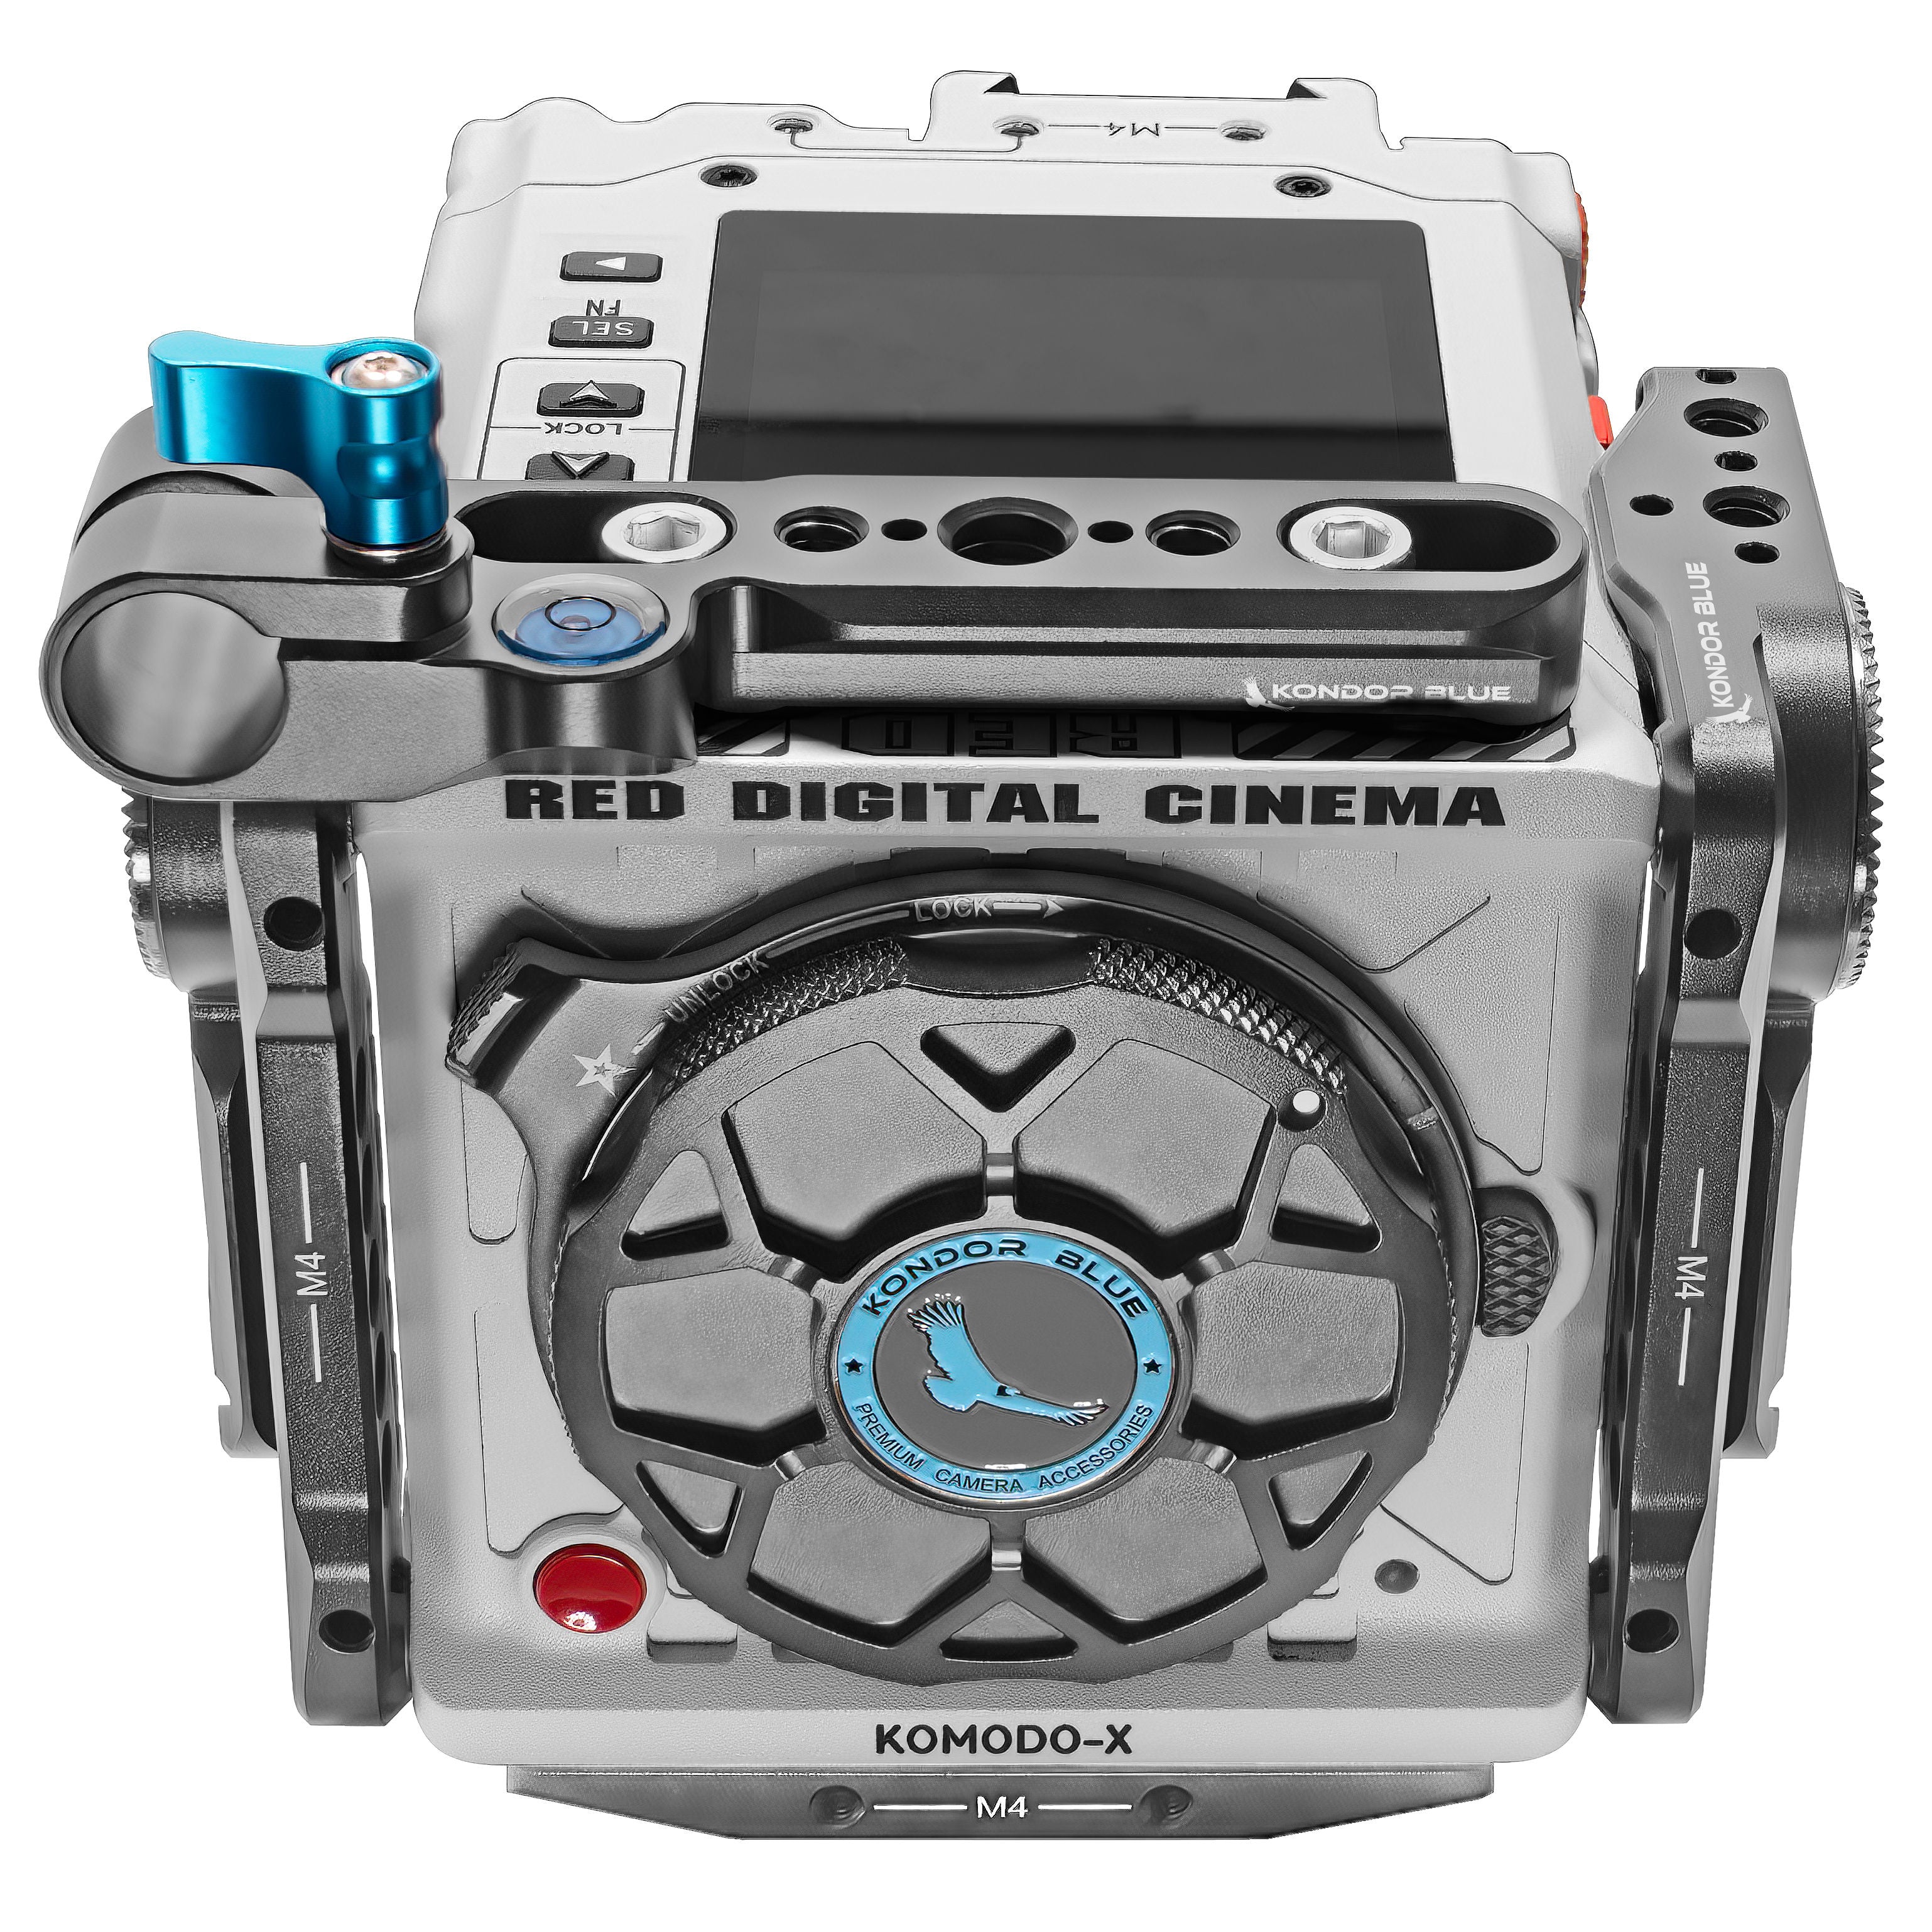
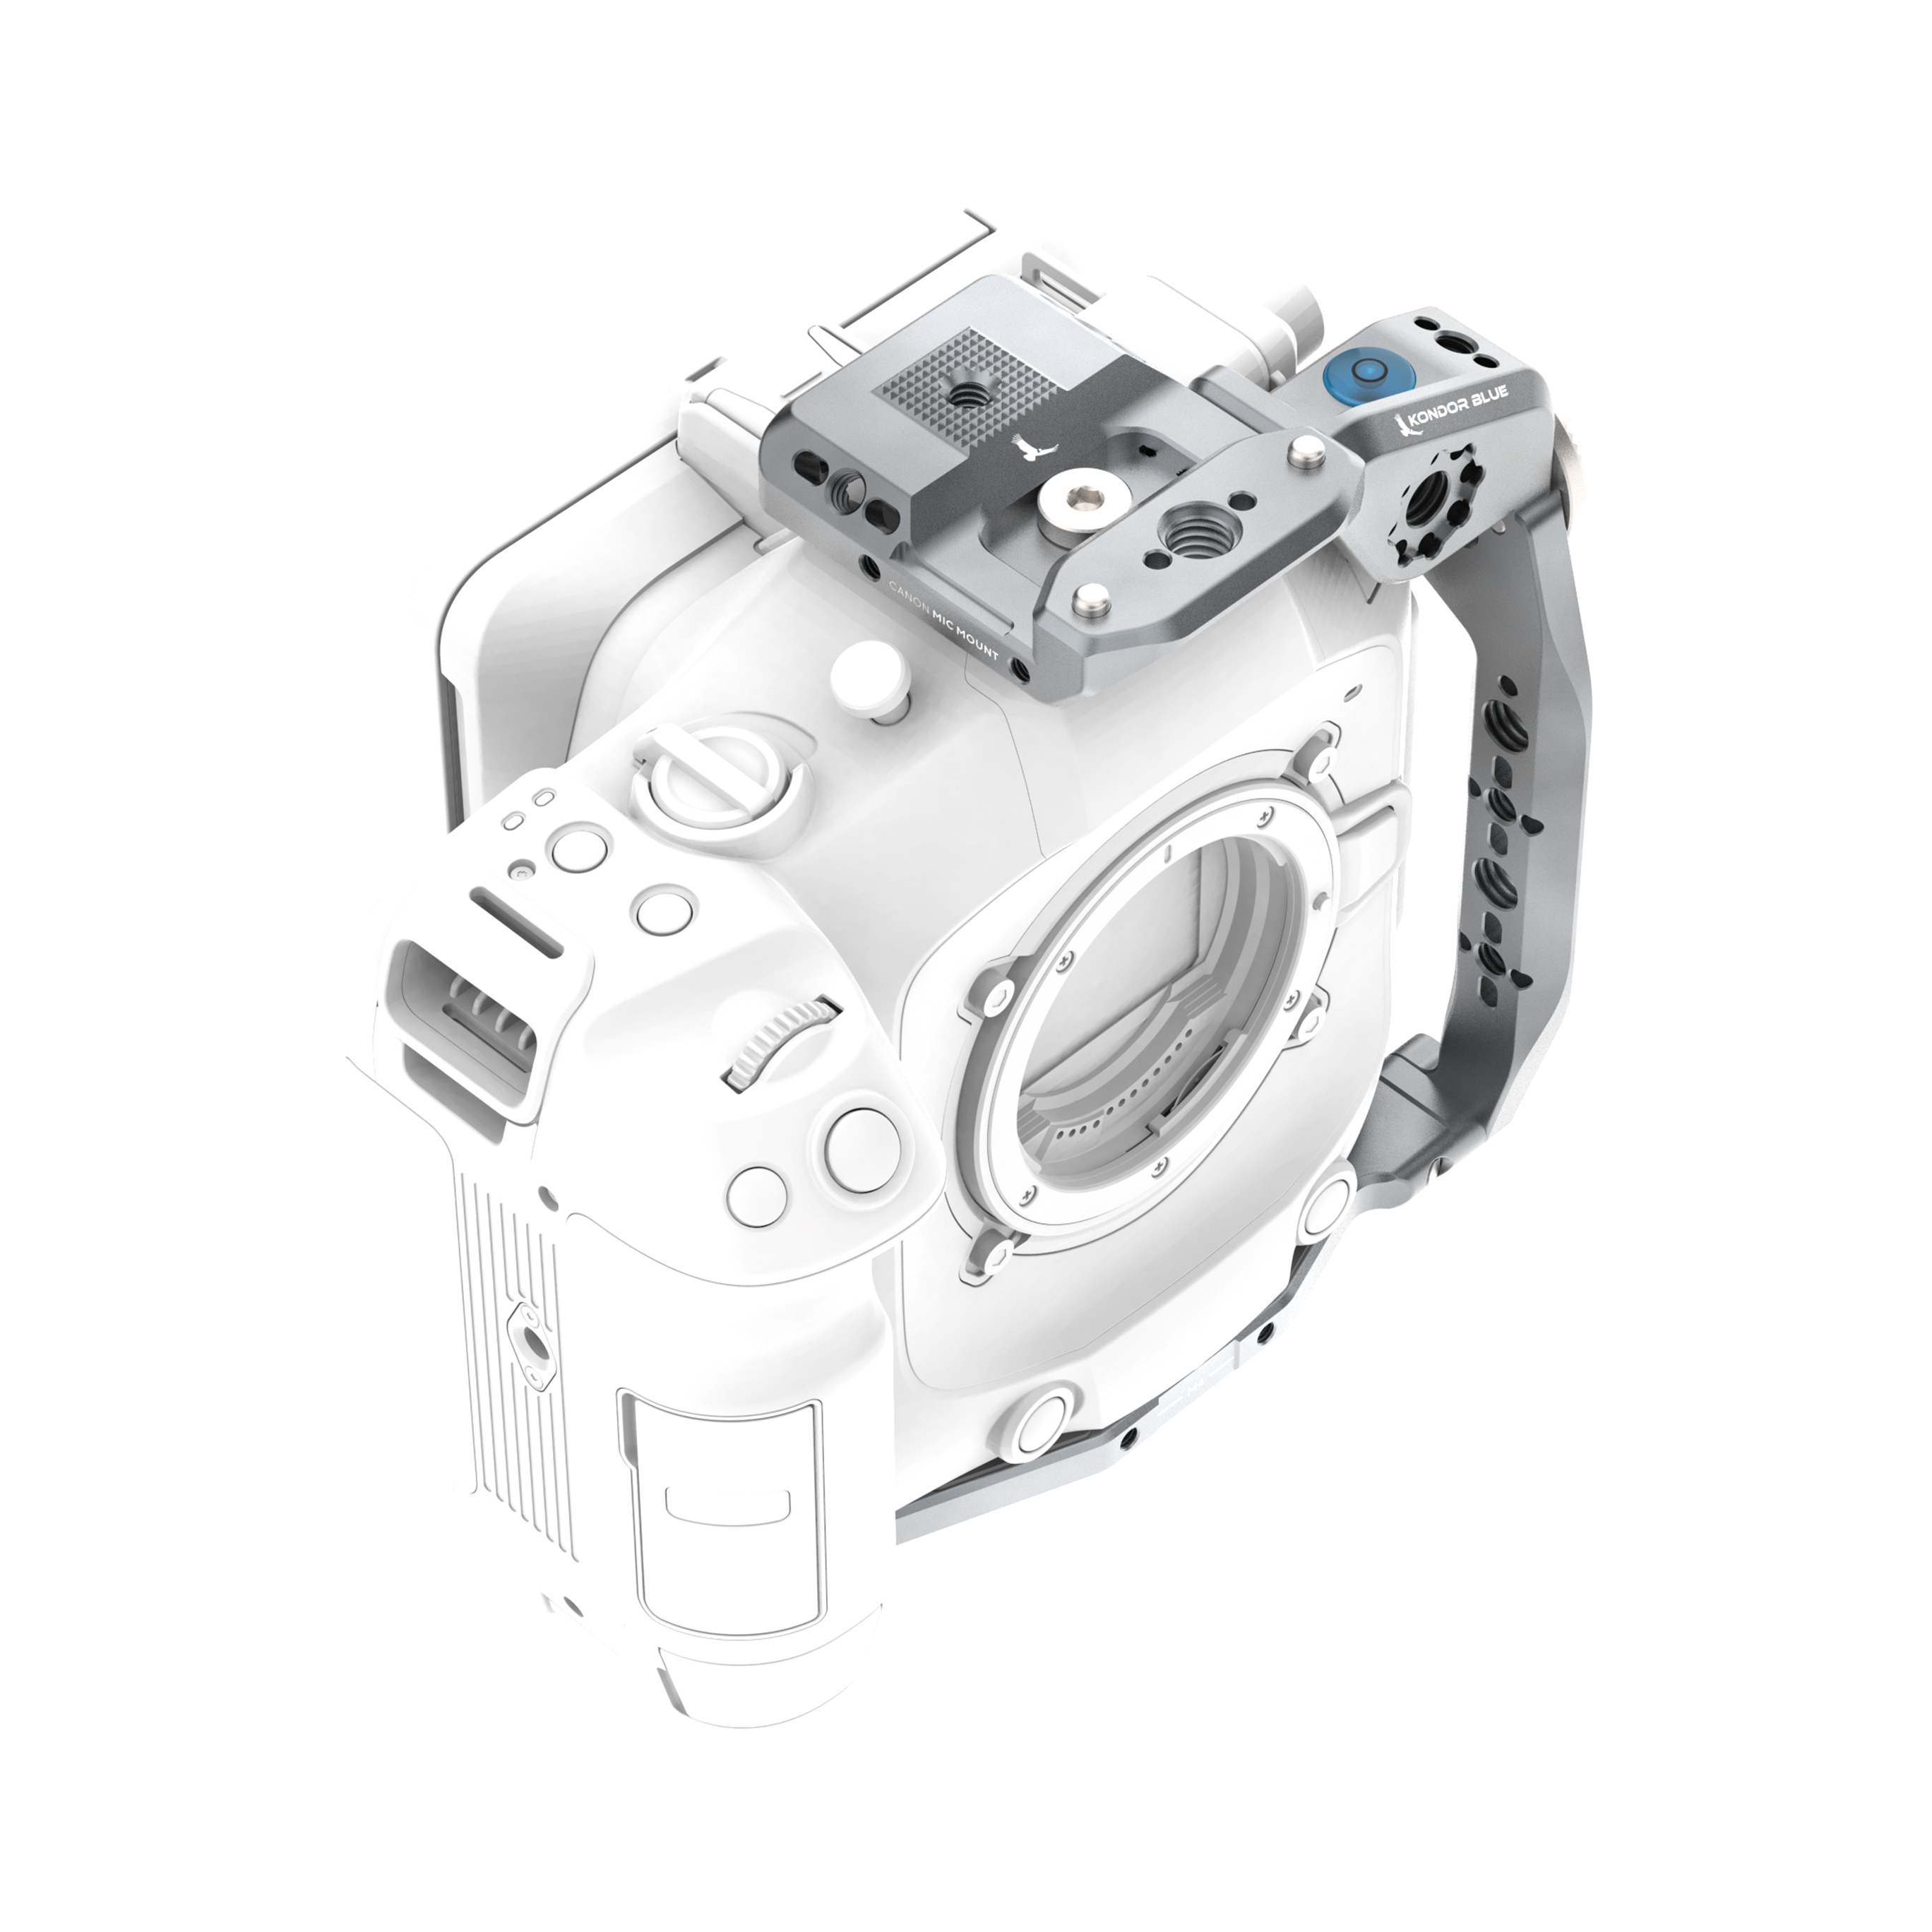
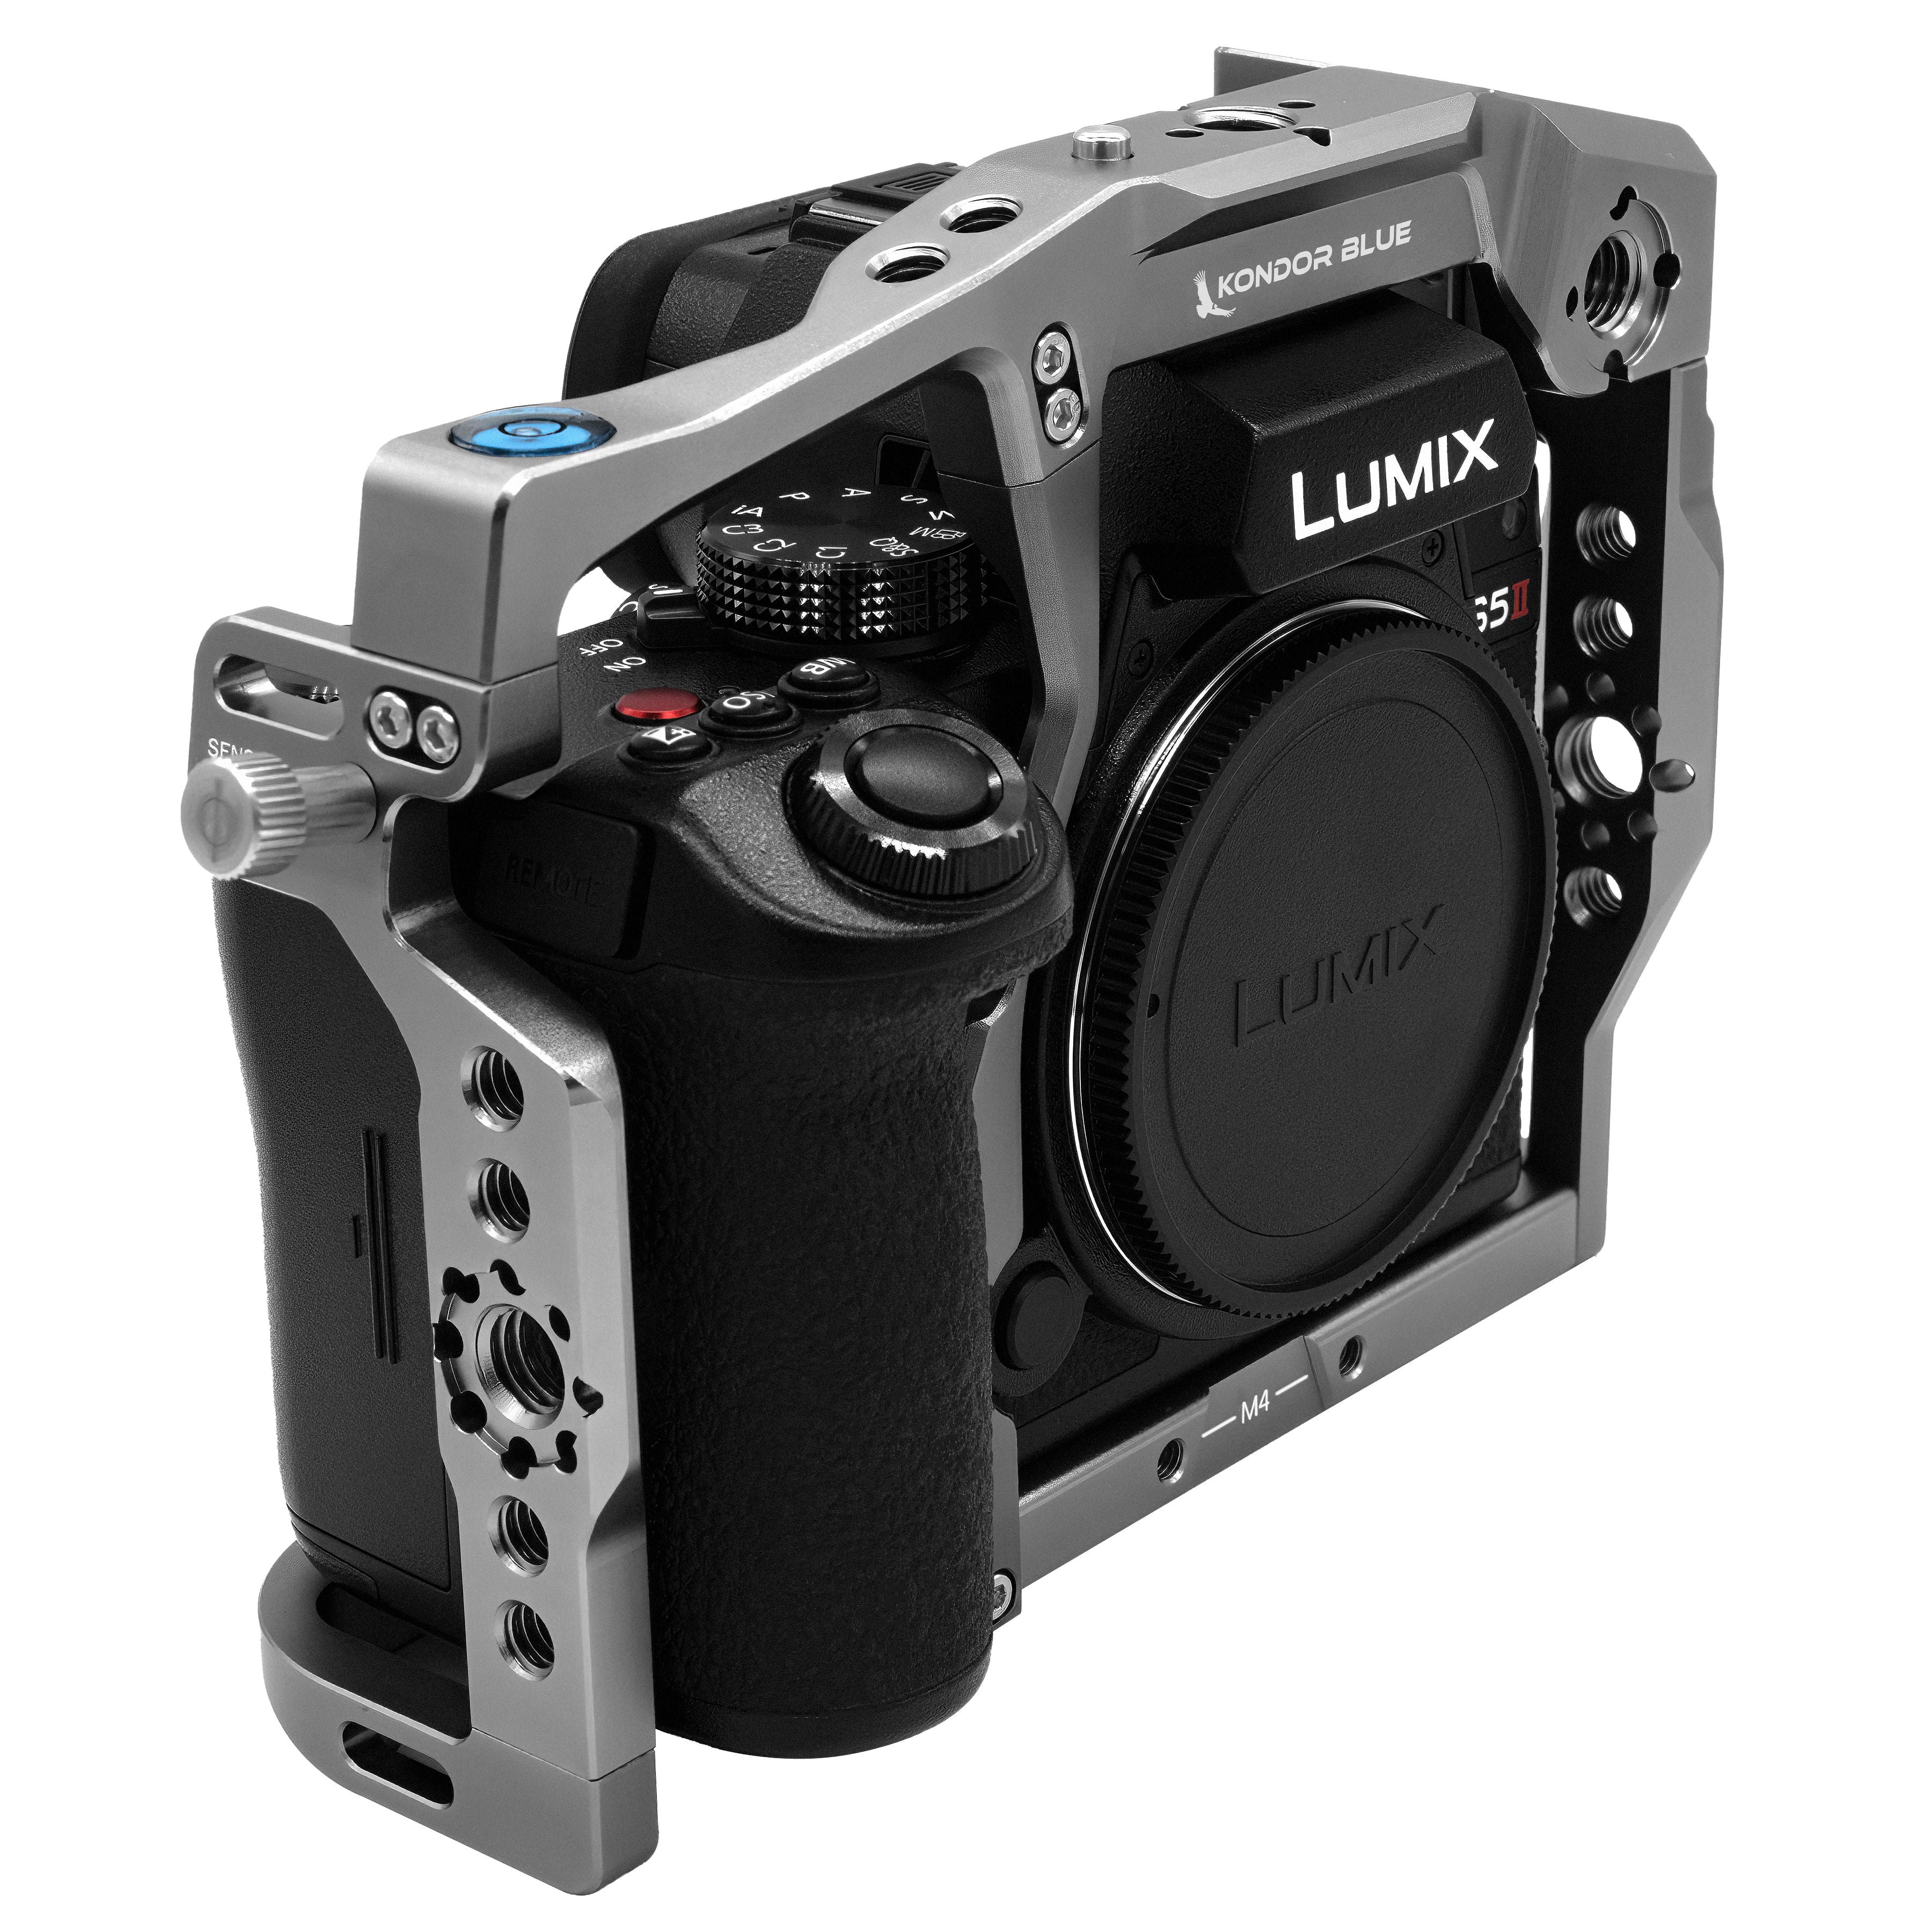
- Camera cage: A protective frame that offers multiple mounting points for accessories.
- Baseplate: Connects your camera to rods or tripods, ensuring stability.
- Rods (15mm or 19mm): Tubes that hold accessories like follow focus or matte boxes.
- Handles and grips: Add comfort and control for handheld shooting.
- Shoulder pad: Distributes weight for longer shooting sessions.
- Monitor or EVF (Electronic Viewfinder): Provides a larger or more flexible viewing screen.
- Follow focus: Allows for precise manual focusing.
- Matte box: Blocks stray light and holds filters for creative effects.
How to Build a Professional Camera Rig: Step-by-Step
Ready to assemble your rig? Follow these steps:
- Attach the camera cage: Secure your camera within the cage for protection and mounting points.
- Mount the baseplate: Fix the baseplate to the bottom of the cage; this is your rig’s foundation.
- Insert support rods: Slide rods through the baseplate for accessory mounting.
- Add the handles and grips: Attach top or side handles for easier carrying and movement.
- Install the shoulder pad: Place it under the rods for comfortable shoulder support.
- Mount the monitor or EVF: Fix your external monitor in a convenient spot for clear viewing.
- Add the follow focus and matte box: Secure these to the rods in front of the lens for control and light management.
- Attach additional accessories: Microphones, lights, or batteries can be mounted as needed.
What Accessories Should You Consider for Your Camera Rig?
Beyond the basics, the right accessories can elevate your rig:
- External microphones for superior audio quality
- LED lights for on-the-go lighting
- Wireless video transmitters for real-time monitoring
- Battery plates or power solutions for longer shoots
- Lens support brackets for heavy cinema lenses
Pro tip: Choose accessories based on your specific video projects—documentaries, music videos, or narrative films may require different setups.
FAQ: Camera Rigging for Filmmakers
Q1: Do I need a camera rig for every type of video production?
Not always. Simple projects may only require a tripod or handheld shots. Rigs are most beneficial for dynamic, cinematic, or professional shoots.
Q2: Can I build a camera rig on a budget?
Yes! Start with a basic cage and add parts over time. Many affordable brands offer modular components.
Q3: Are camera rigs universal or camera-specific?
Some cages are designed for specific camera models, while rods and accessories are often universal with standard sizes (15mm or 19mm rods).
Q4: What’s the difference between a gimbal and a shoulder rig?
A gimbal uses motors for stabilization, ideal for smooth moving shots. A shoulder rig relies on your body for support and is great for documentary or run-and-gun filmmaking.
Key Takeaways for Building a Camera Rig
- Camera rigs provide stability, flexibility, and room for essential accessories.
- Start with a solid foundation: cage, baseplate, and rods.
- Add handles, a monitor, follow focus, and matte box as needed.
- Adapt your rig to fit your shooting style and project requirements.
Building your own professional camera rig doesn’t have to be overwhelming. By understanding the core components and assembling your rig step by step, you’ll be better prepared to capture stunning, cinematic video. Ready to upgrade your filmmaking gear? Explore our top camera rig recommendations and take your productions to the next level!