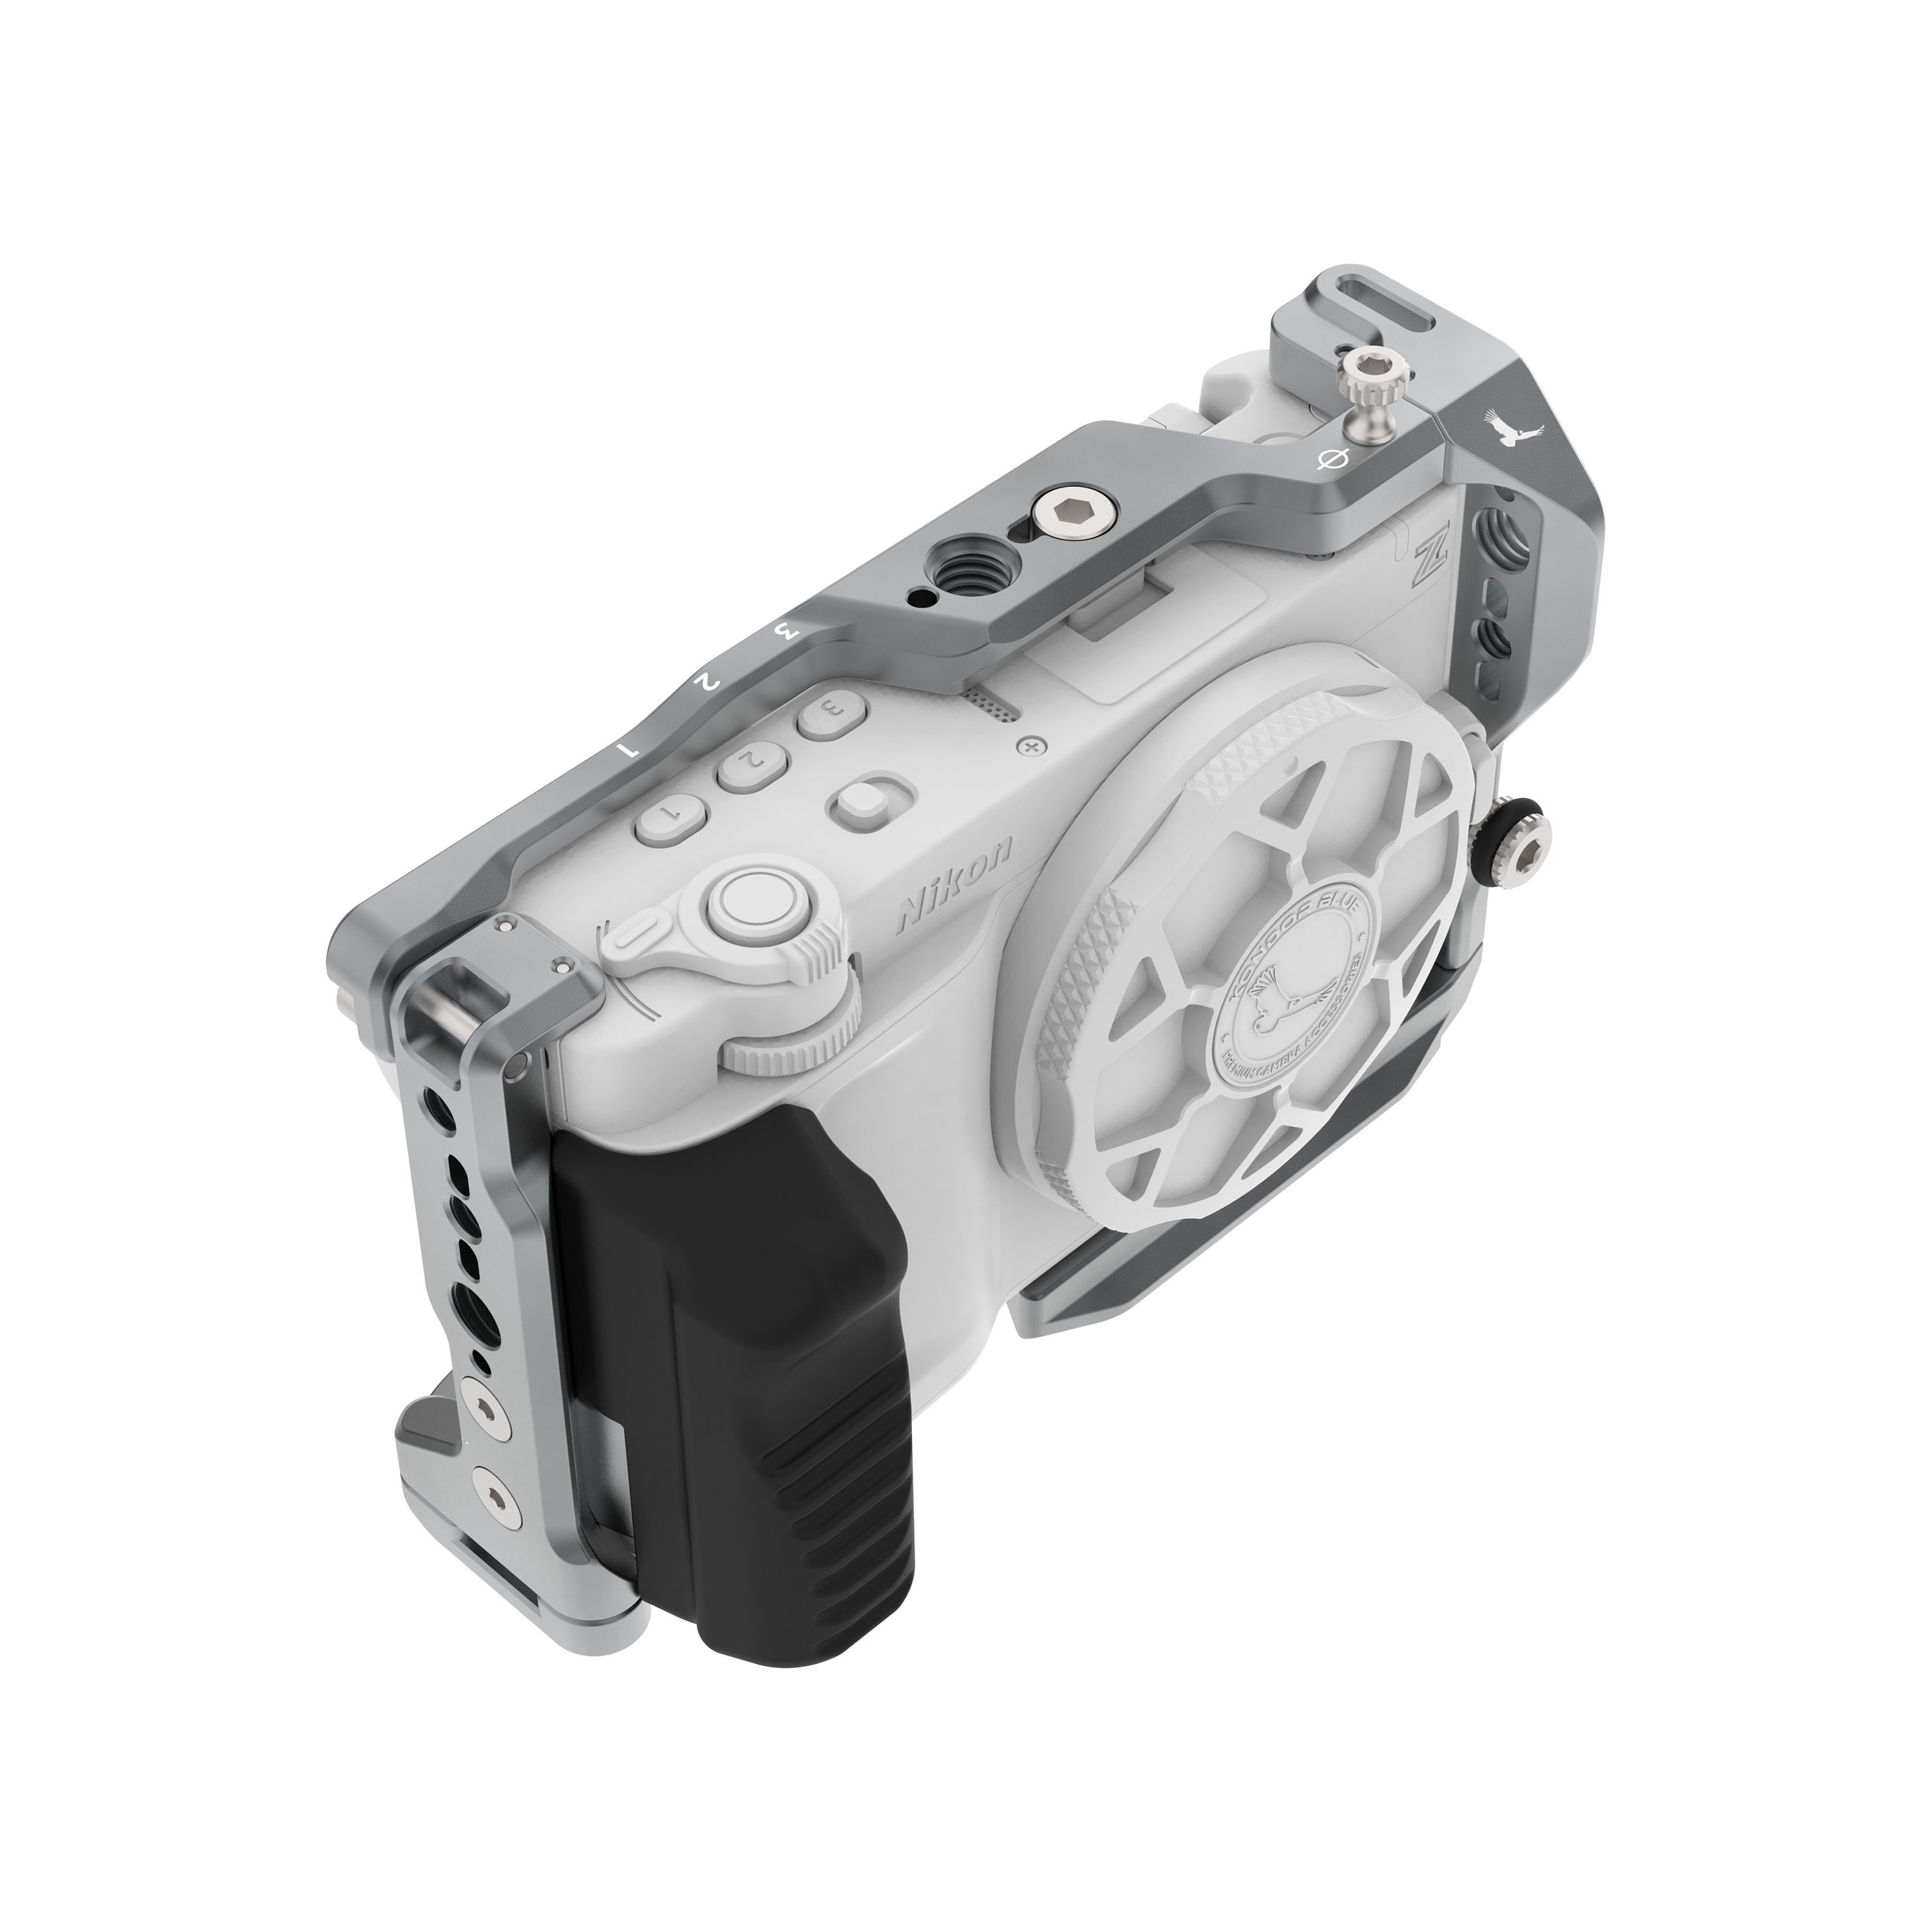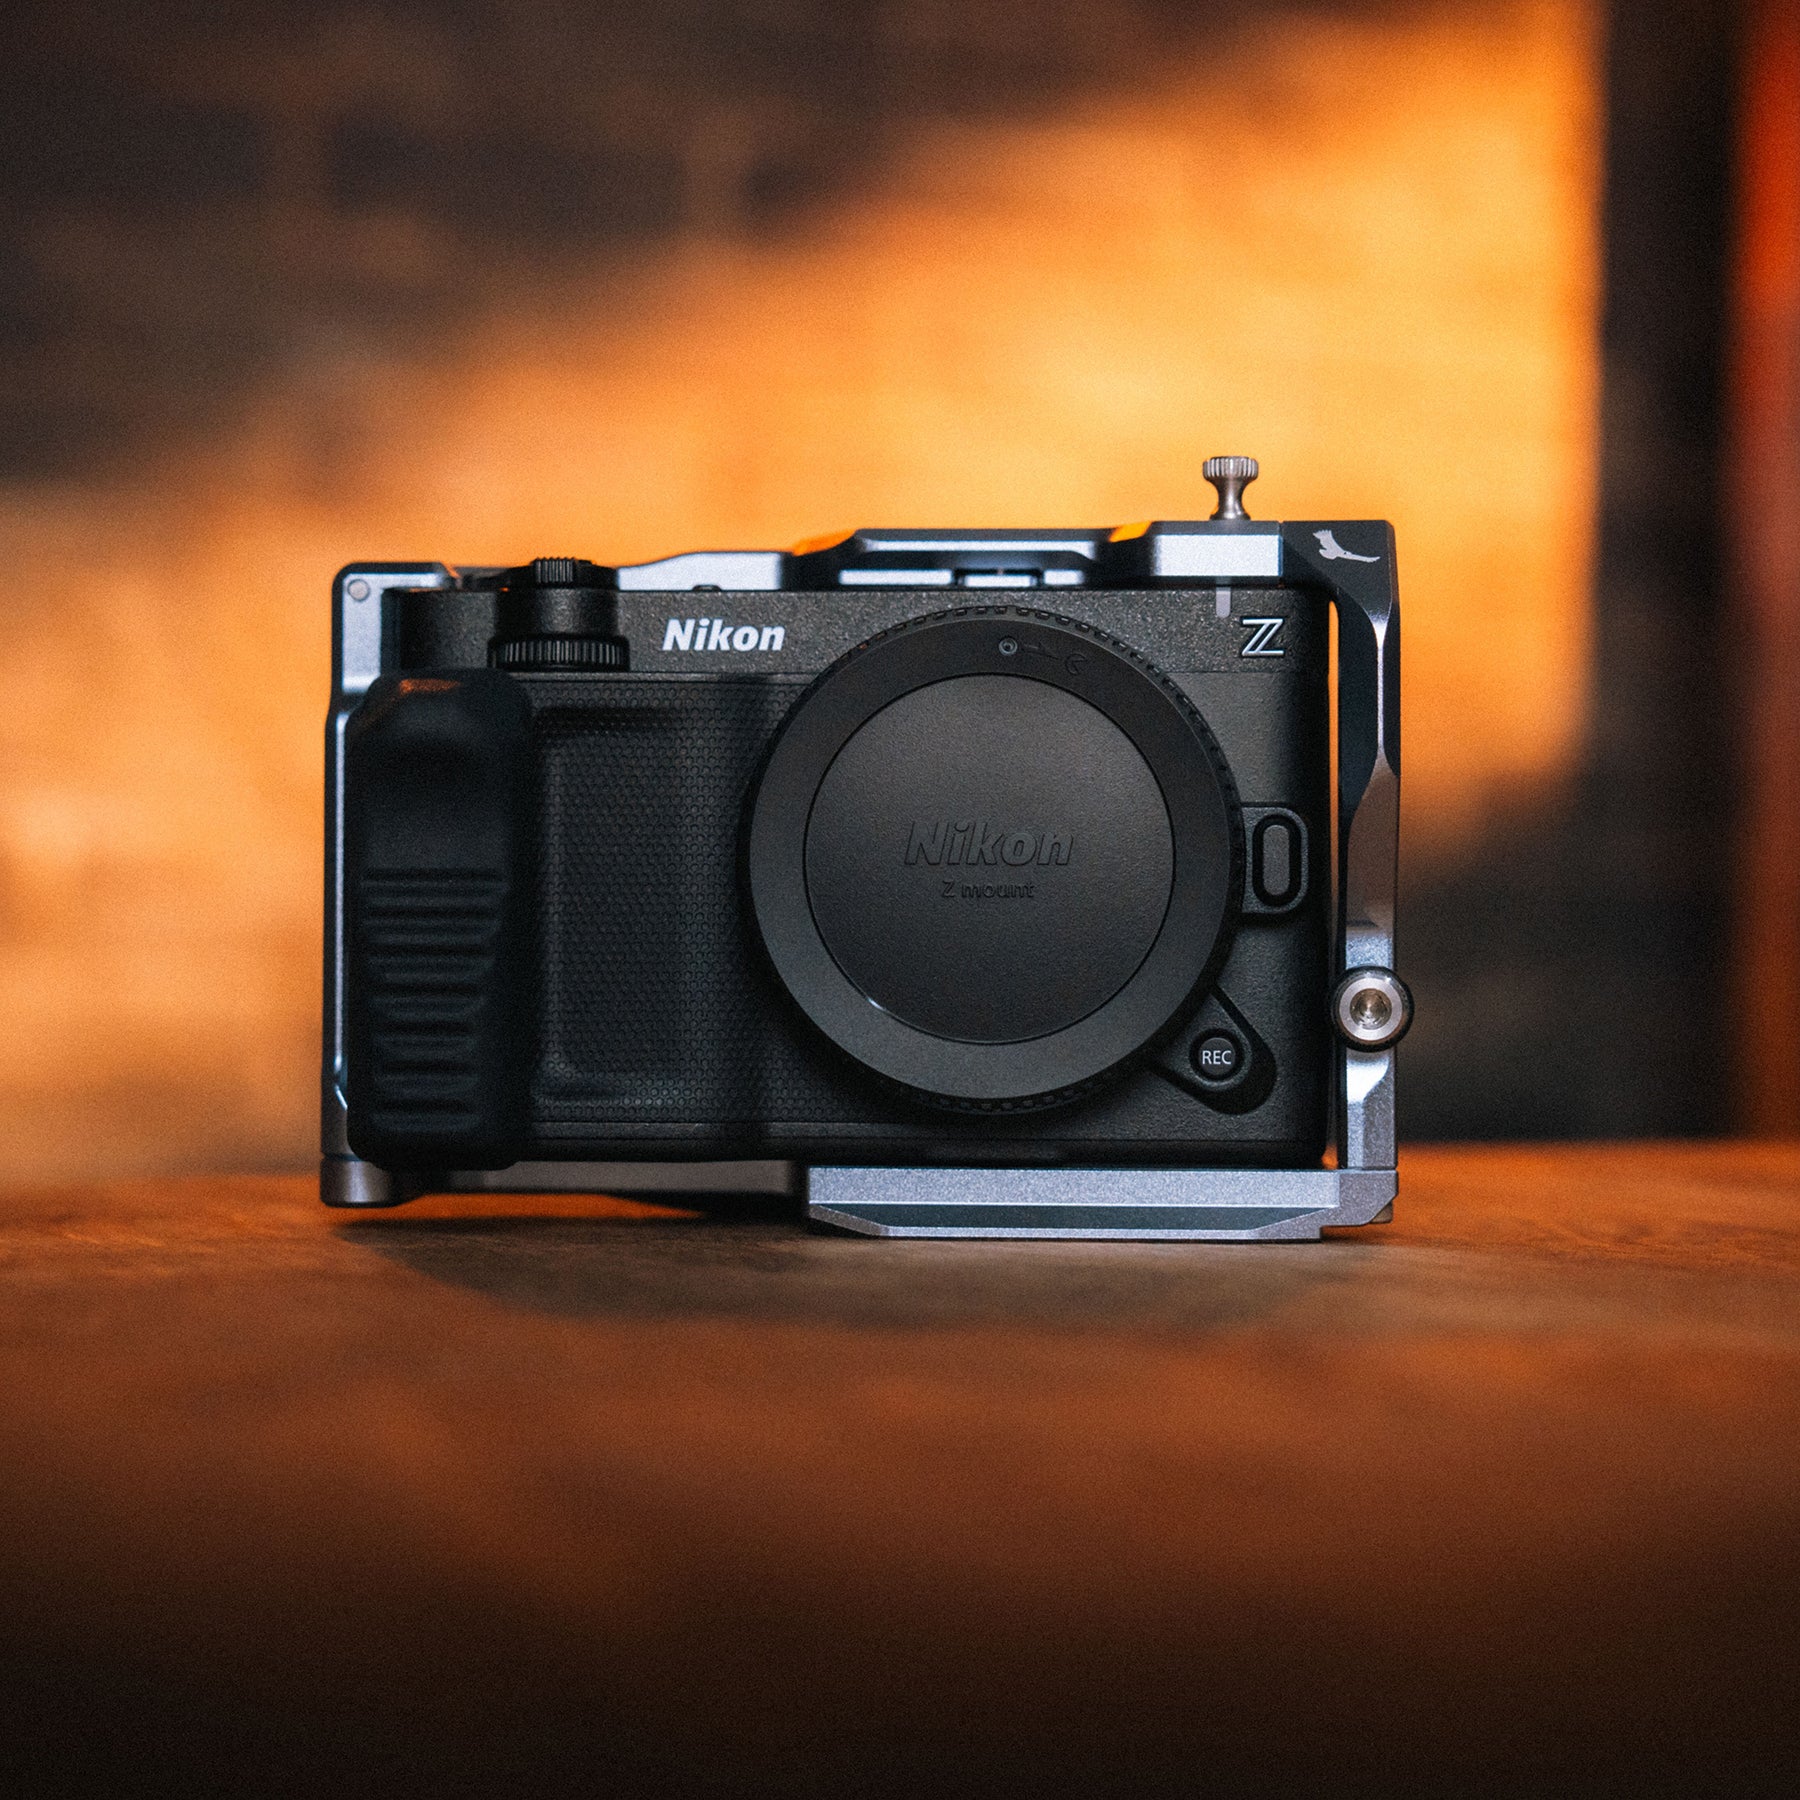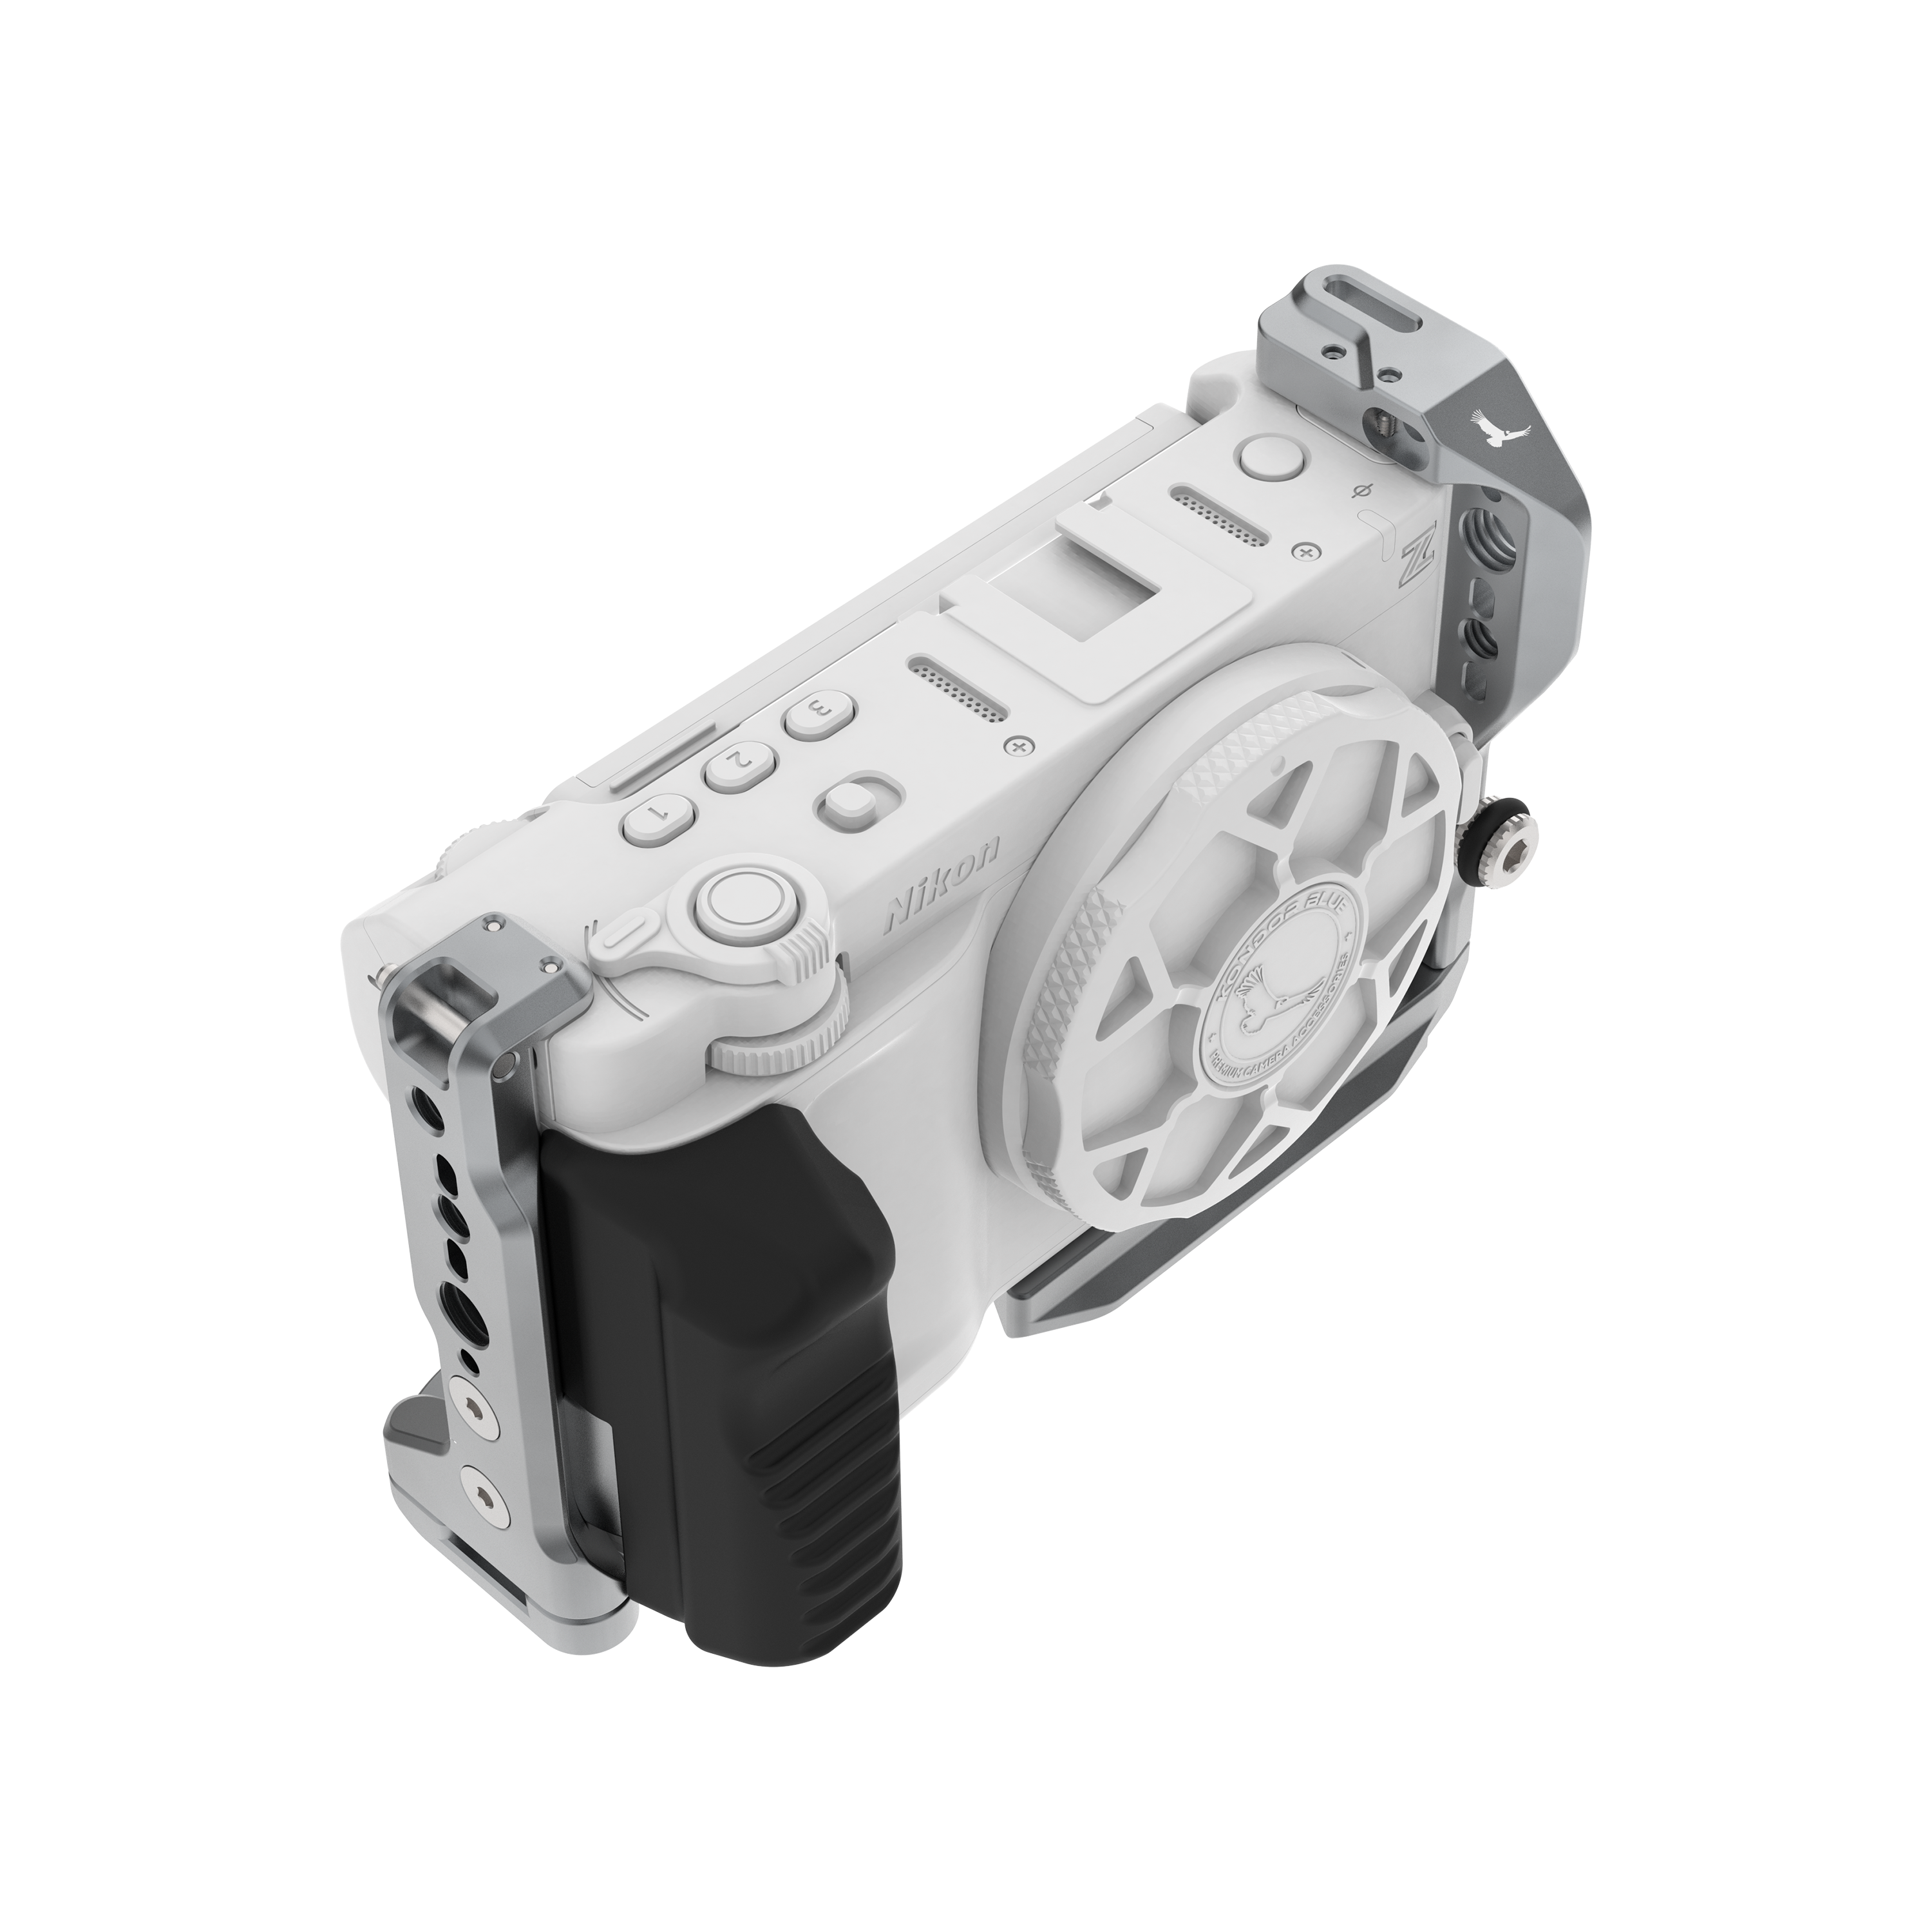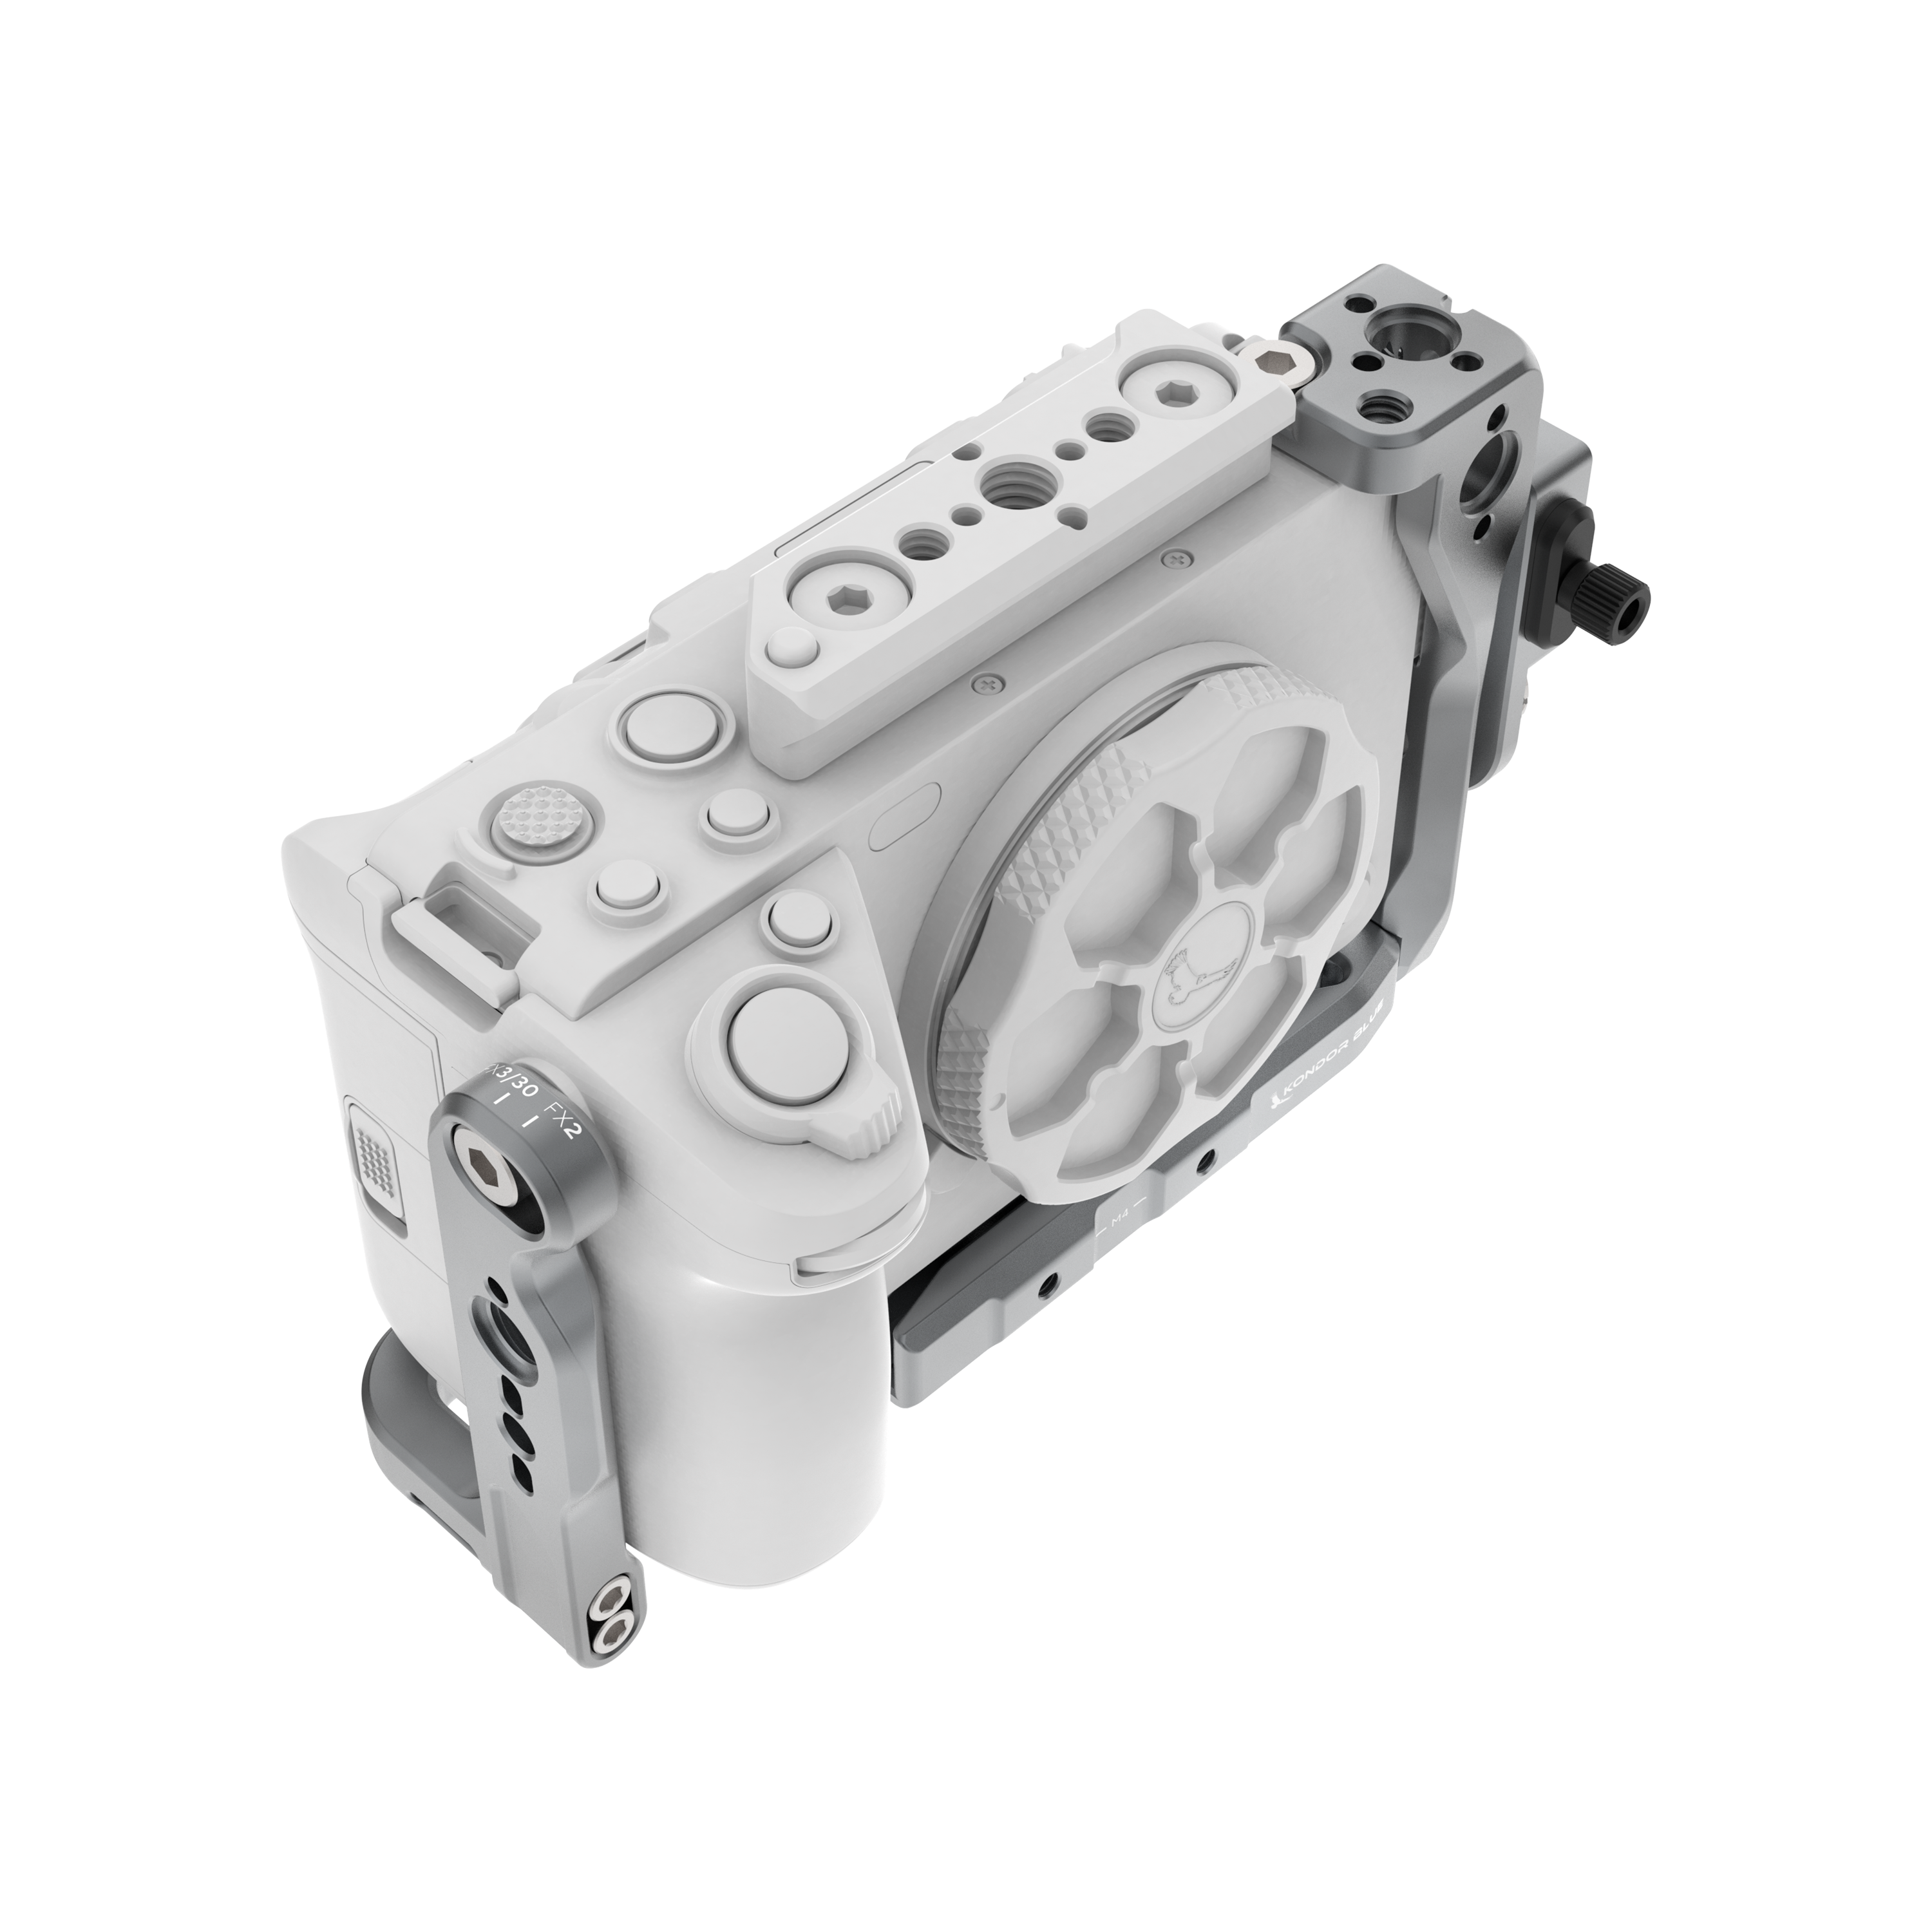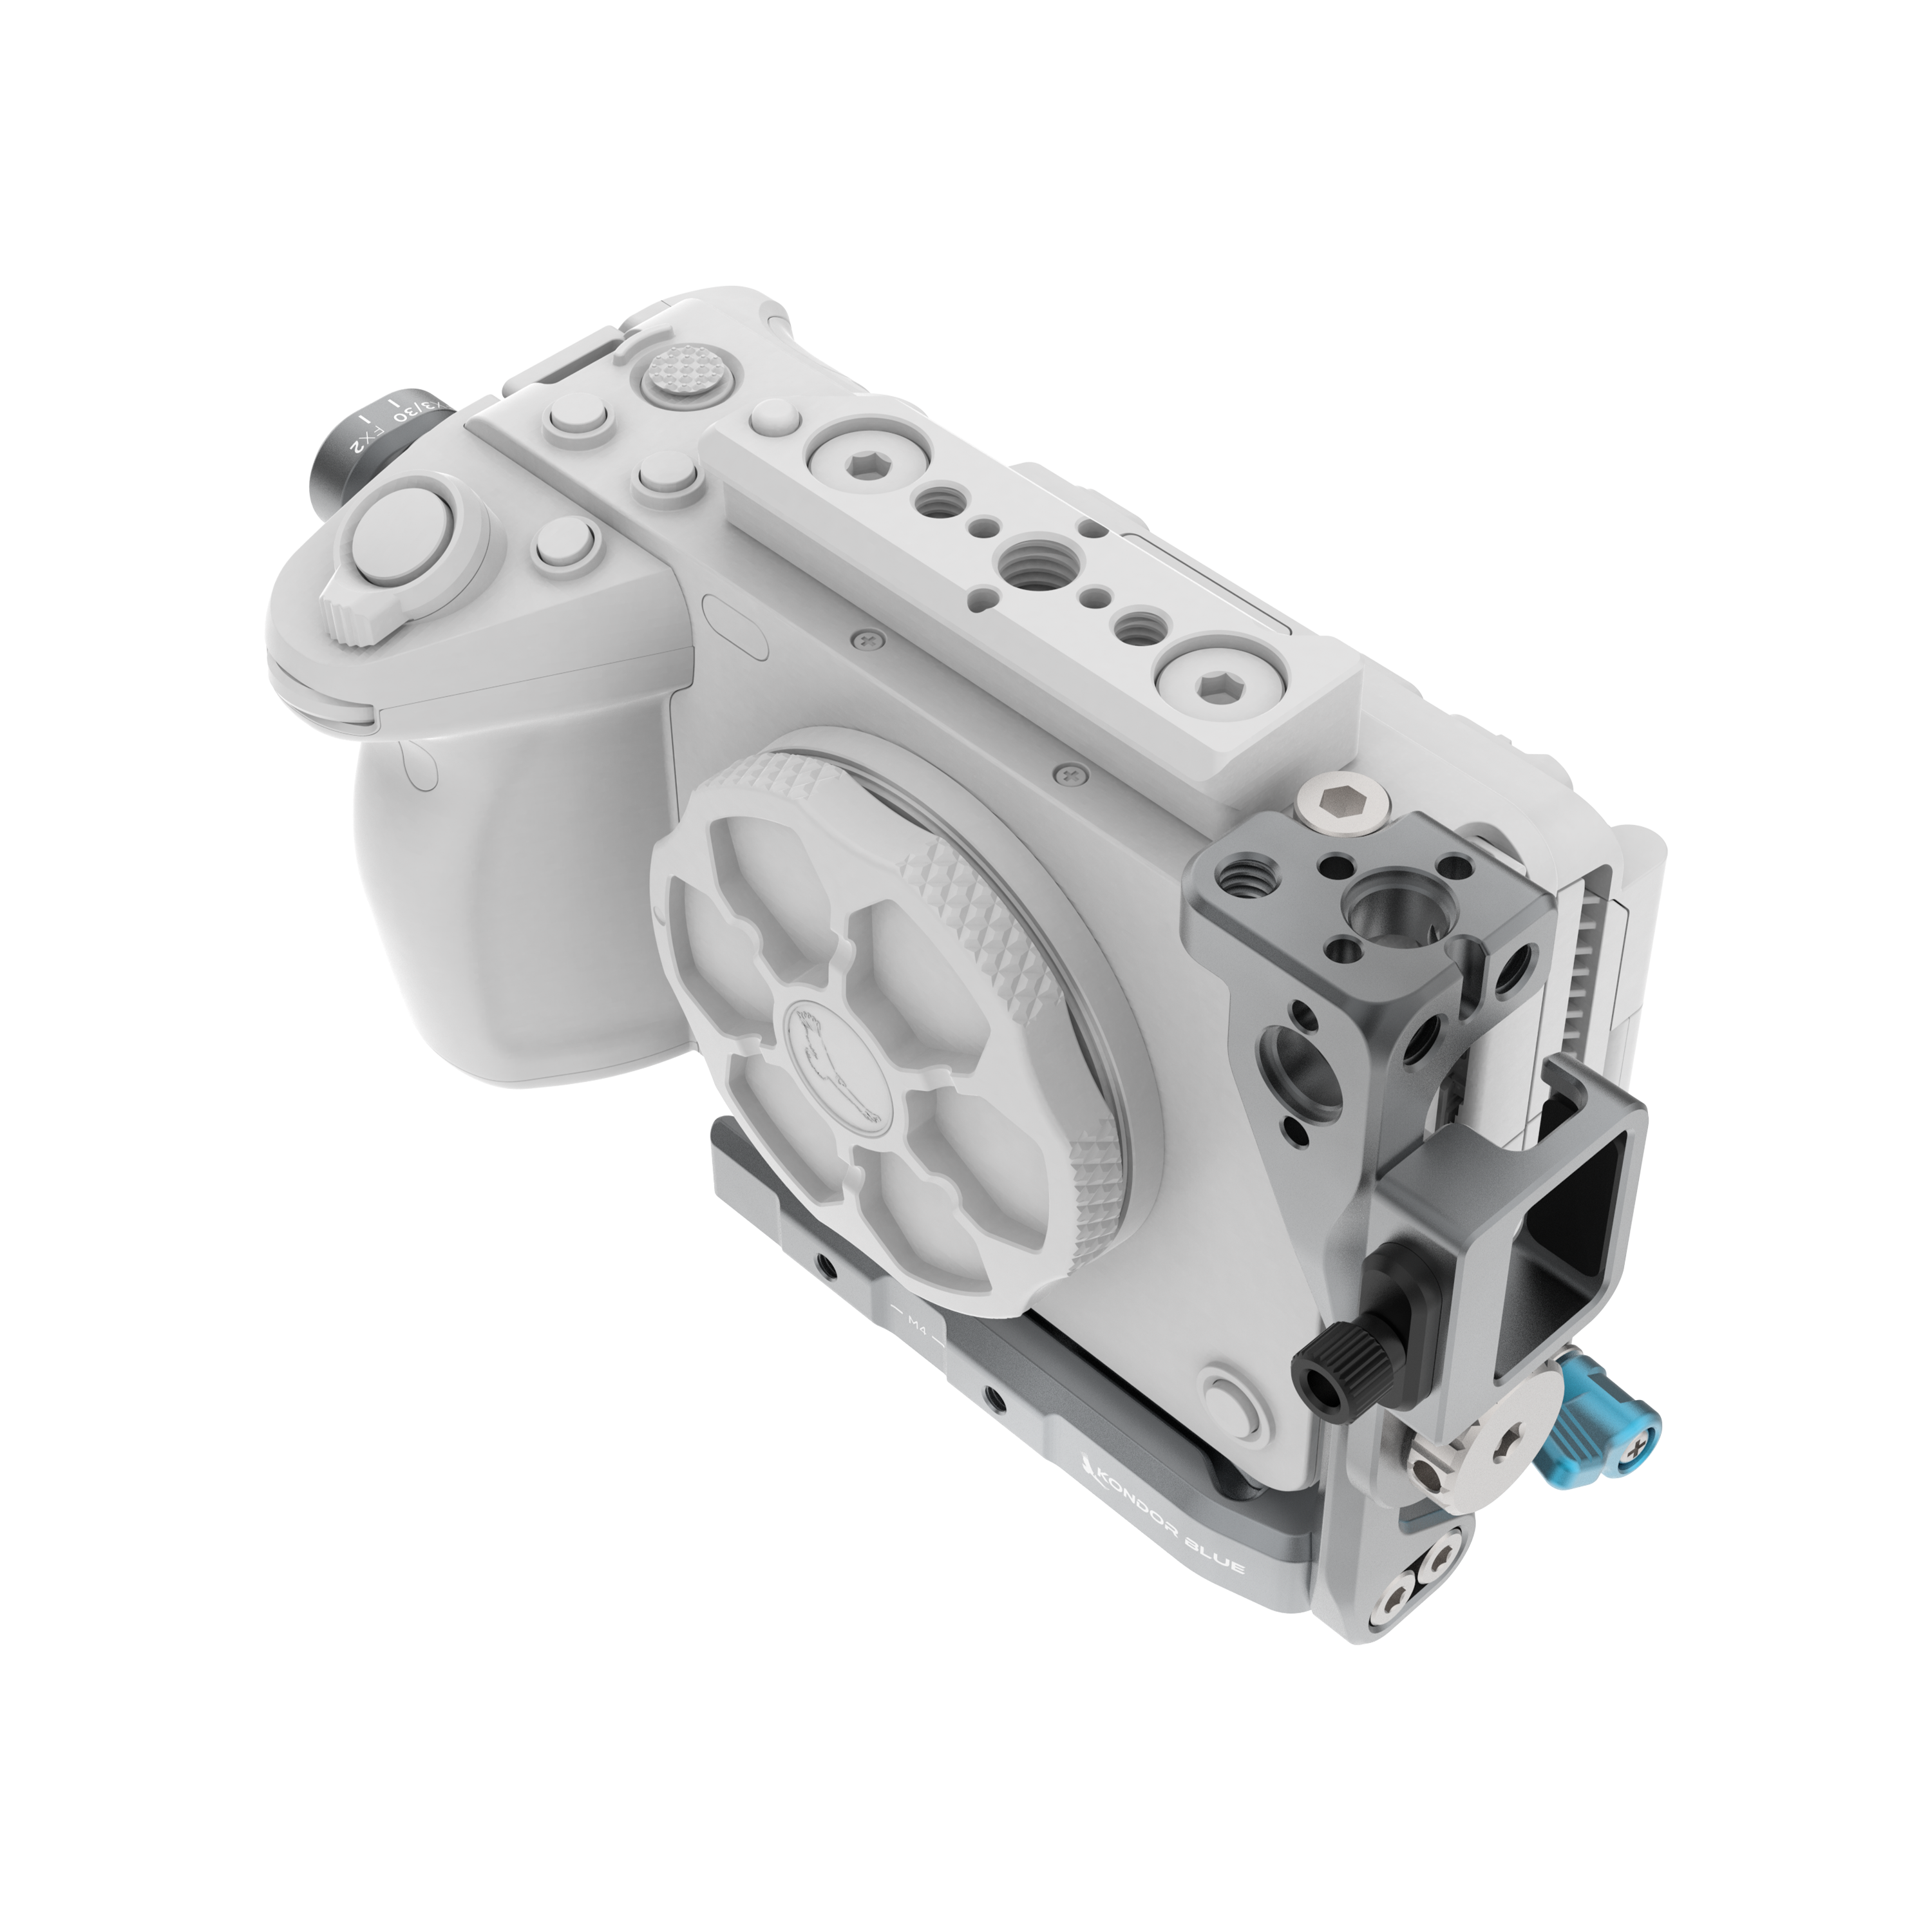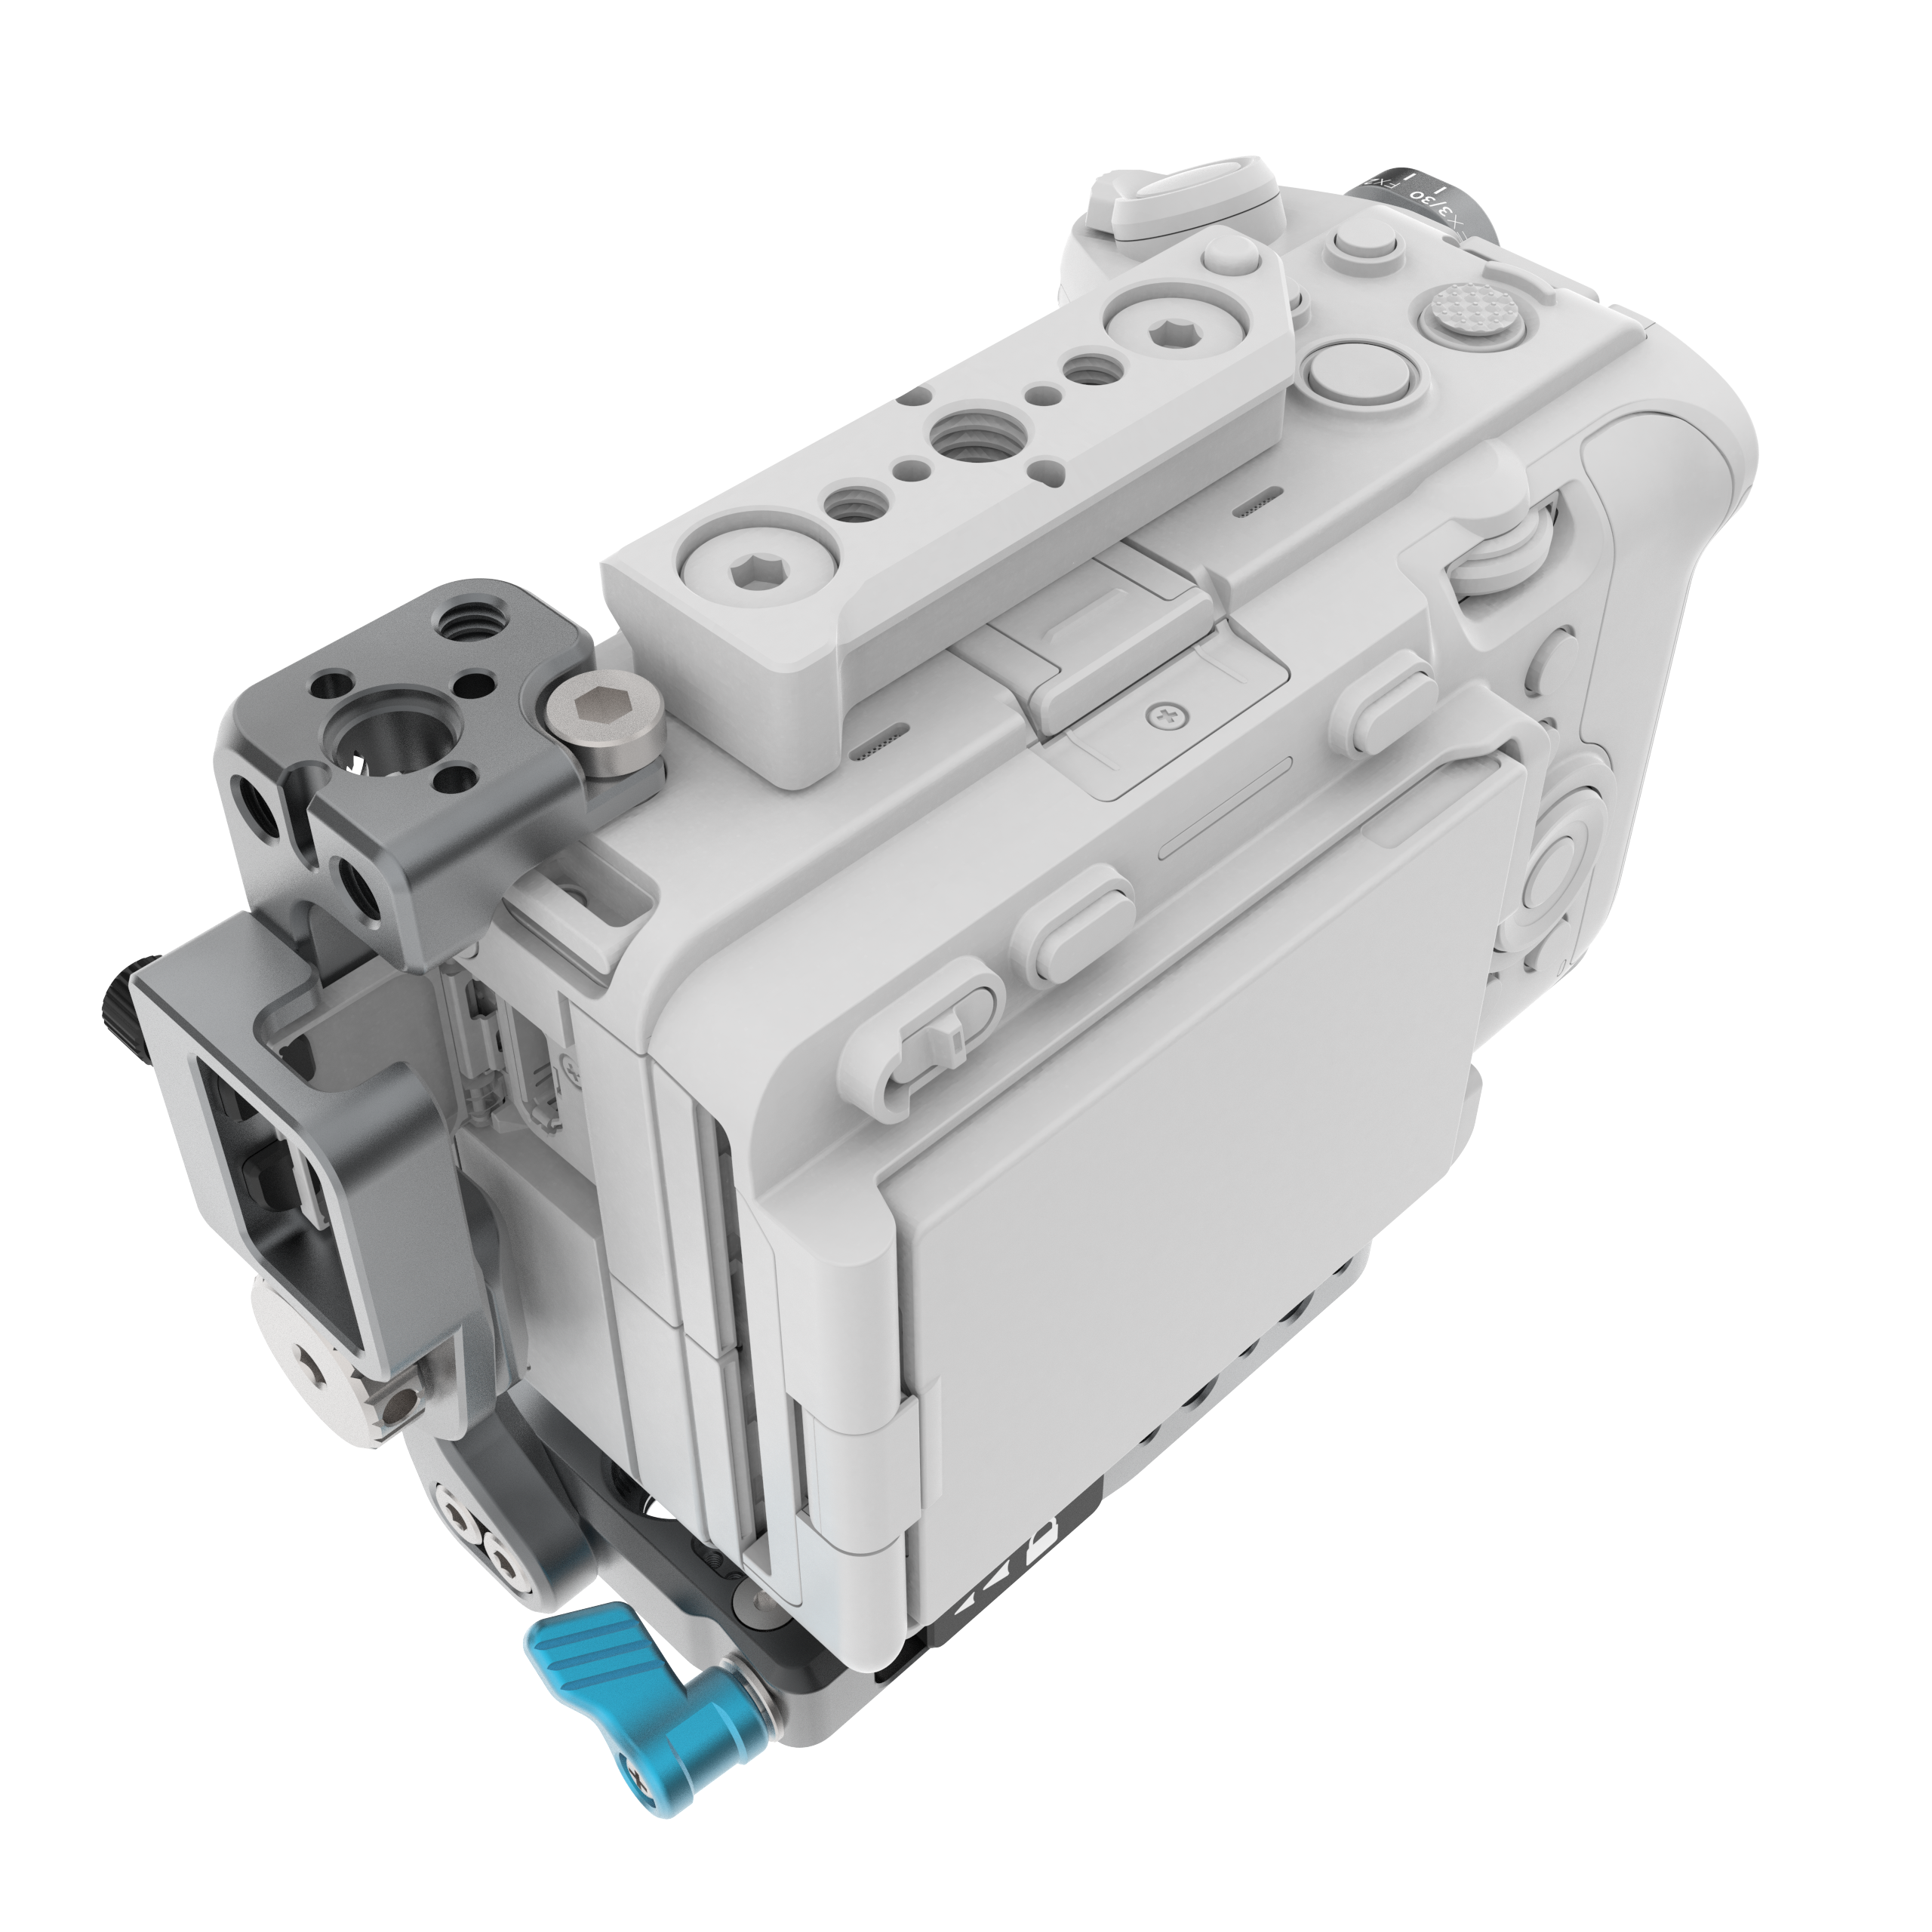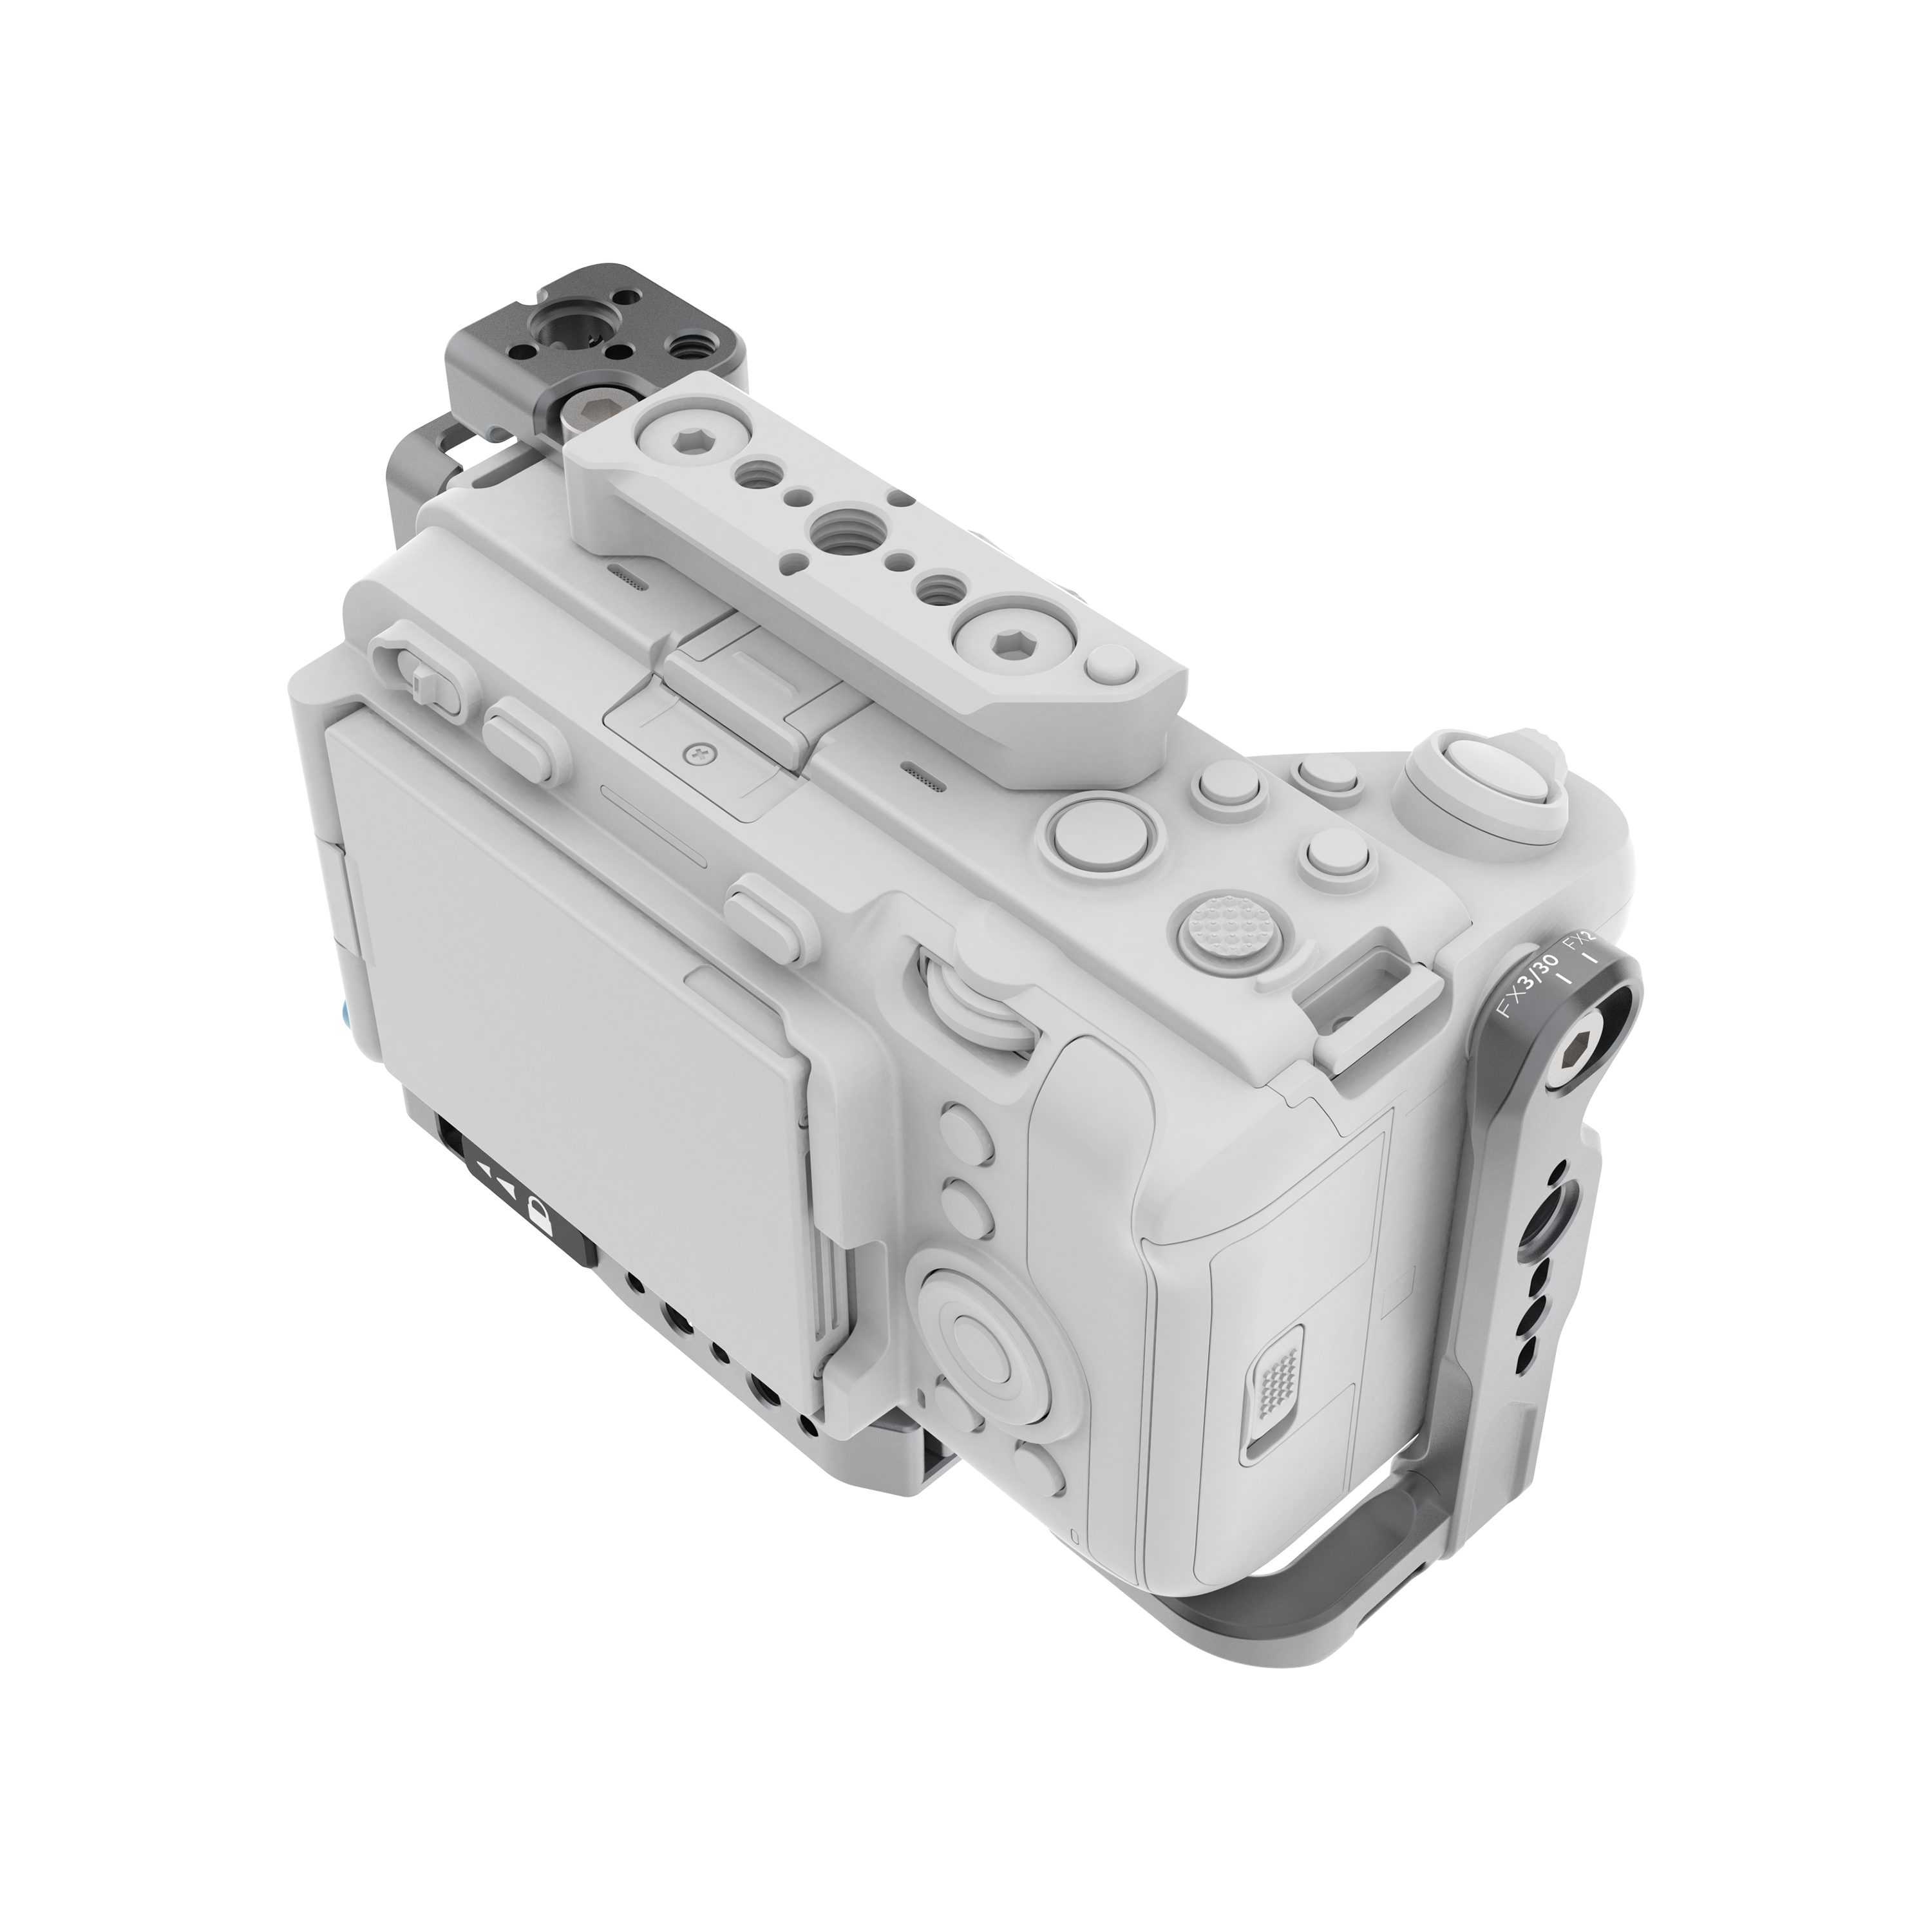

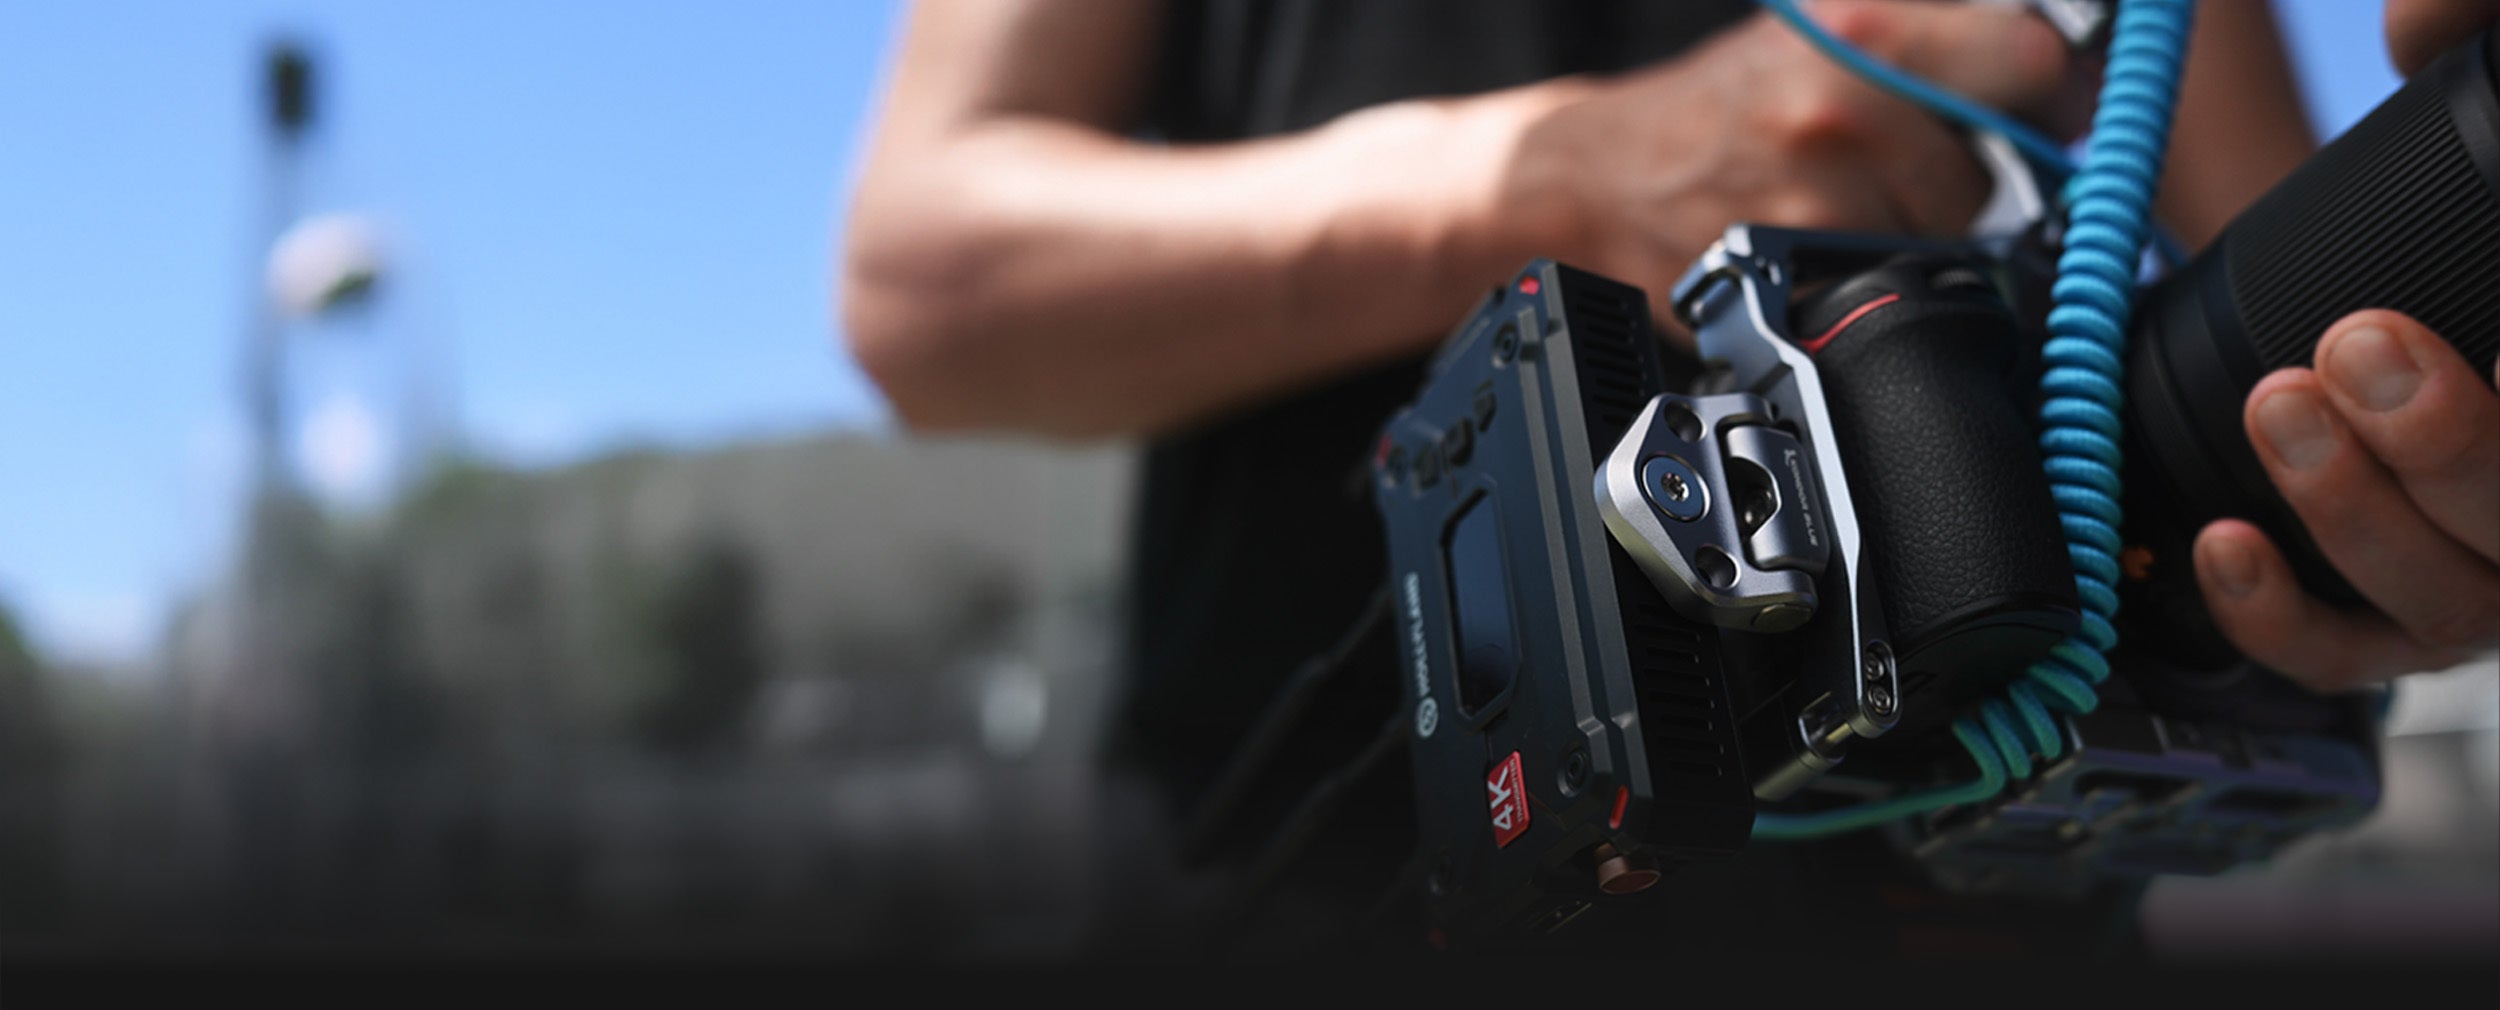
A good camera rig should make your camera easier to operate, not harder to use. Whether you’re filming YouTube videos, documentary interviews, branded content, or commercial work, the goal is the same: build a setup that improves handling, protects key connections, gives you more mounting options, and stays fast to work with on set.
The right rig does not need to be overloaded. Start with the pieces that solve real production problems first: a cage or mounting base, a top handle, a side handle, a monitor mount, reliable cables, power support, and optional filtration for the look you want in-camera.
Quick answer: What do you need to build a camera rig?
A versatile camera rig usually starts with these core pieces:
| Rig component | What it does | Good for |
|---|---|---|
| Camera cage | Adds protection and mounting points | YouTube, documentary, commercial, handheld work |
| Top handle | Improves low-angle and handheld control | Run-and-gun, interviews, product shots |
| Side handle | Adds stability and better hand placement | Handheld shooting, solo operation |
| Monitor mount | Positions your monitor where you can see it | Interviews, commercial work, focus pulling |
| HDMI / USB-C cable | Connects monitors, recorders, or power accessories | Camera-to-monitor or camera-to-recorder setups |
| Power cable / dummy battery | Extends runtime and supports longer shoots | Interviews, events, studio setups |
| Diffusion or ND filter | Controls the image before post-production | Interviews, portraits, commercial video |
If you’re building from scratch, start with the camera cage and handling setup, then add monitoring, power, cables, and filters based on the type of work you shoot most.
Start with the foundation: the camera cage
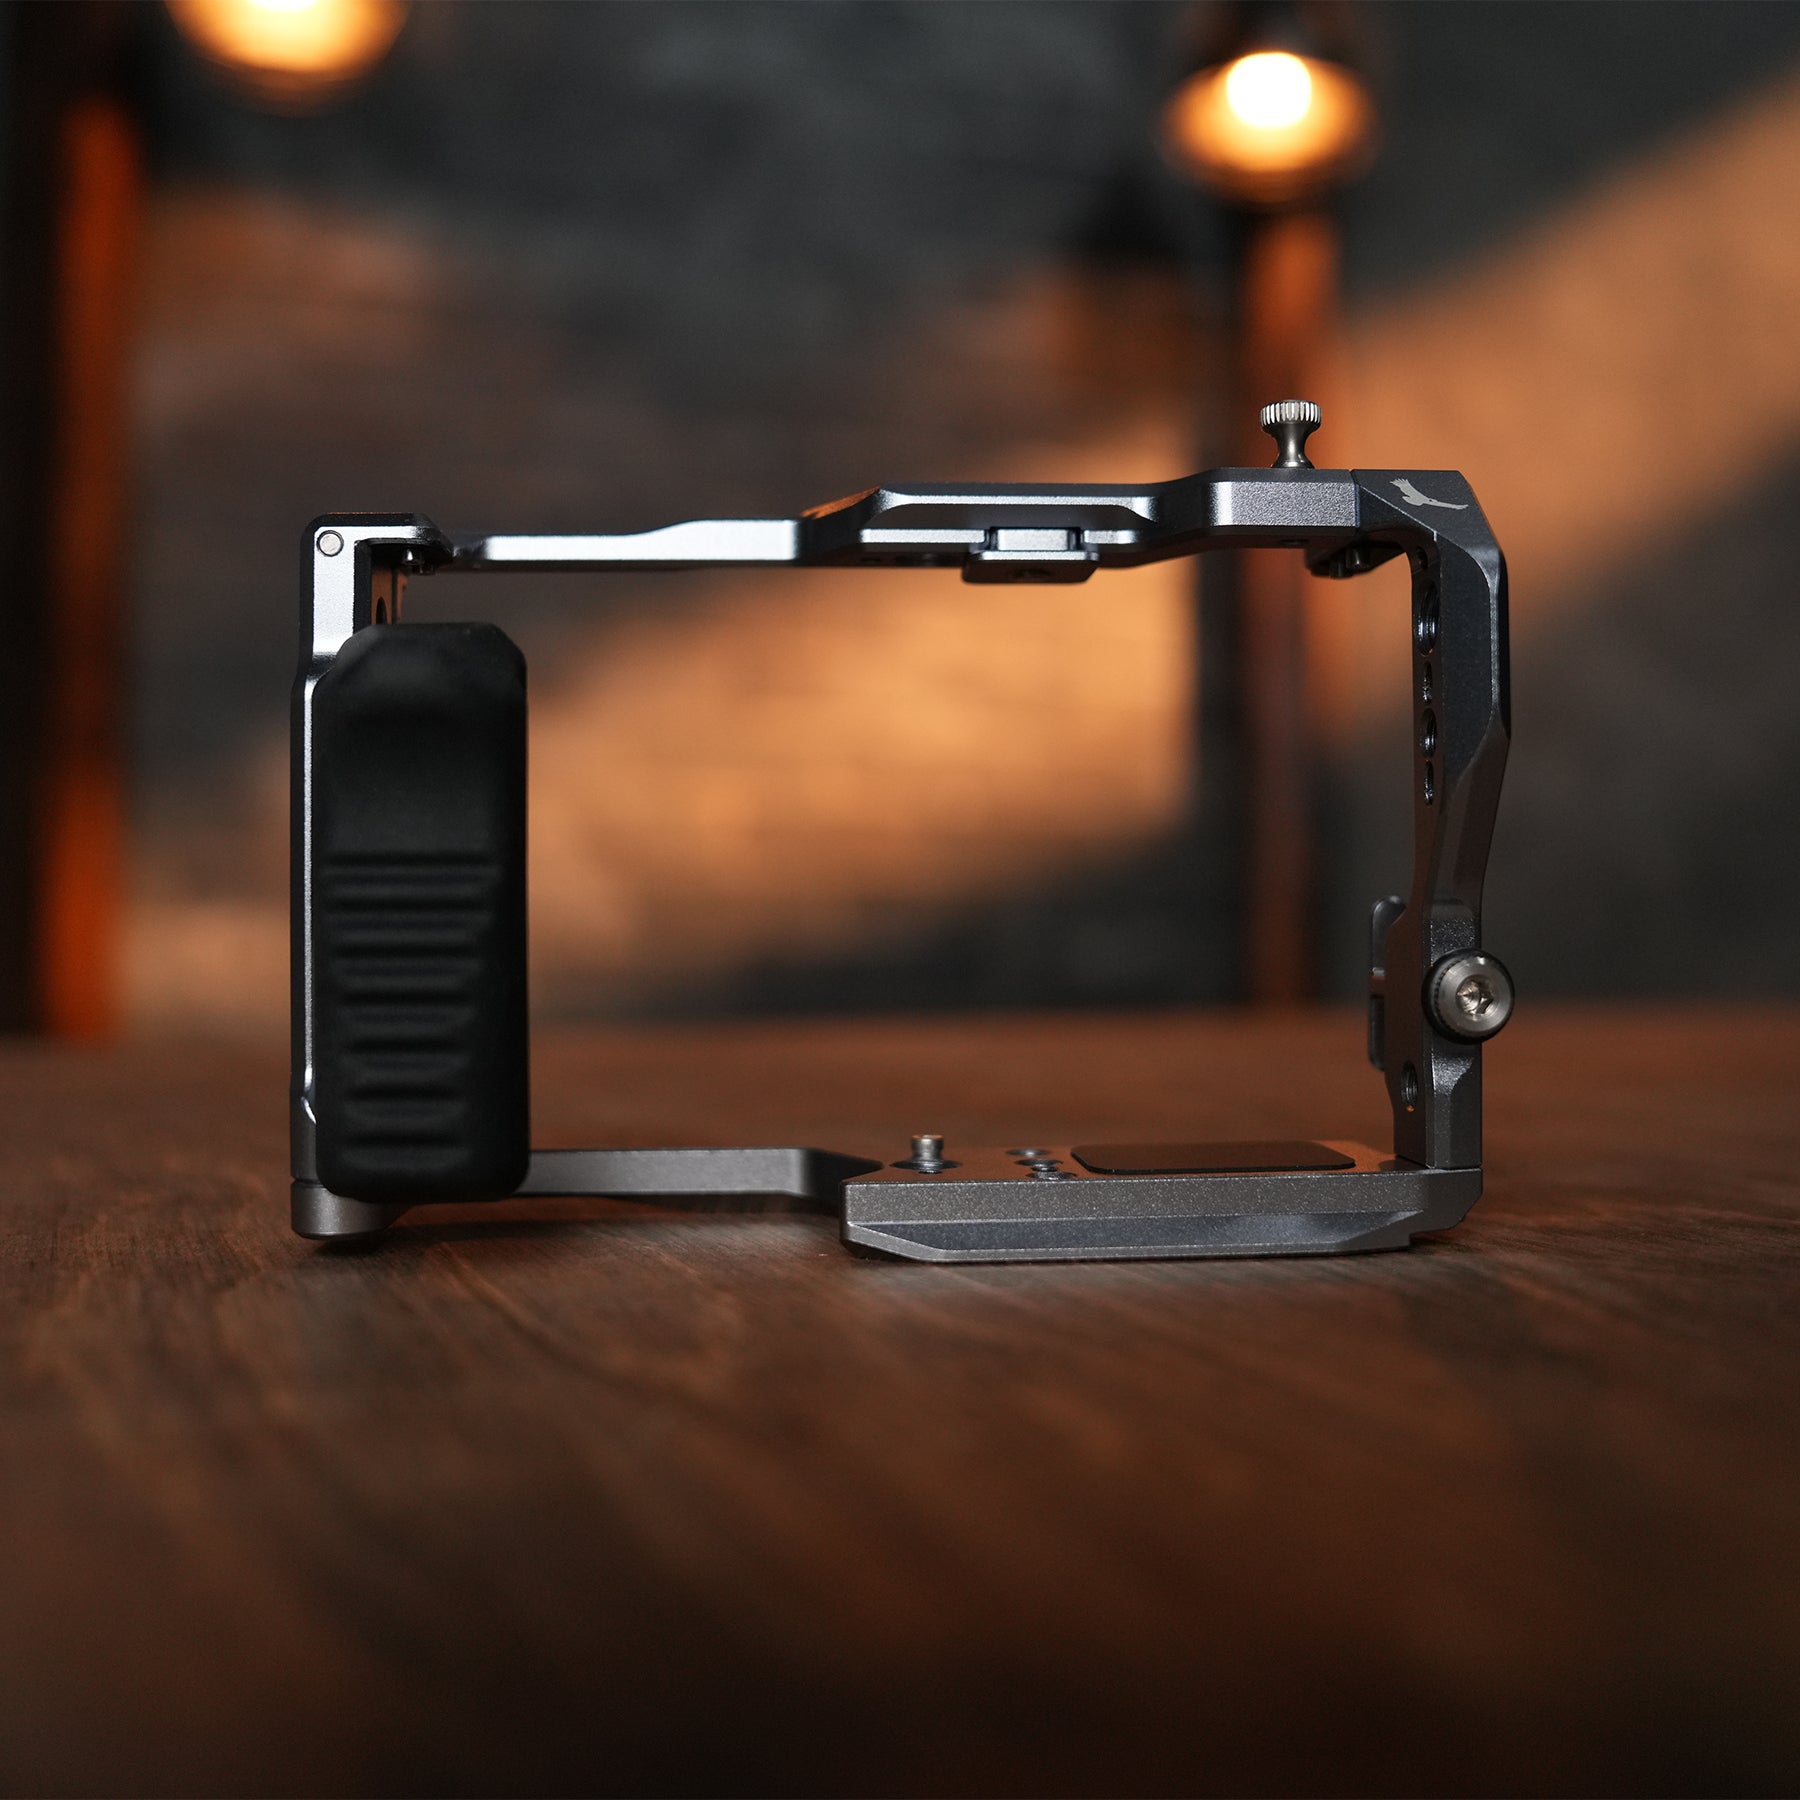
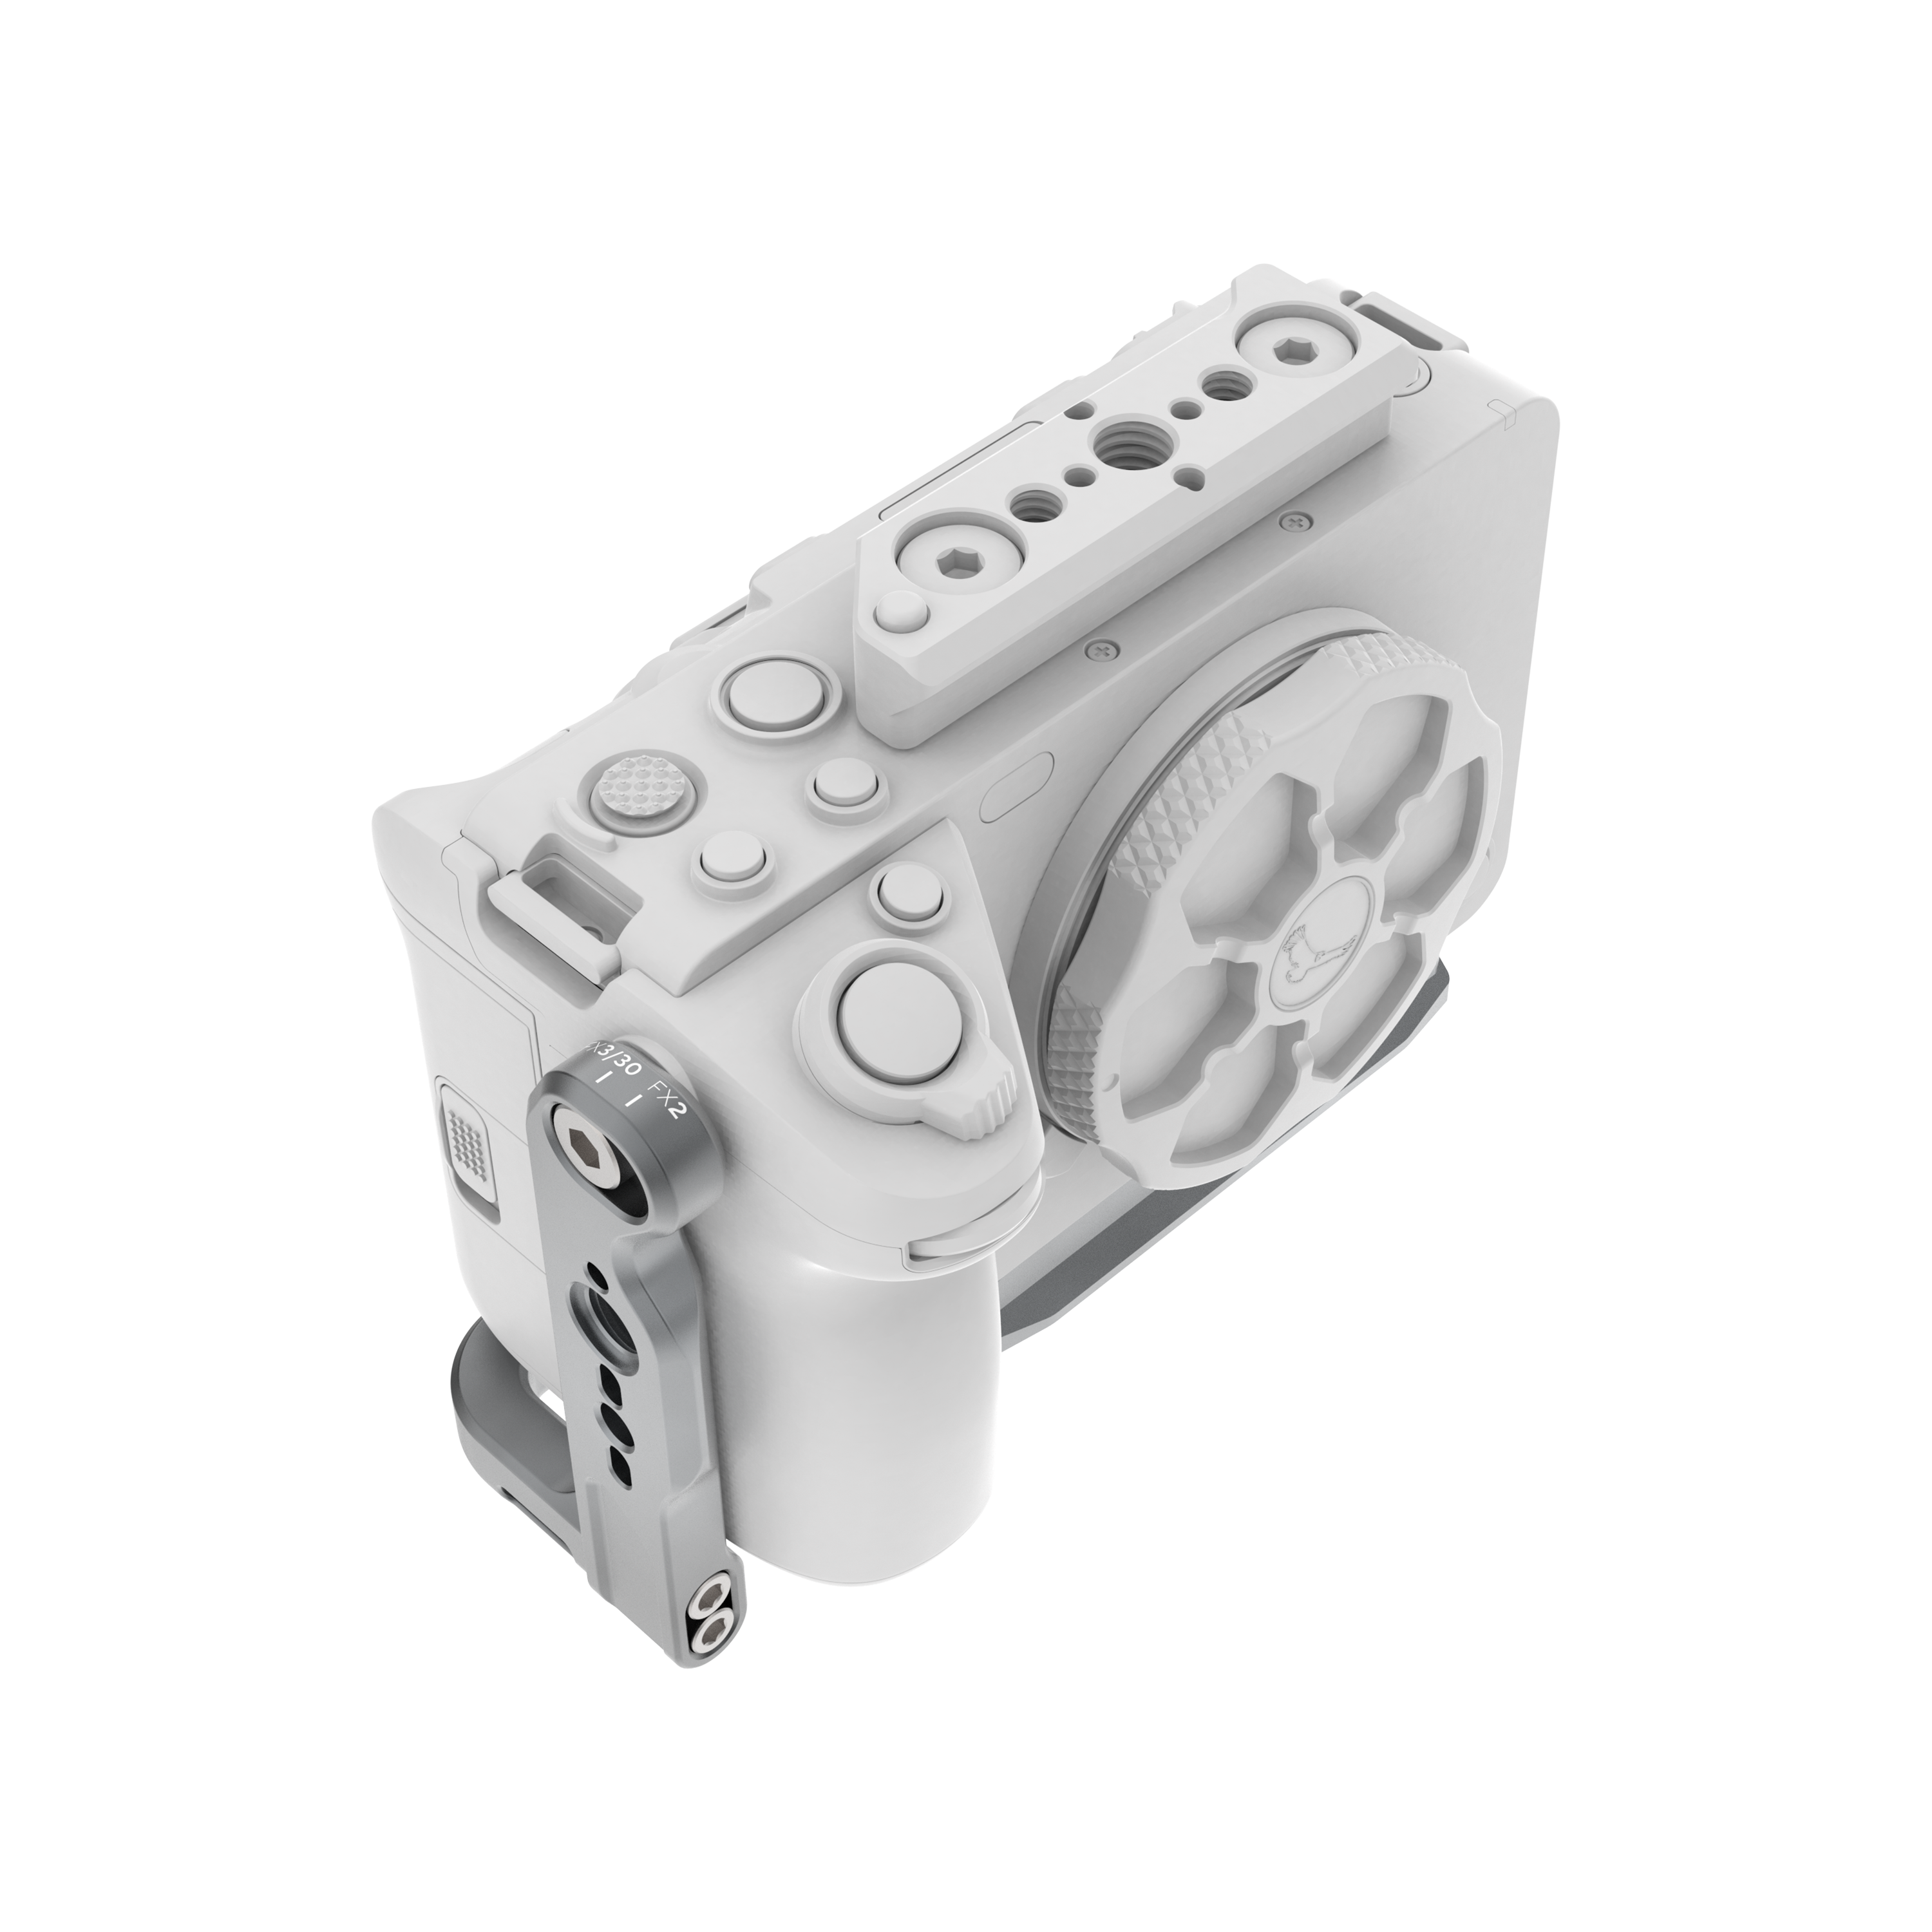
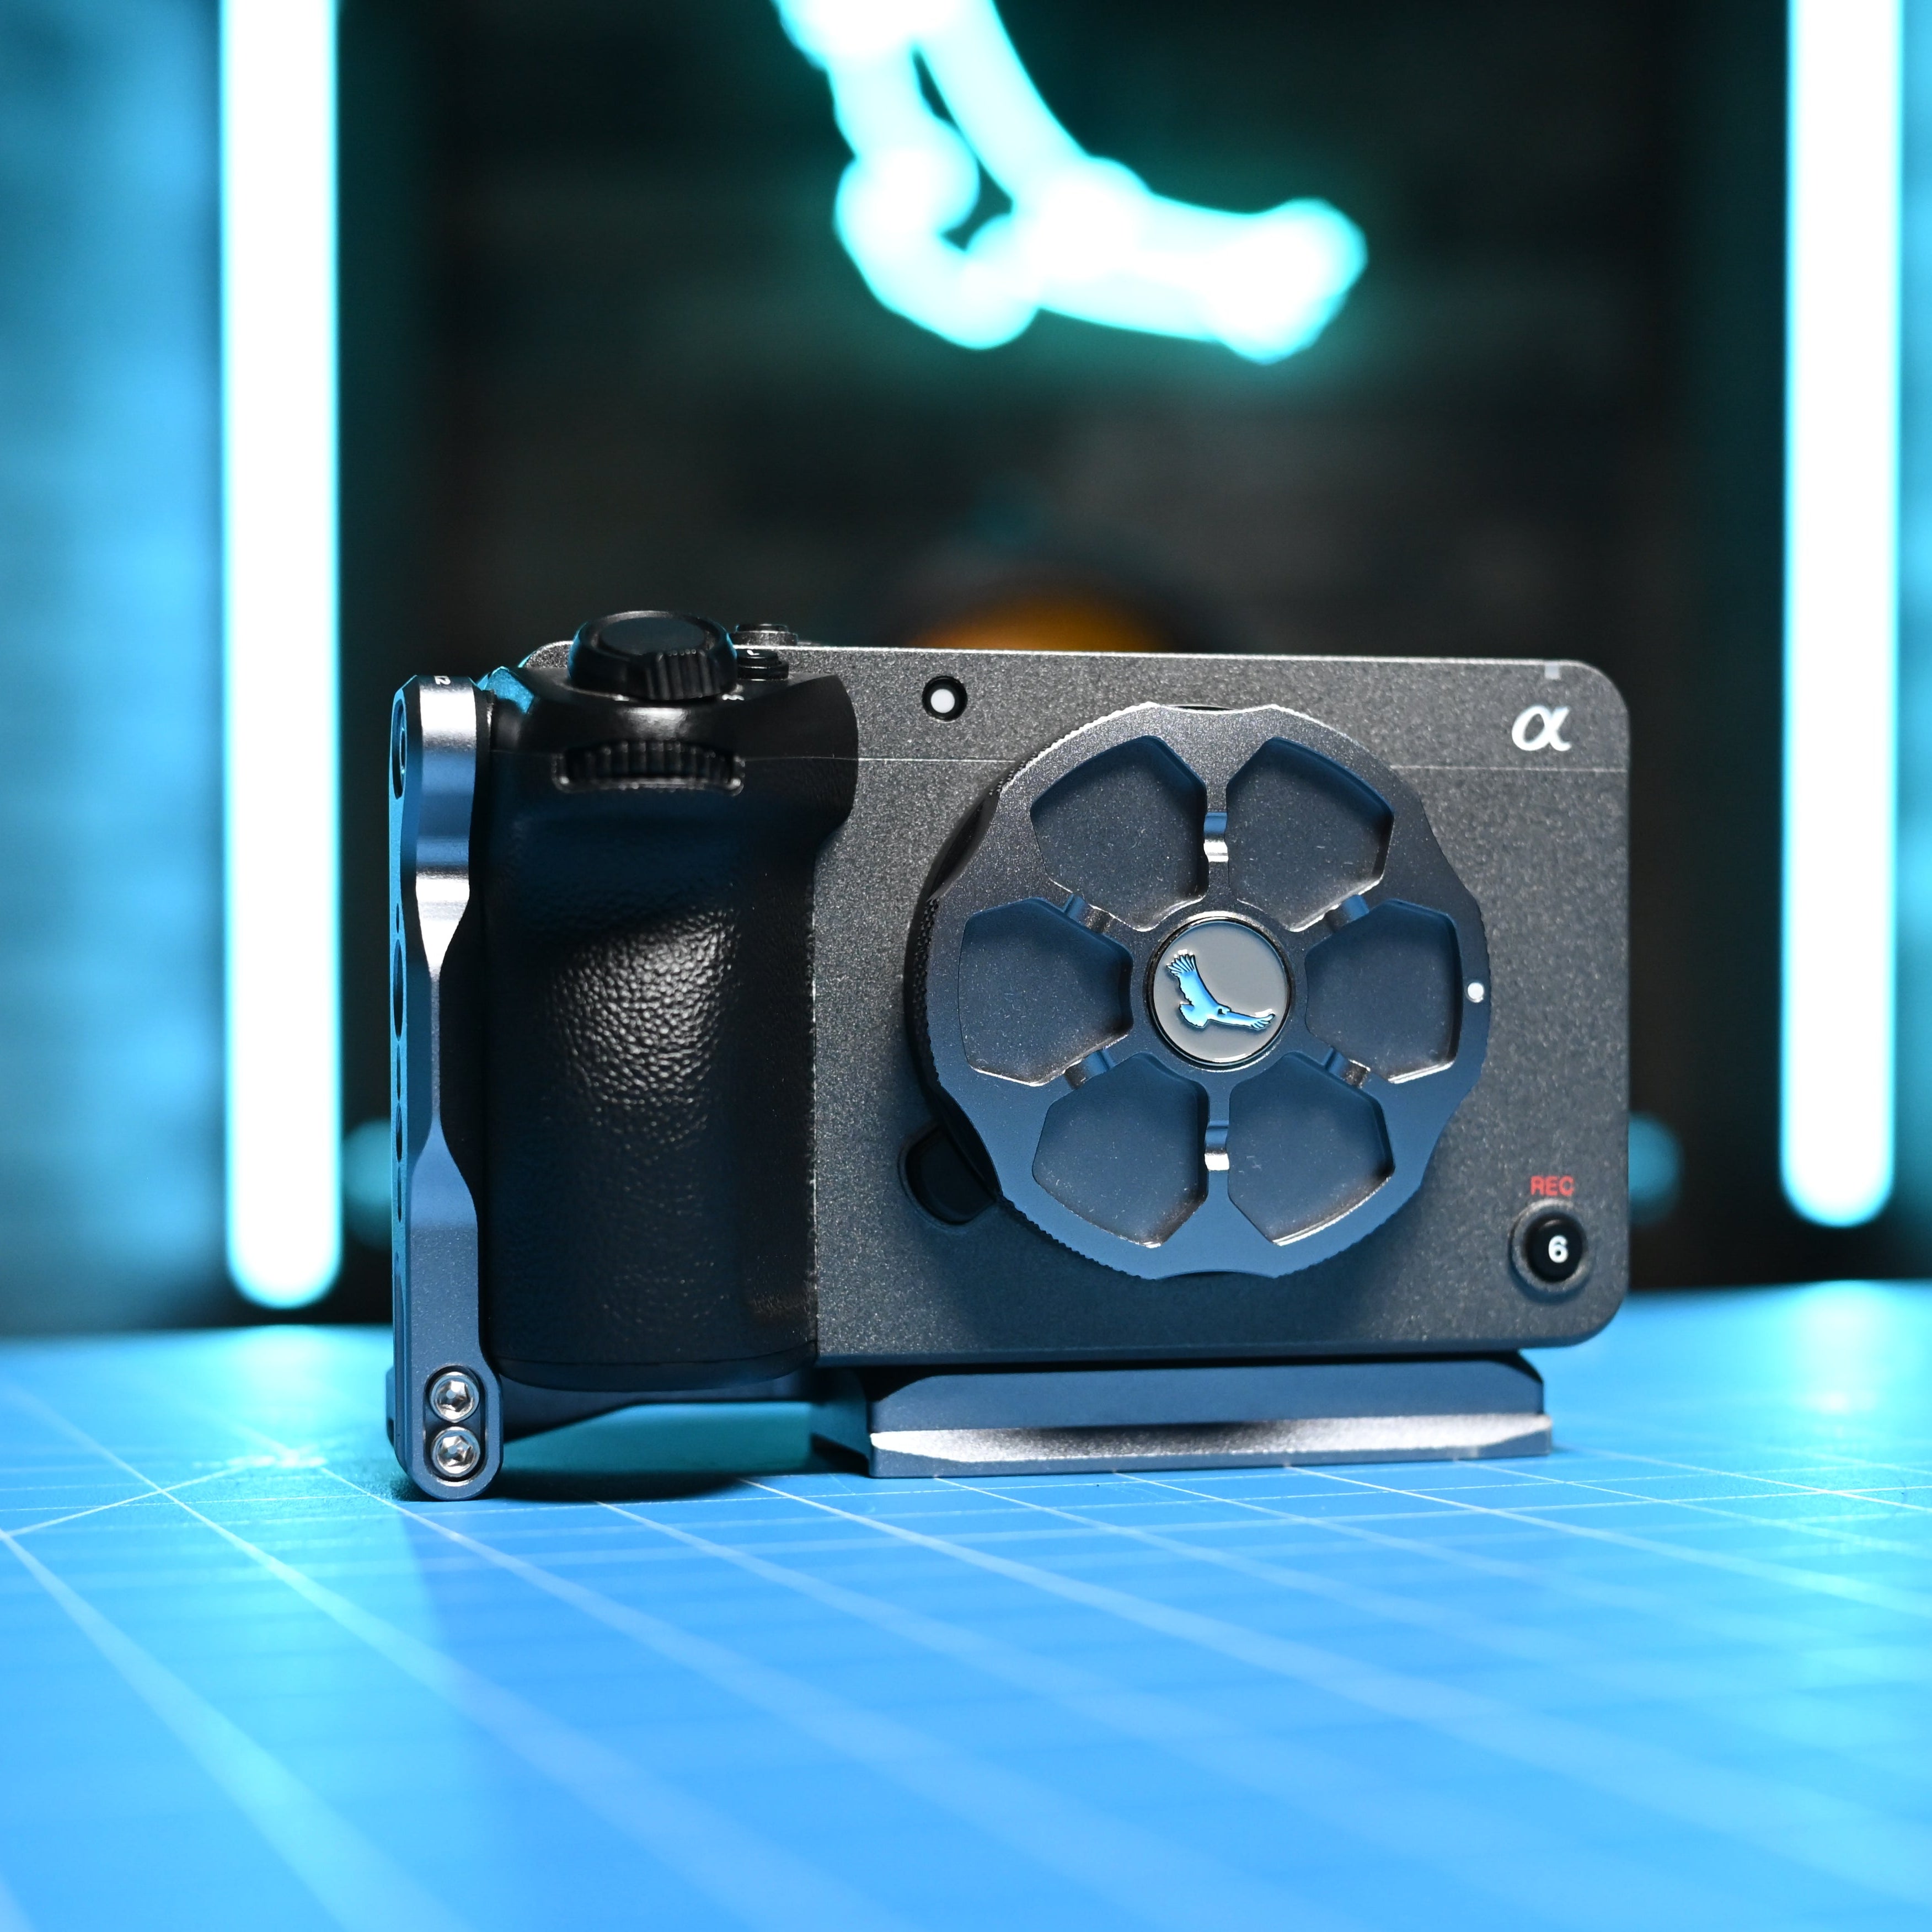
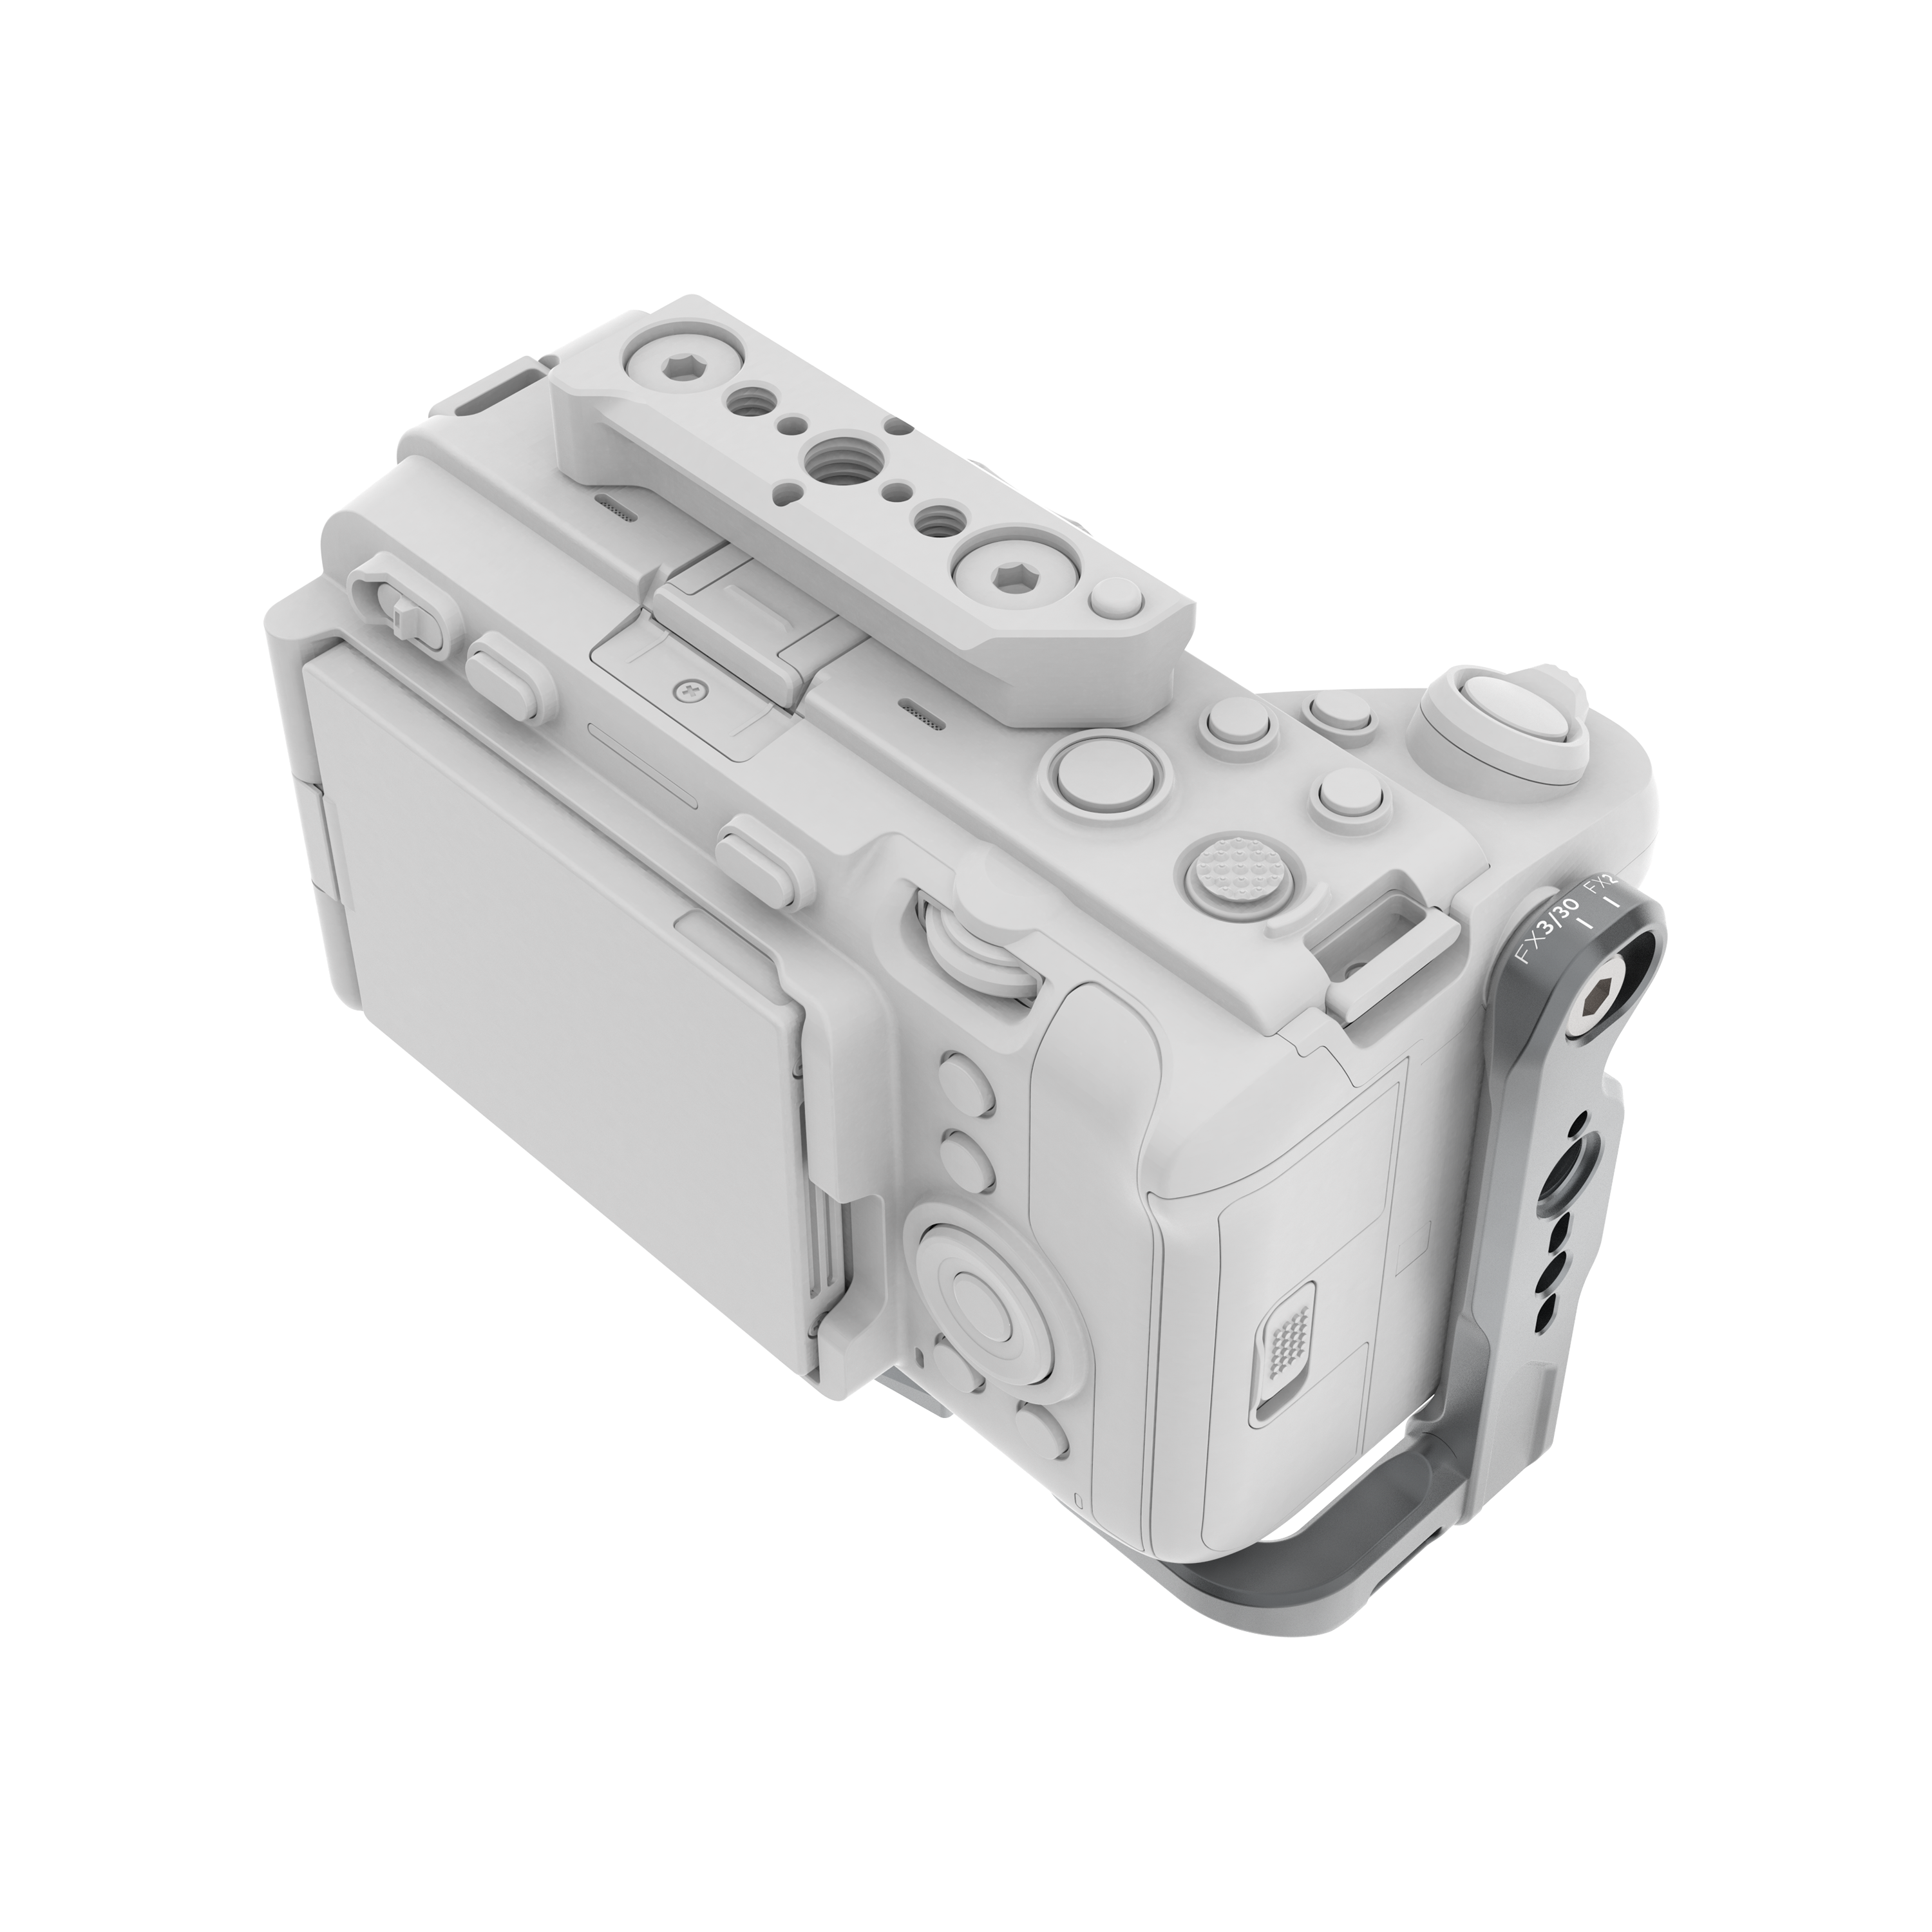
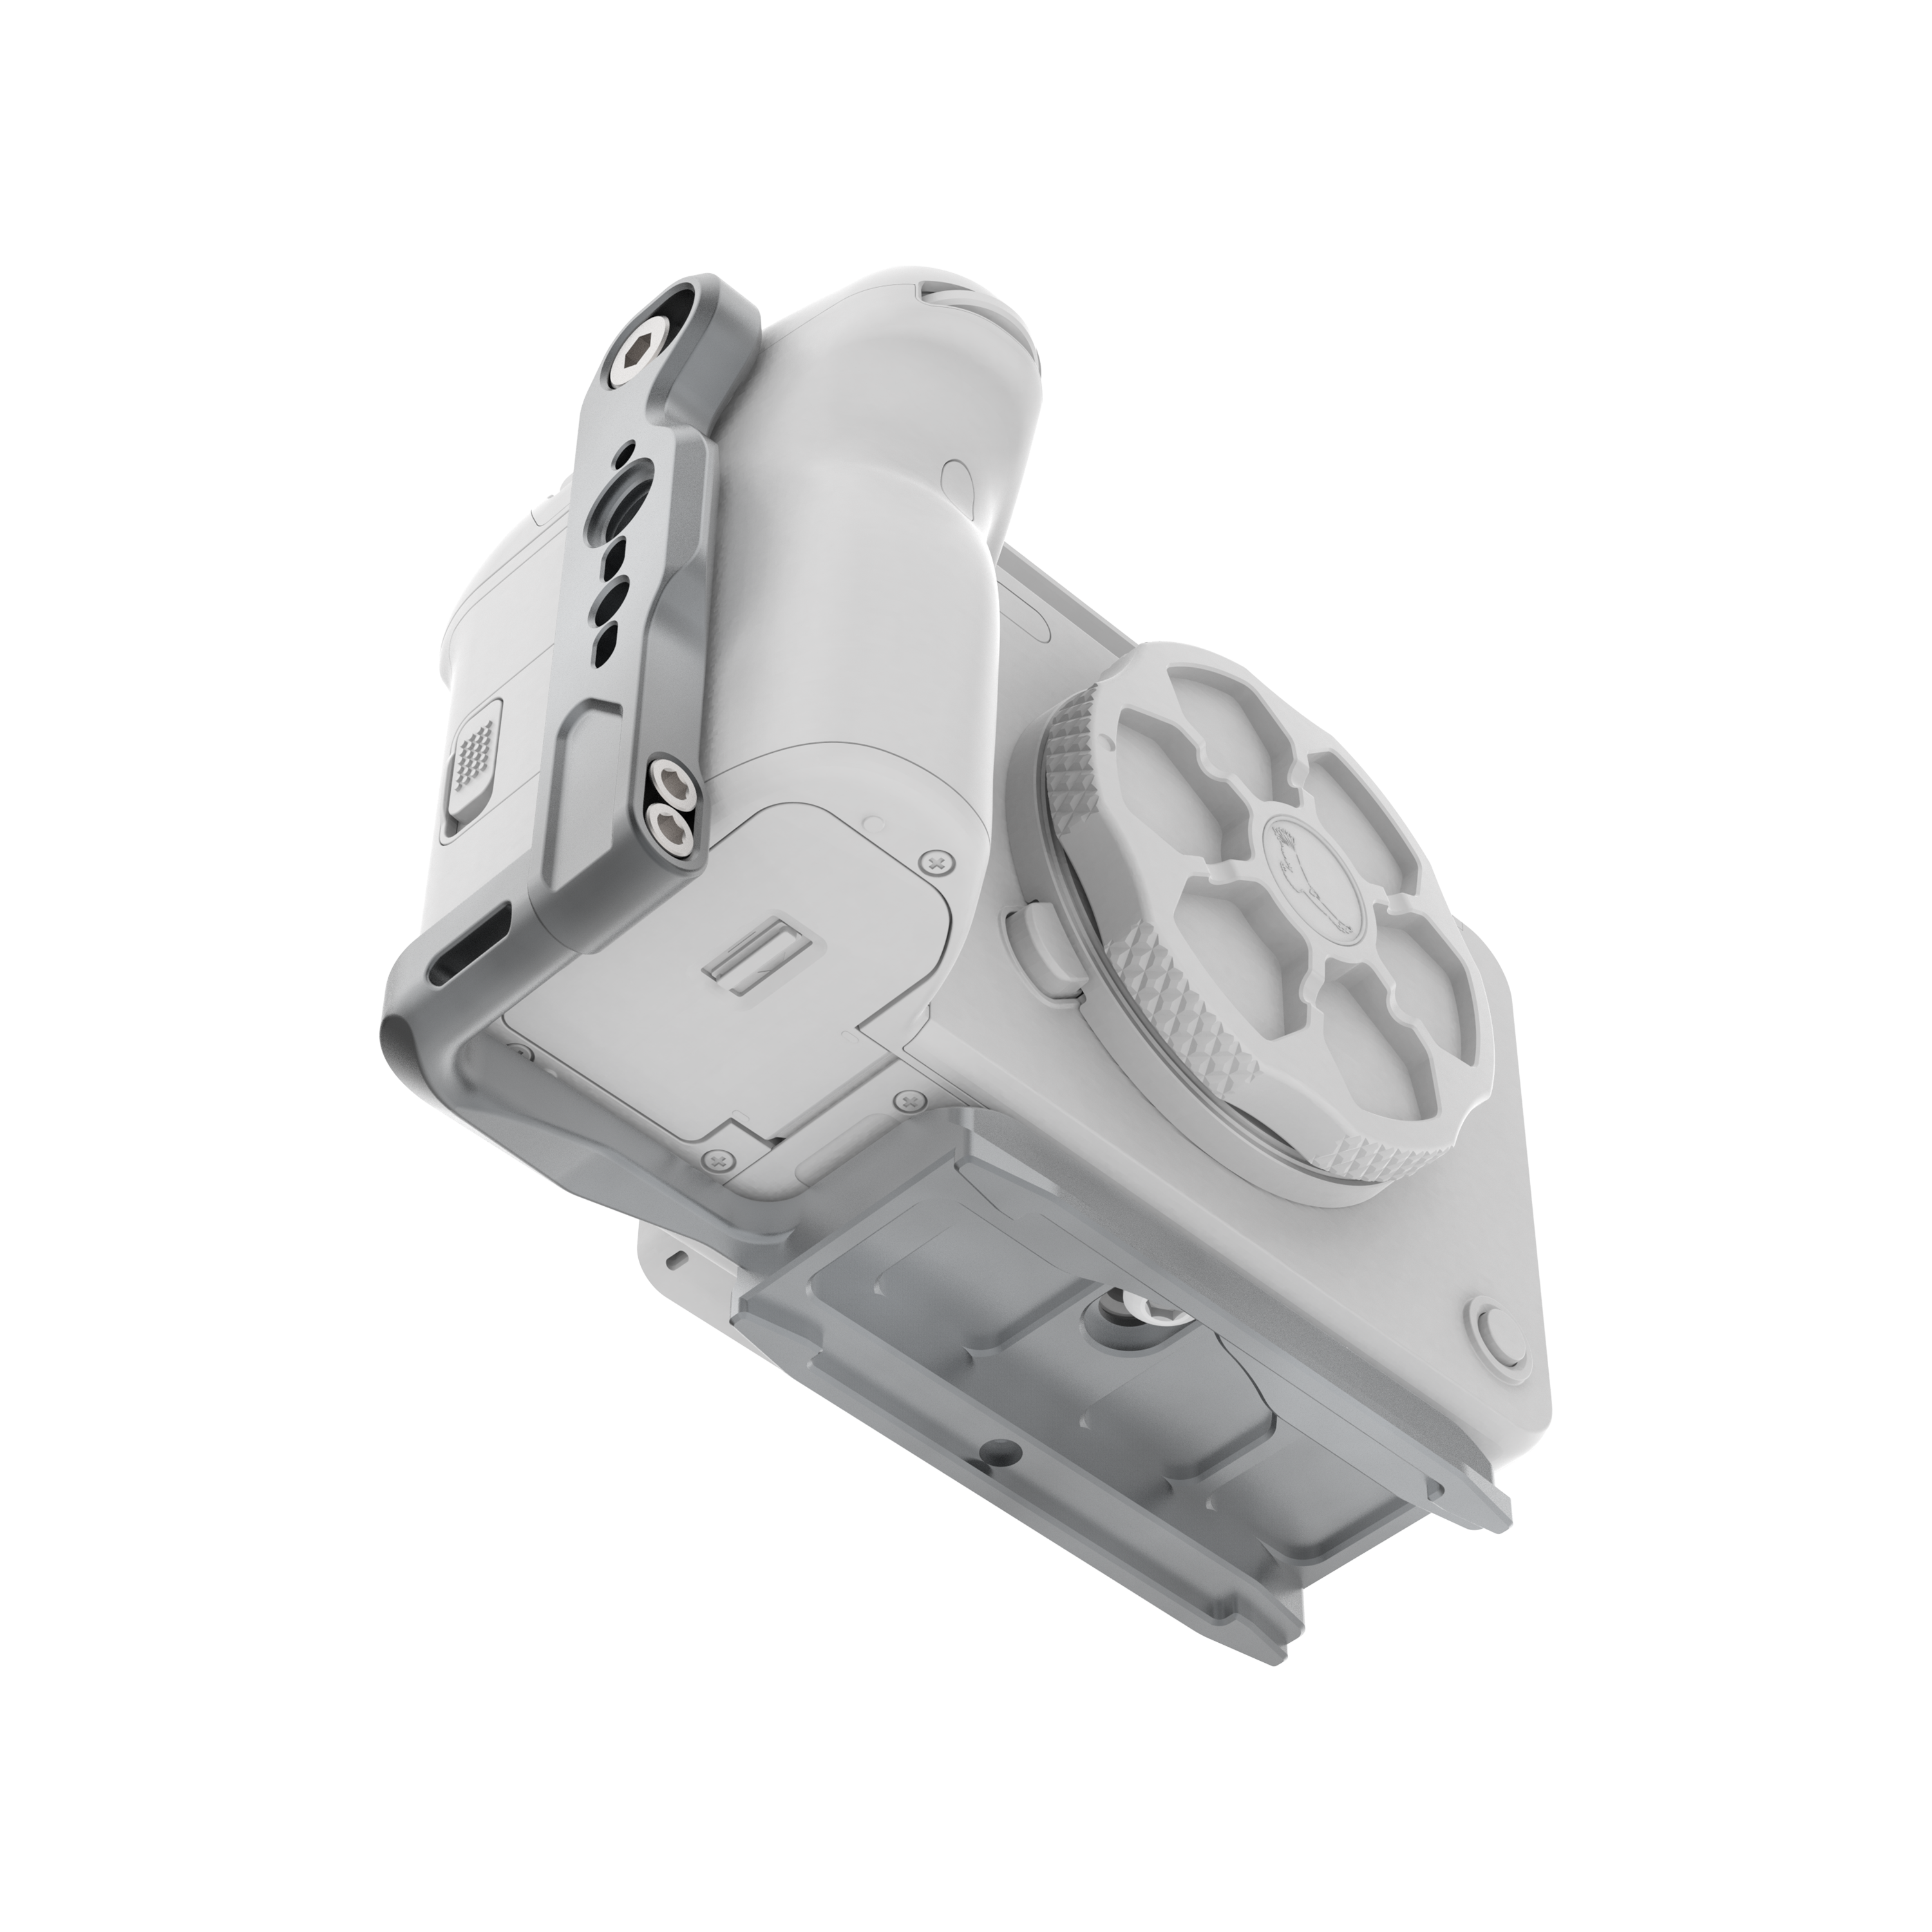
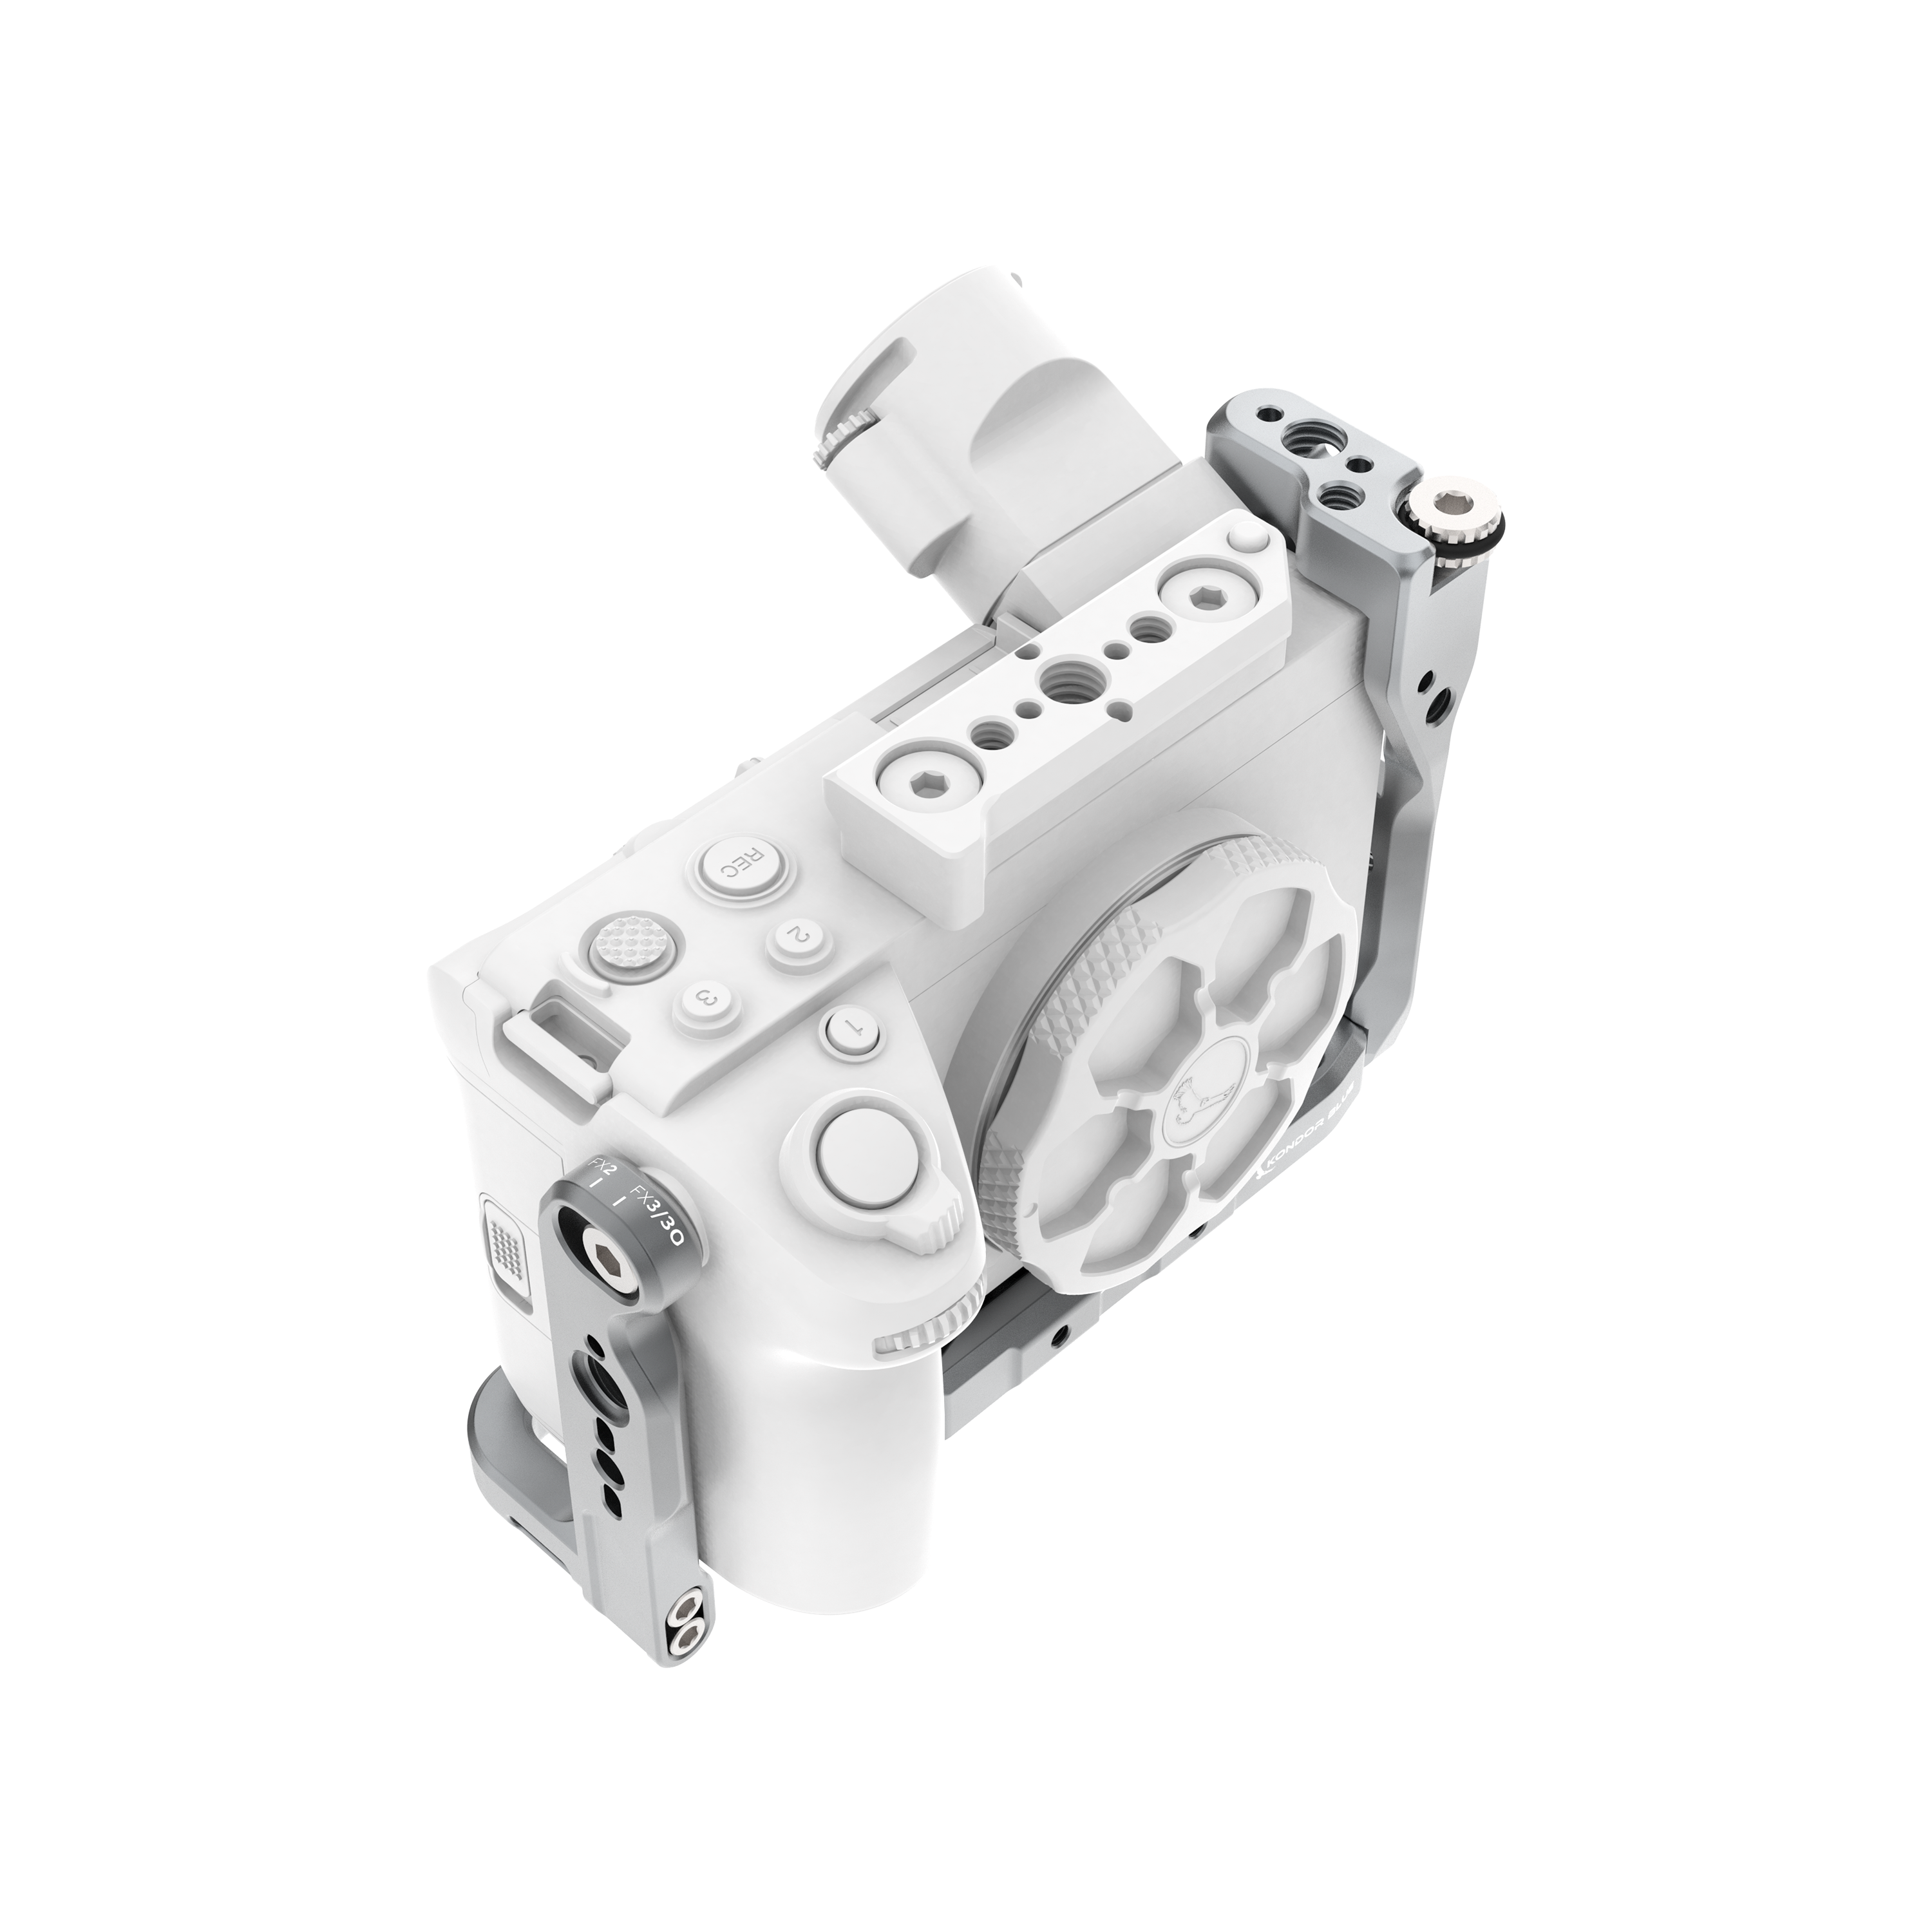
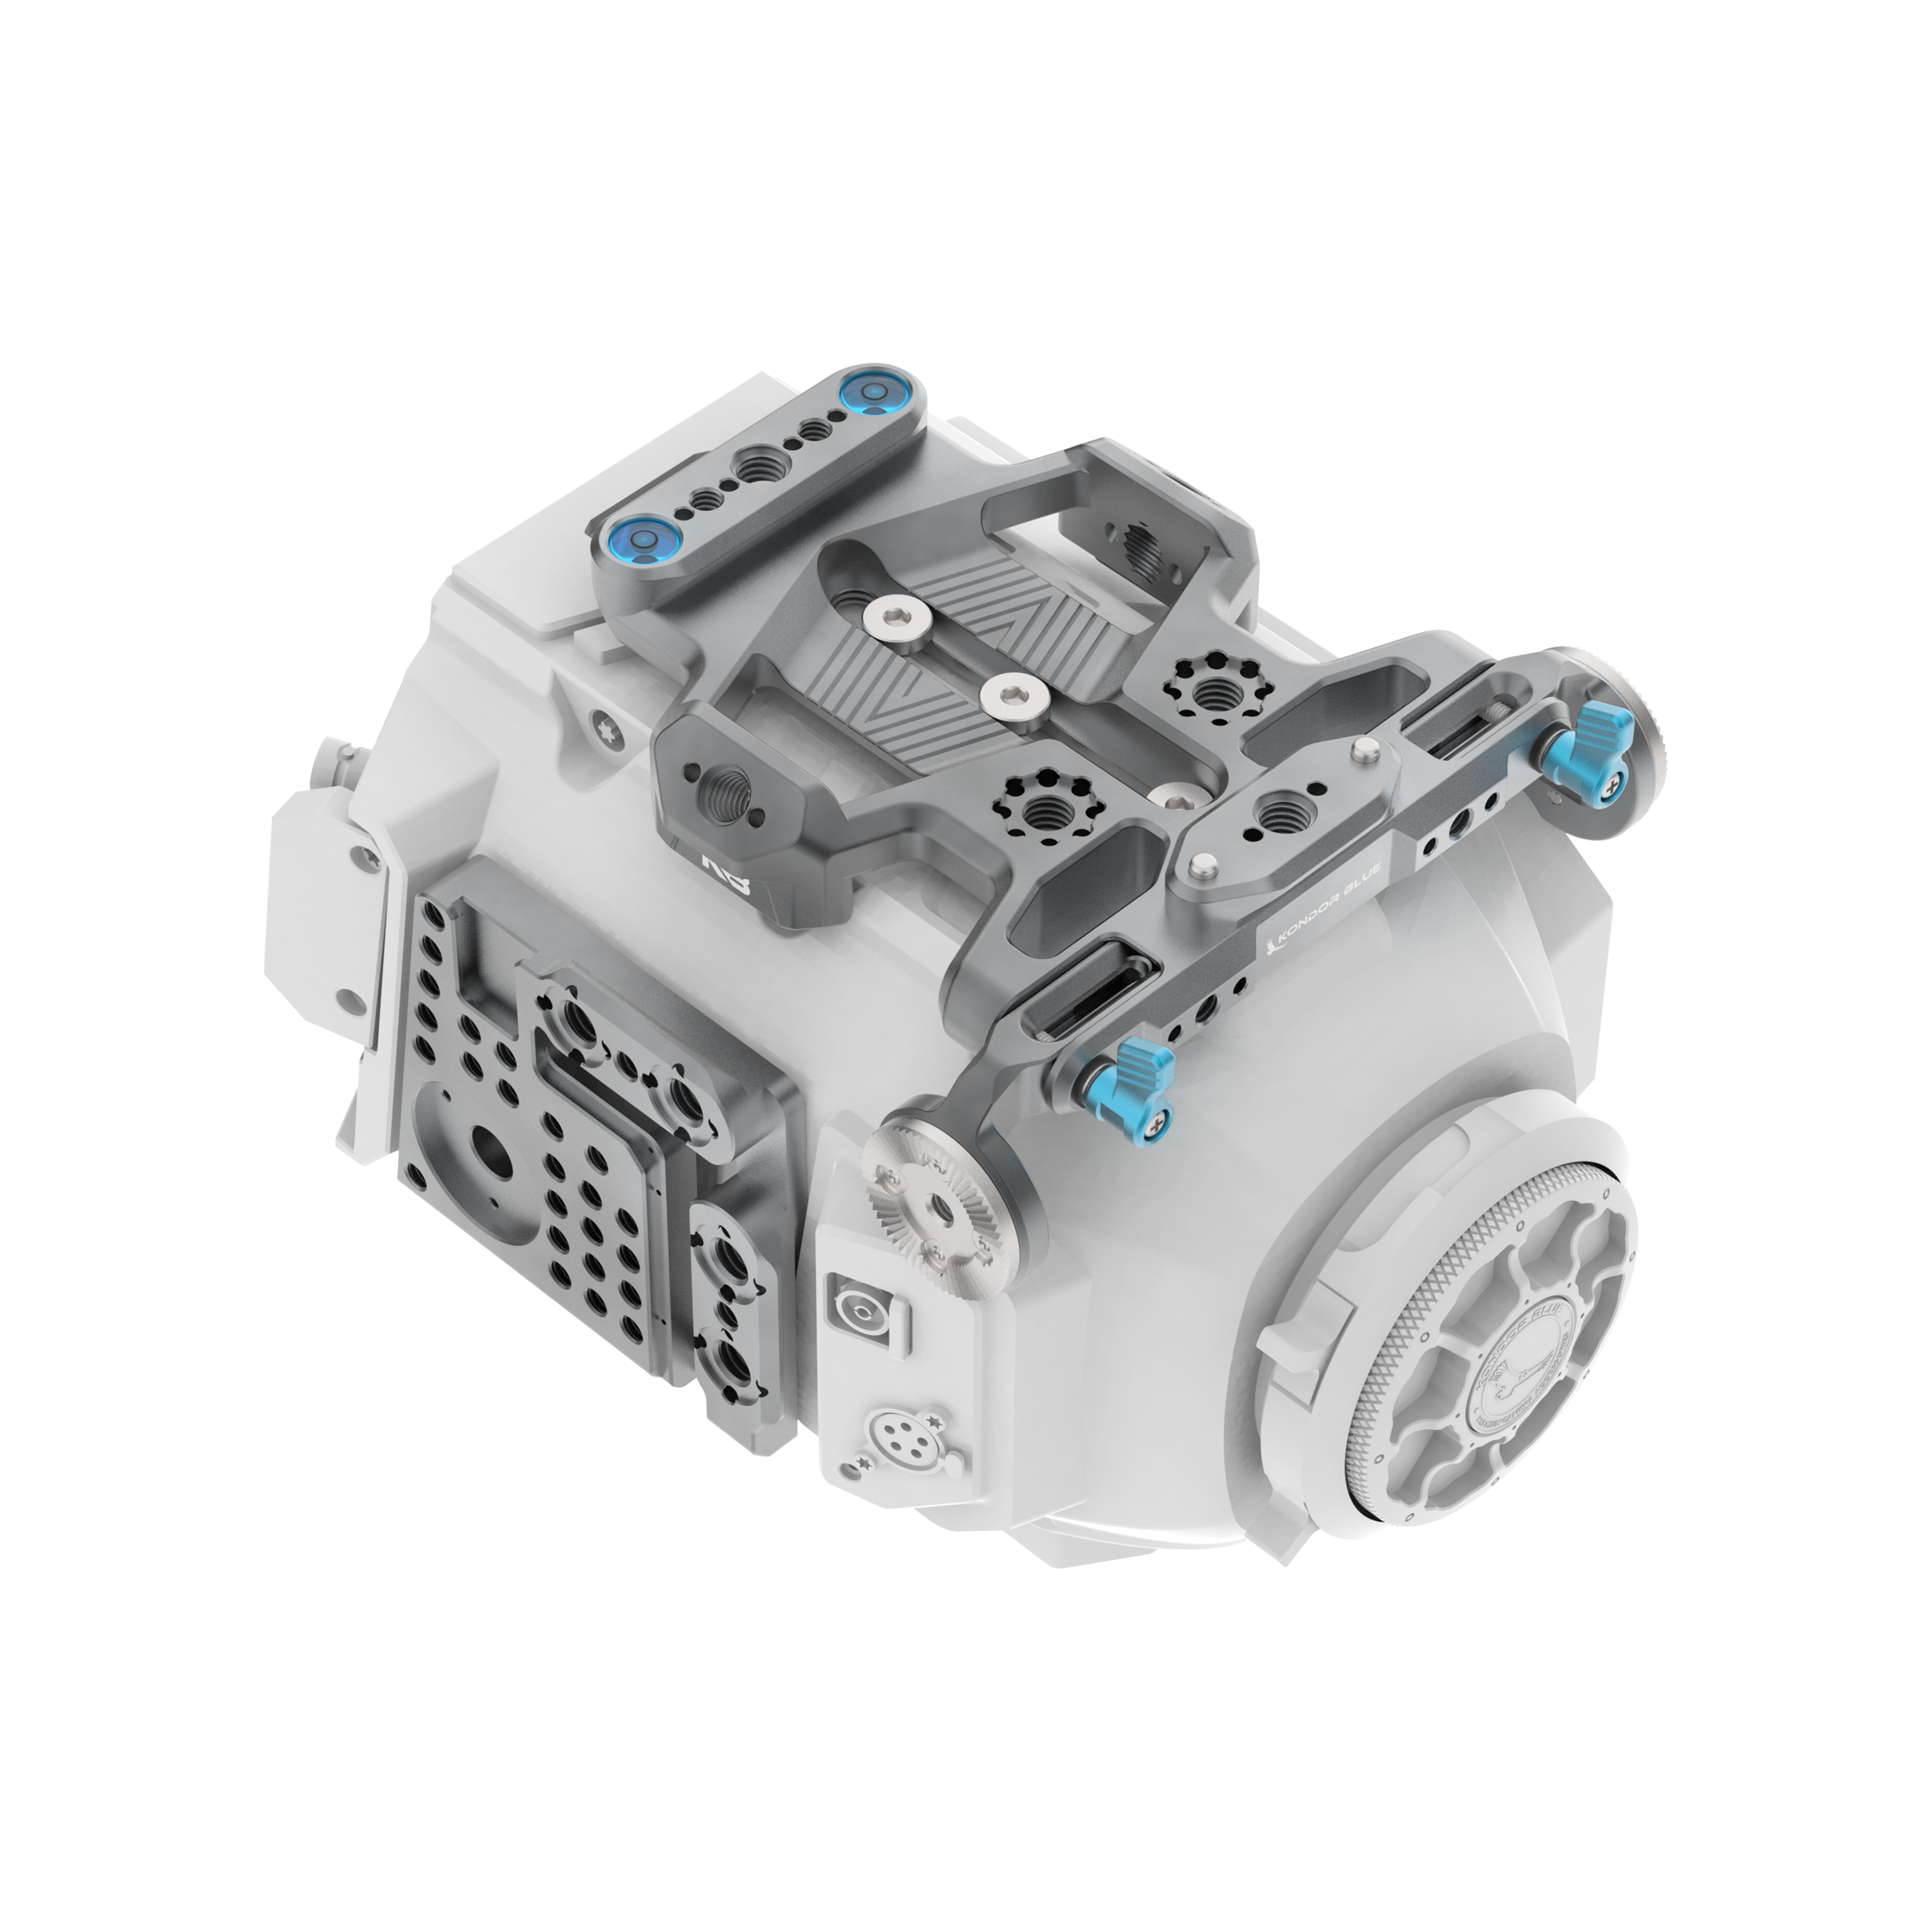
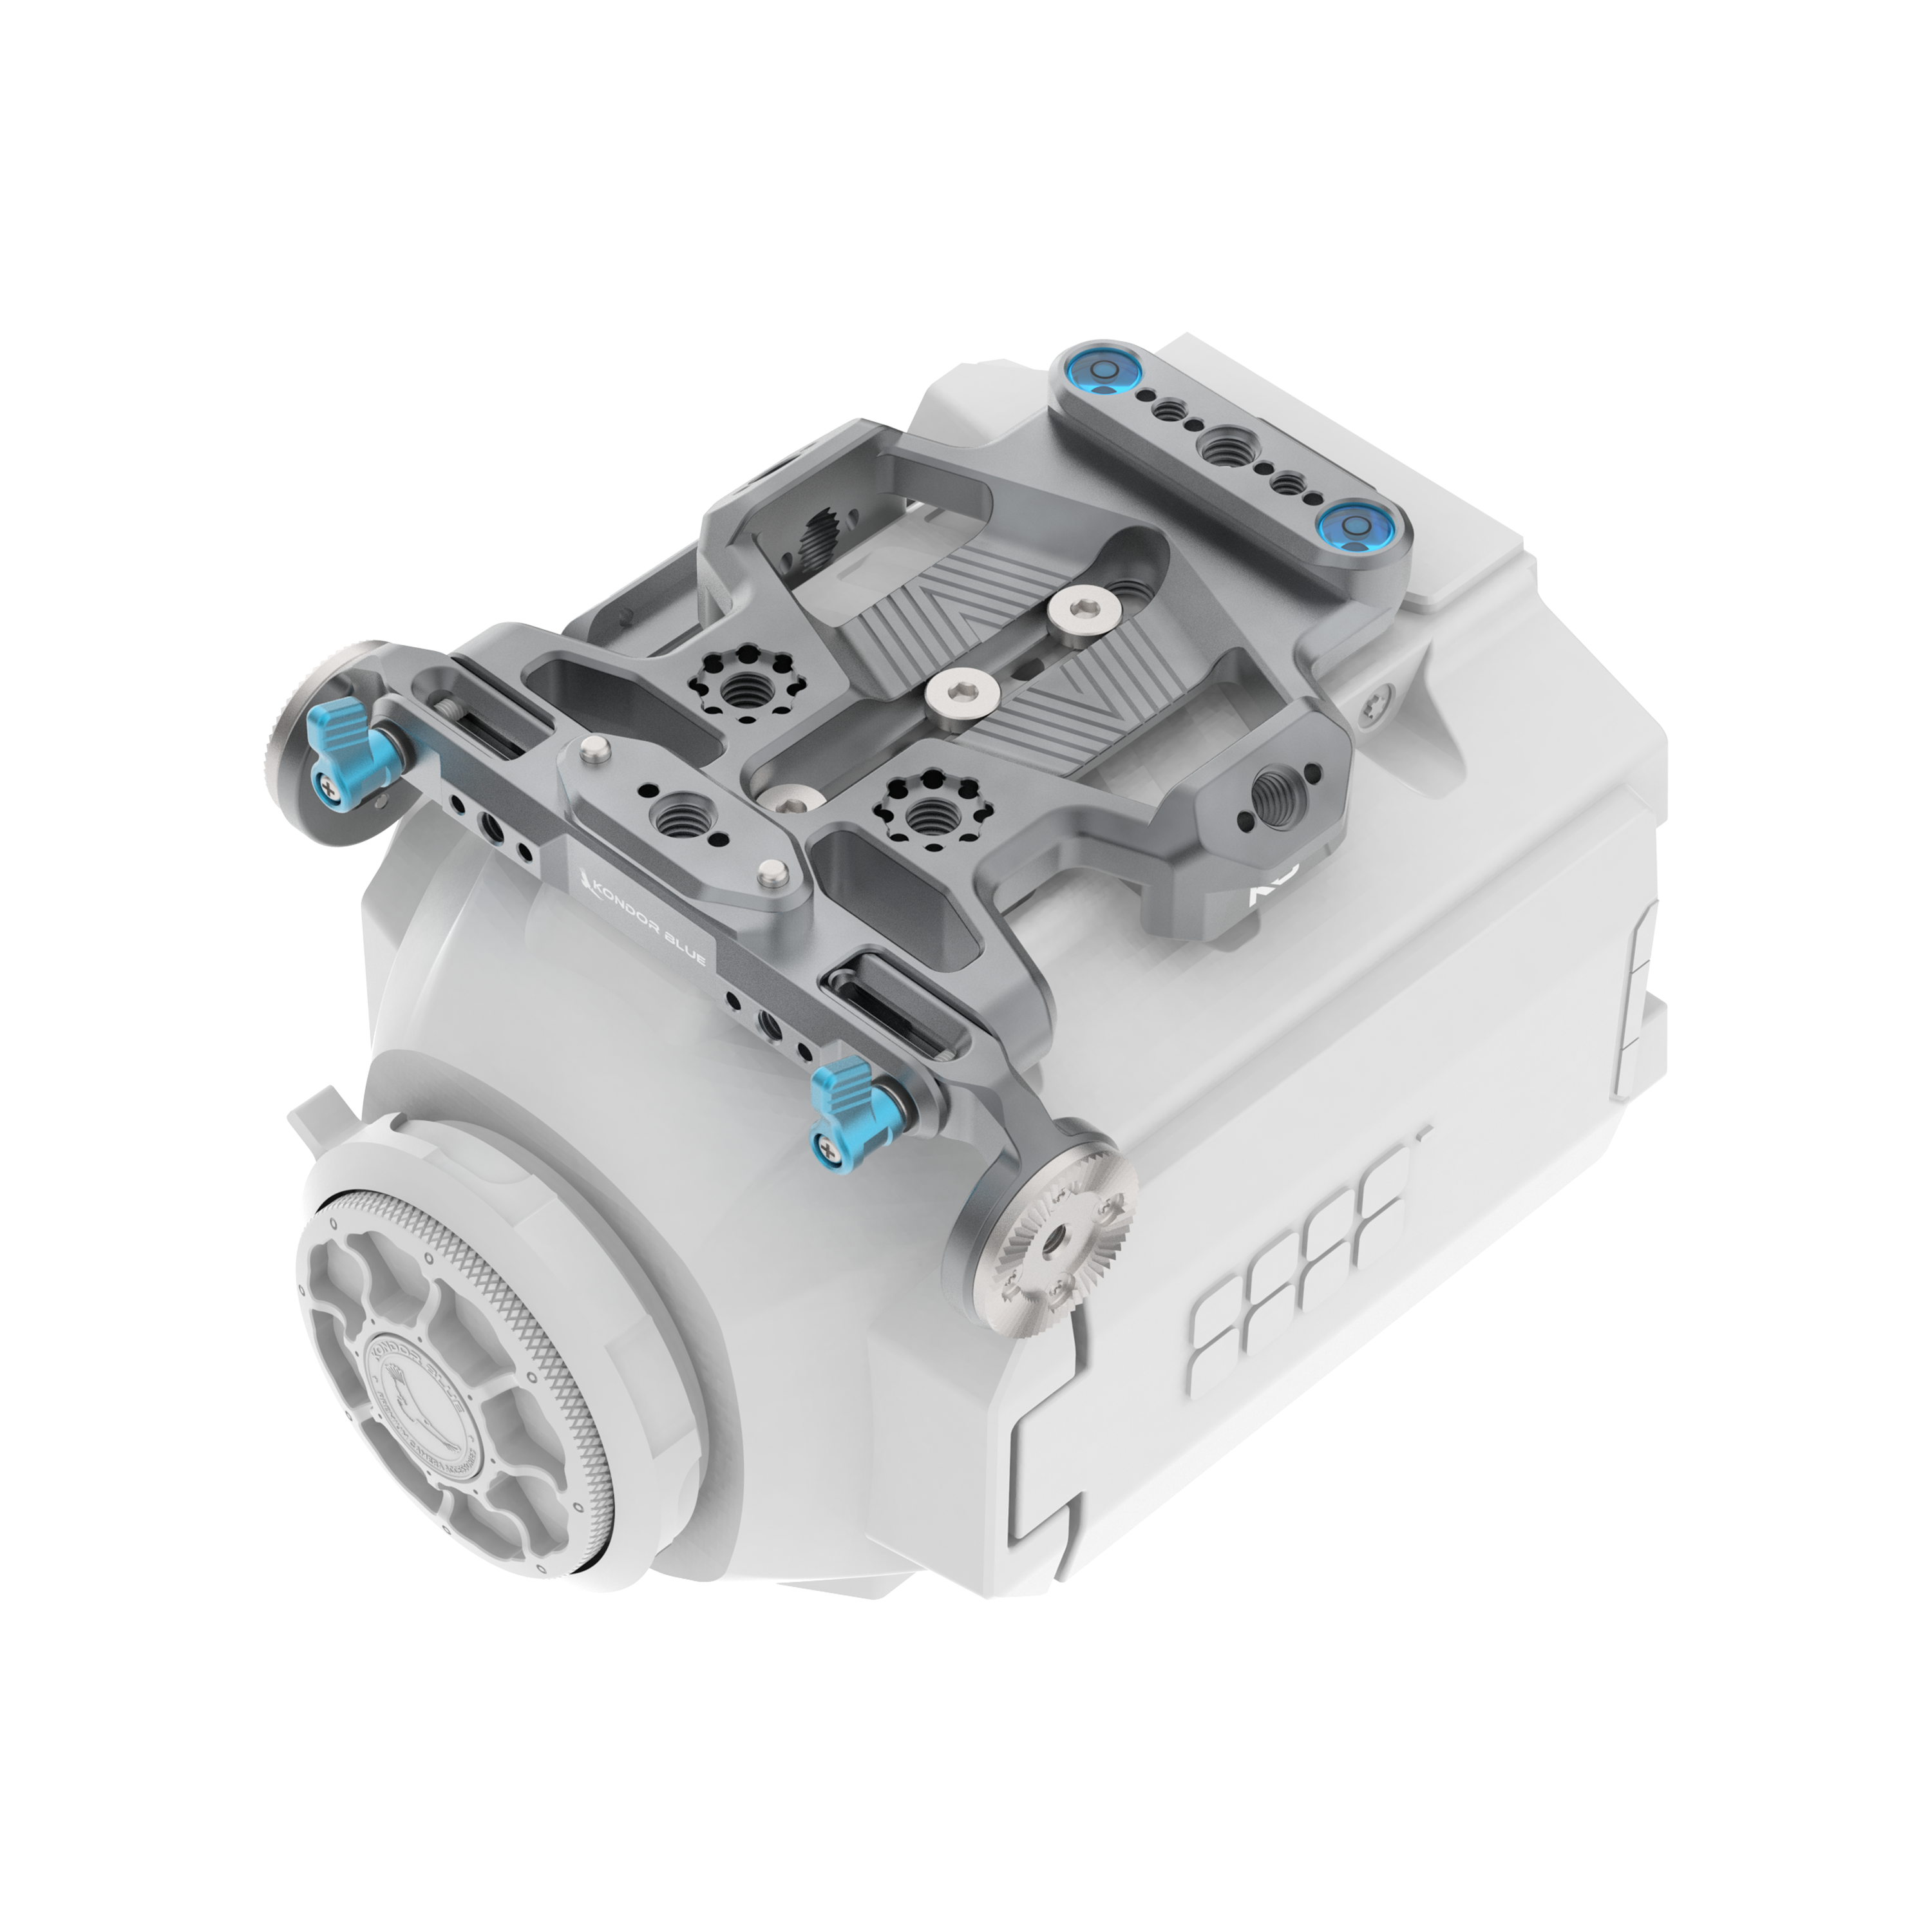
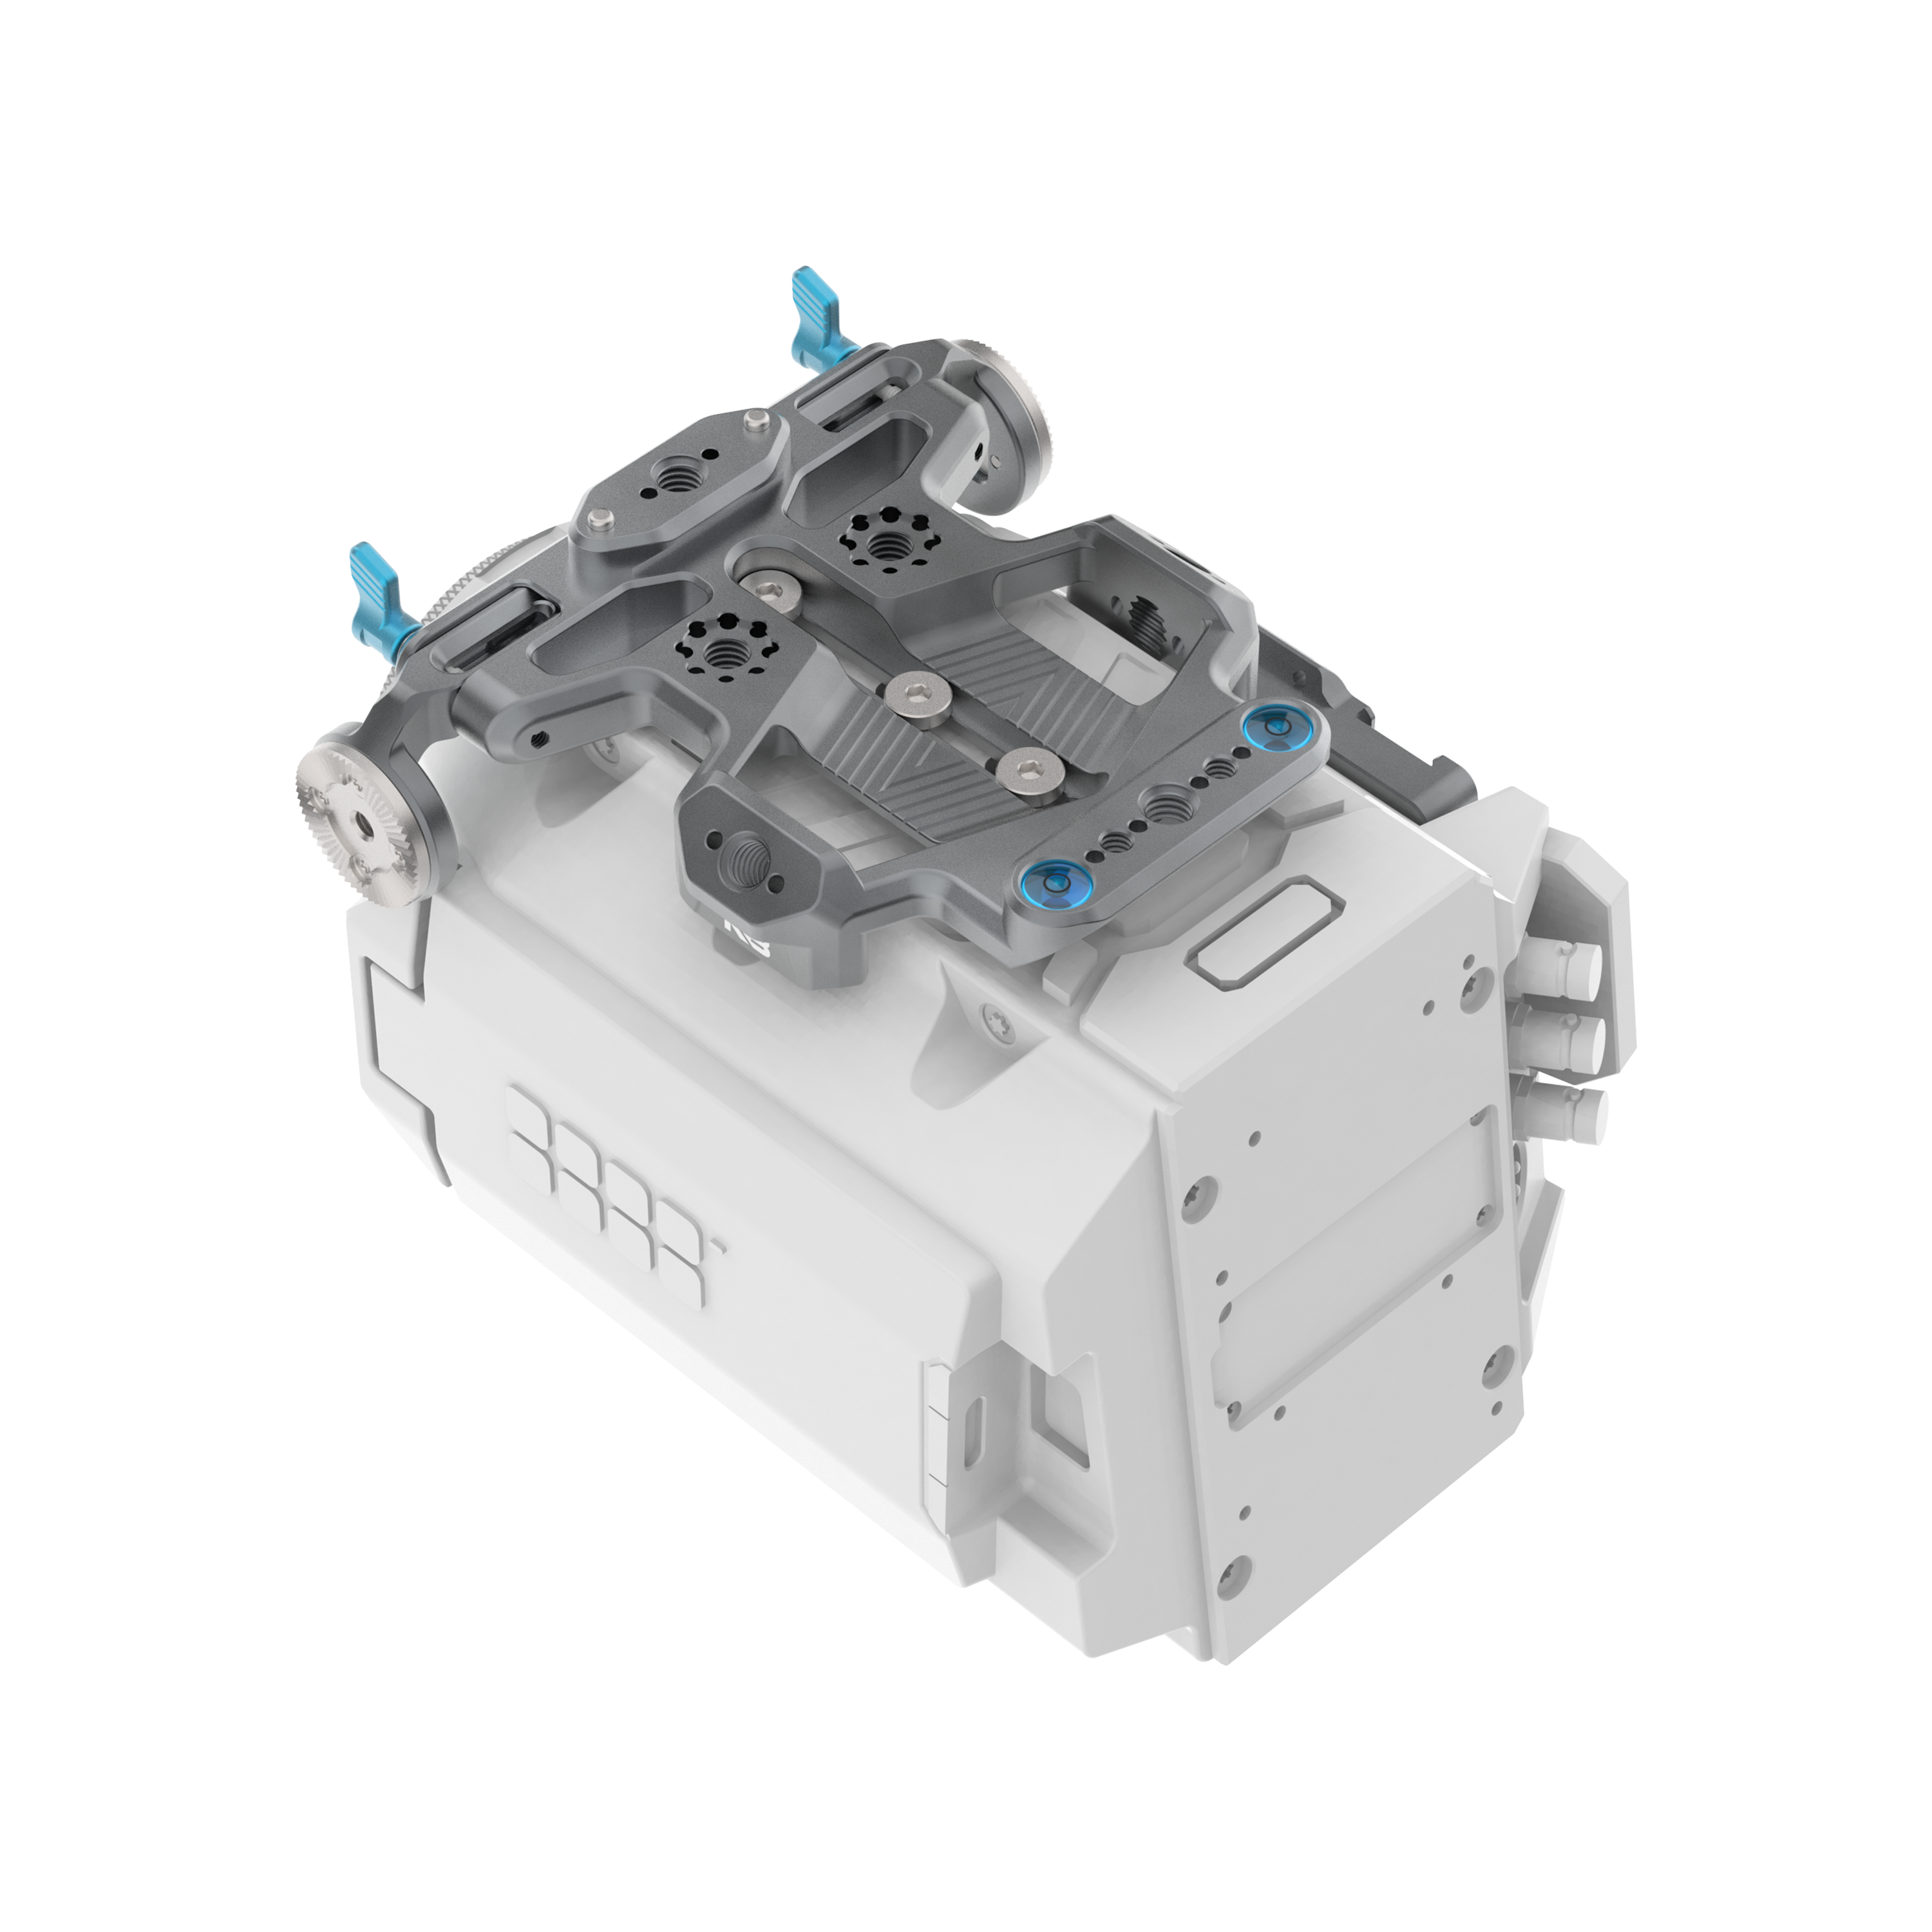
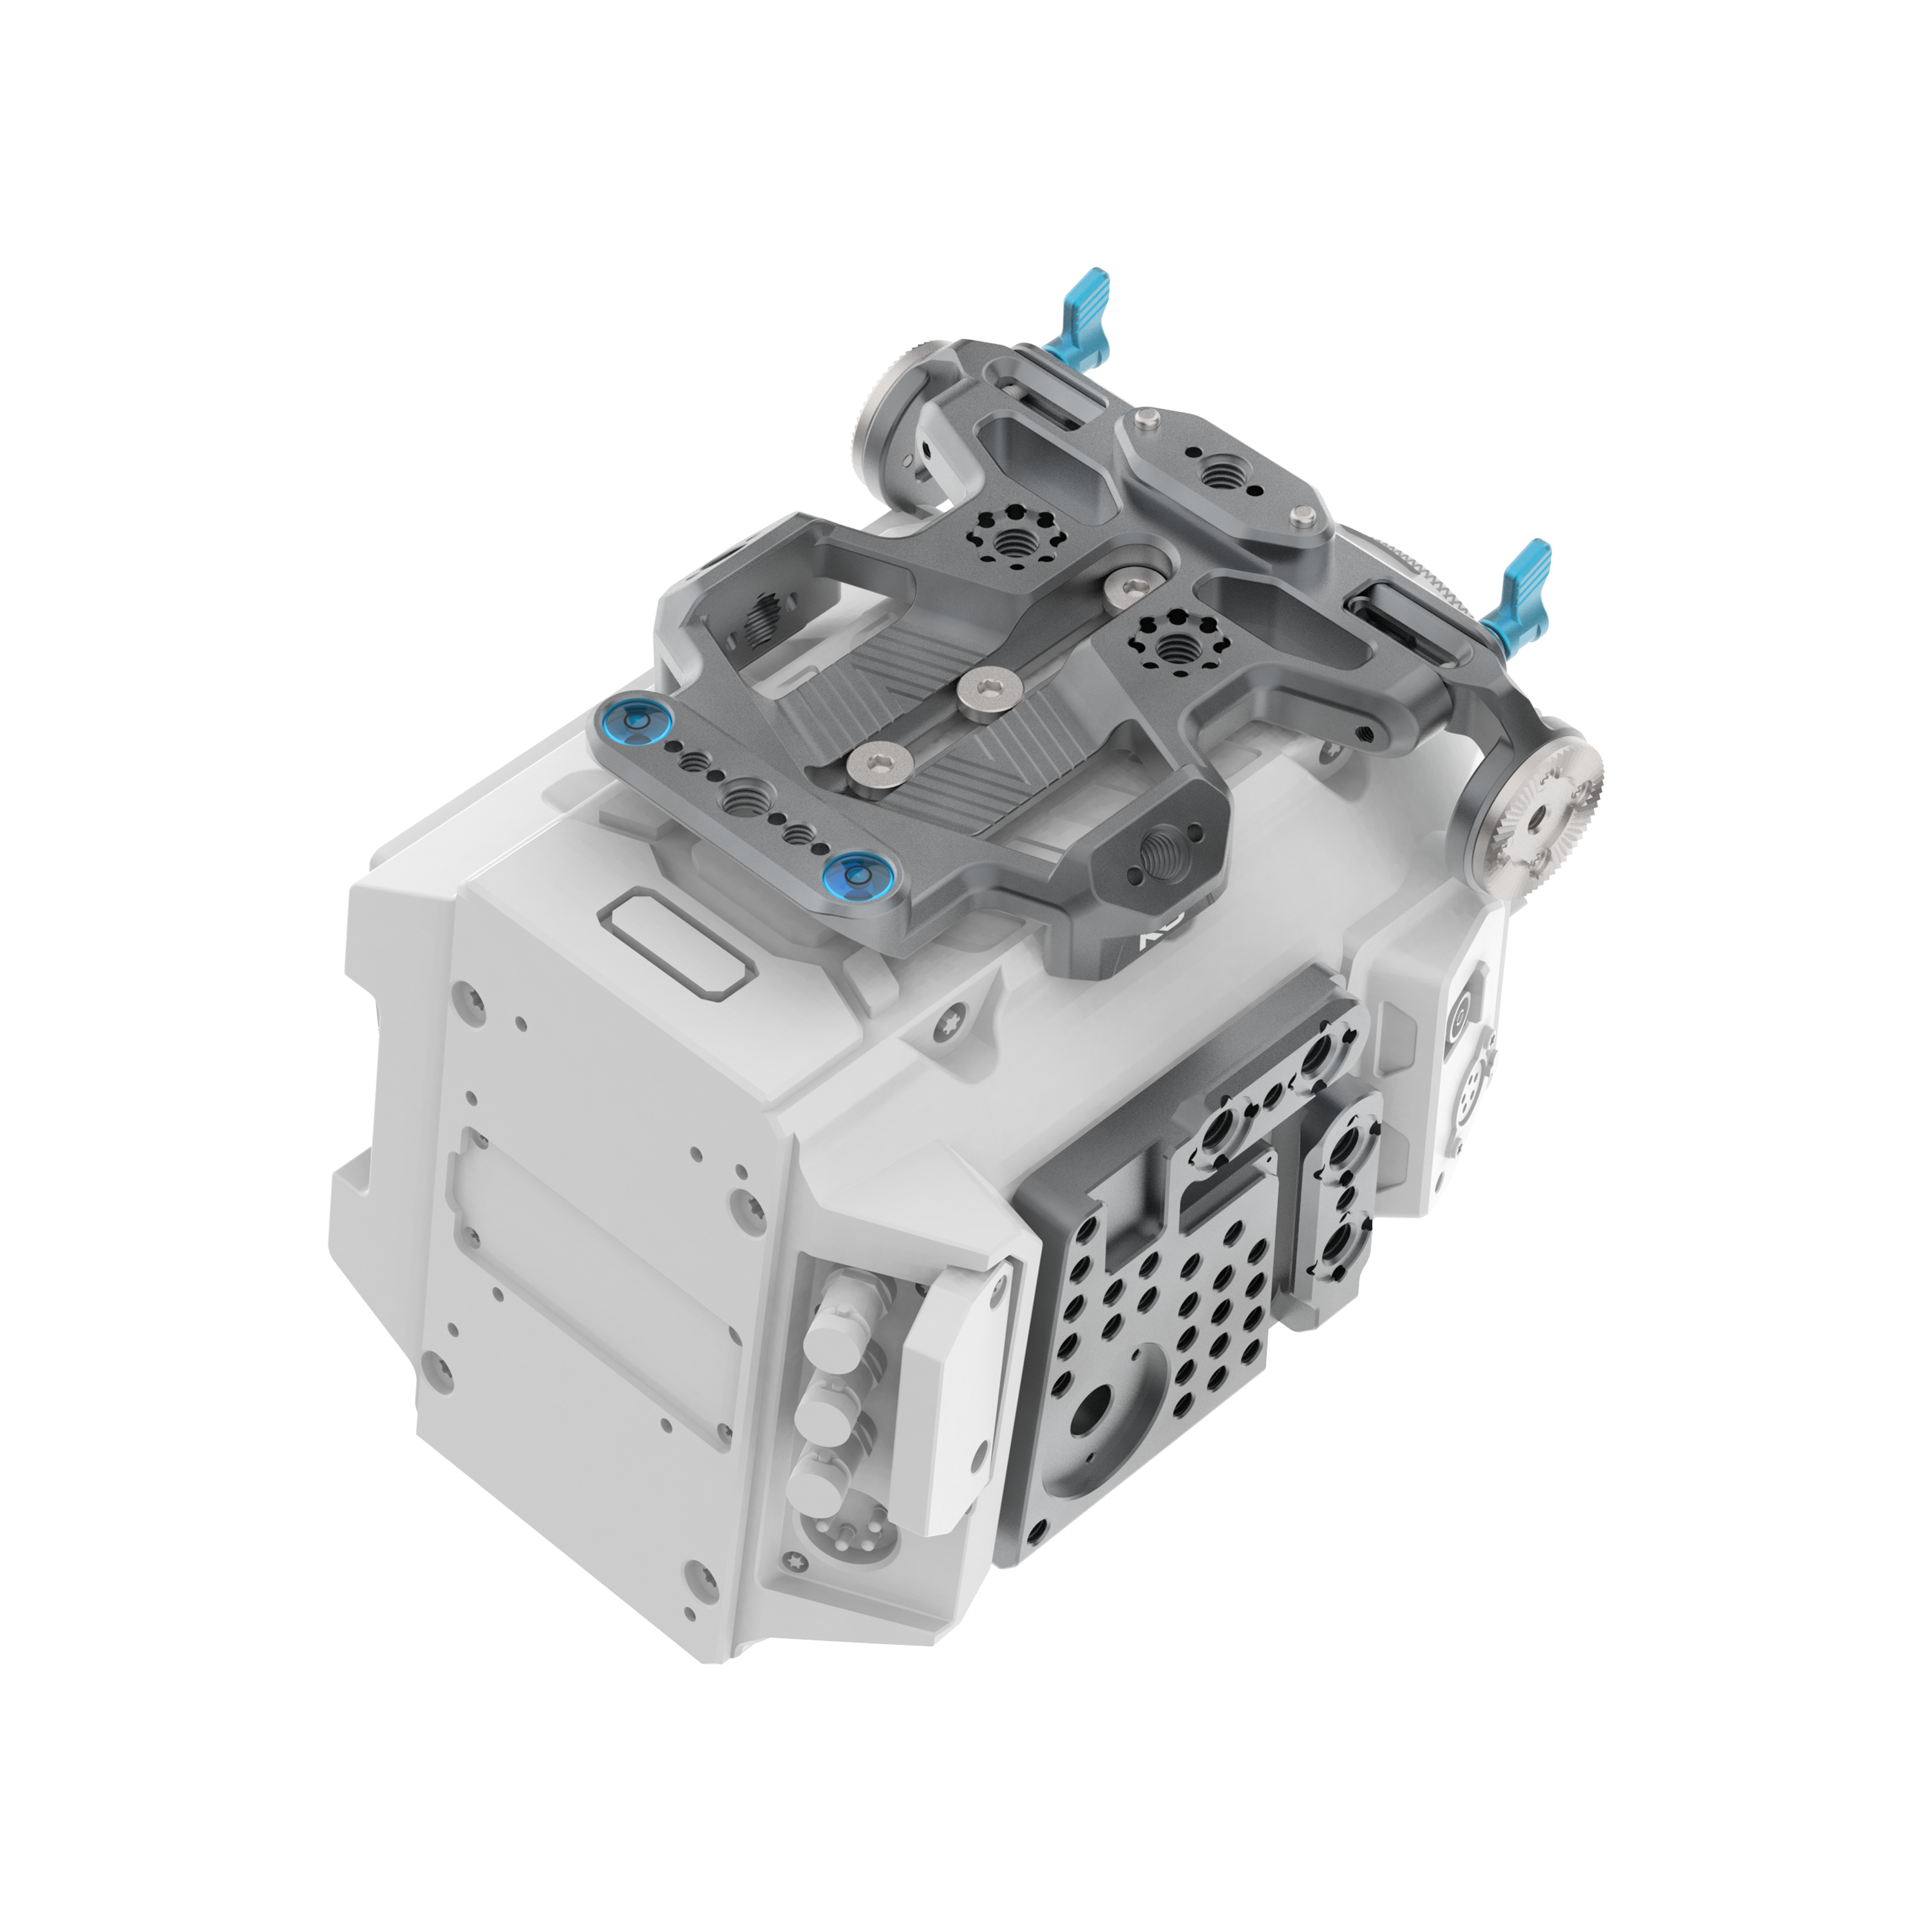
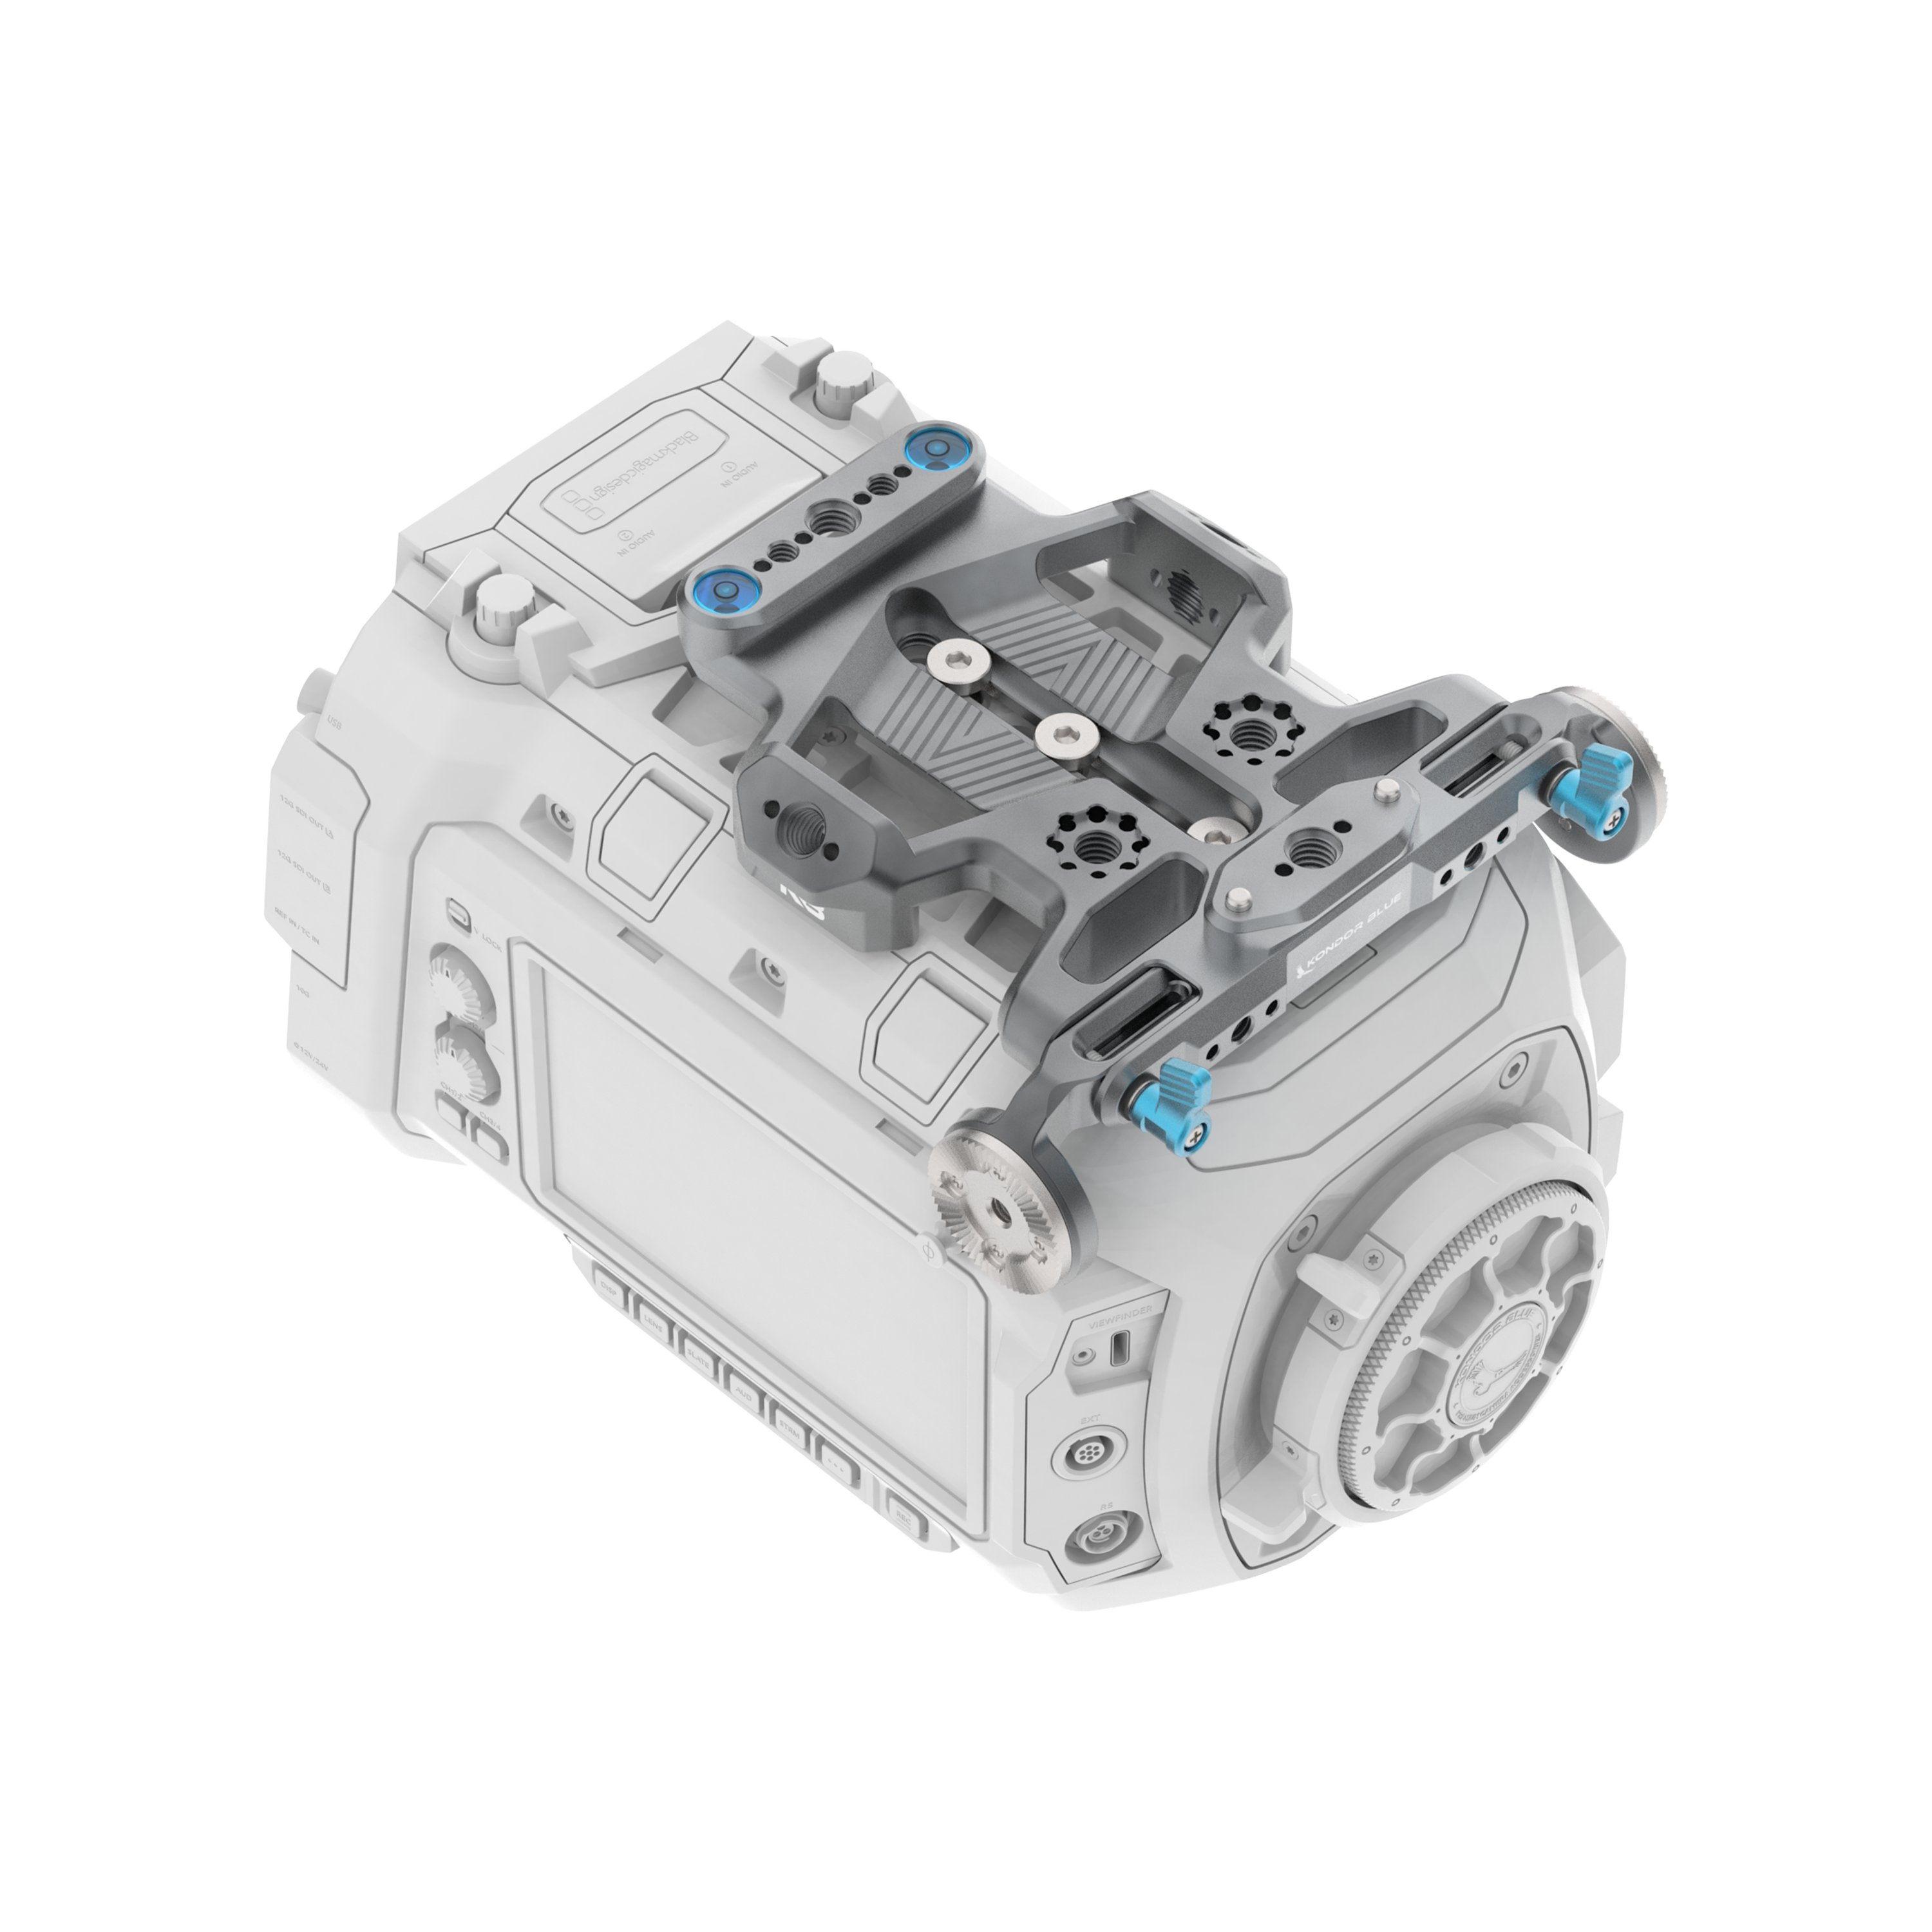
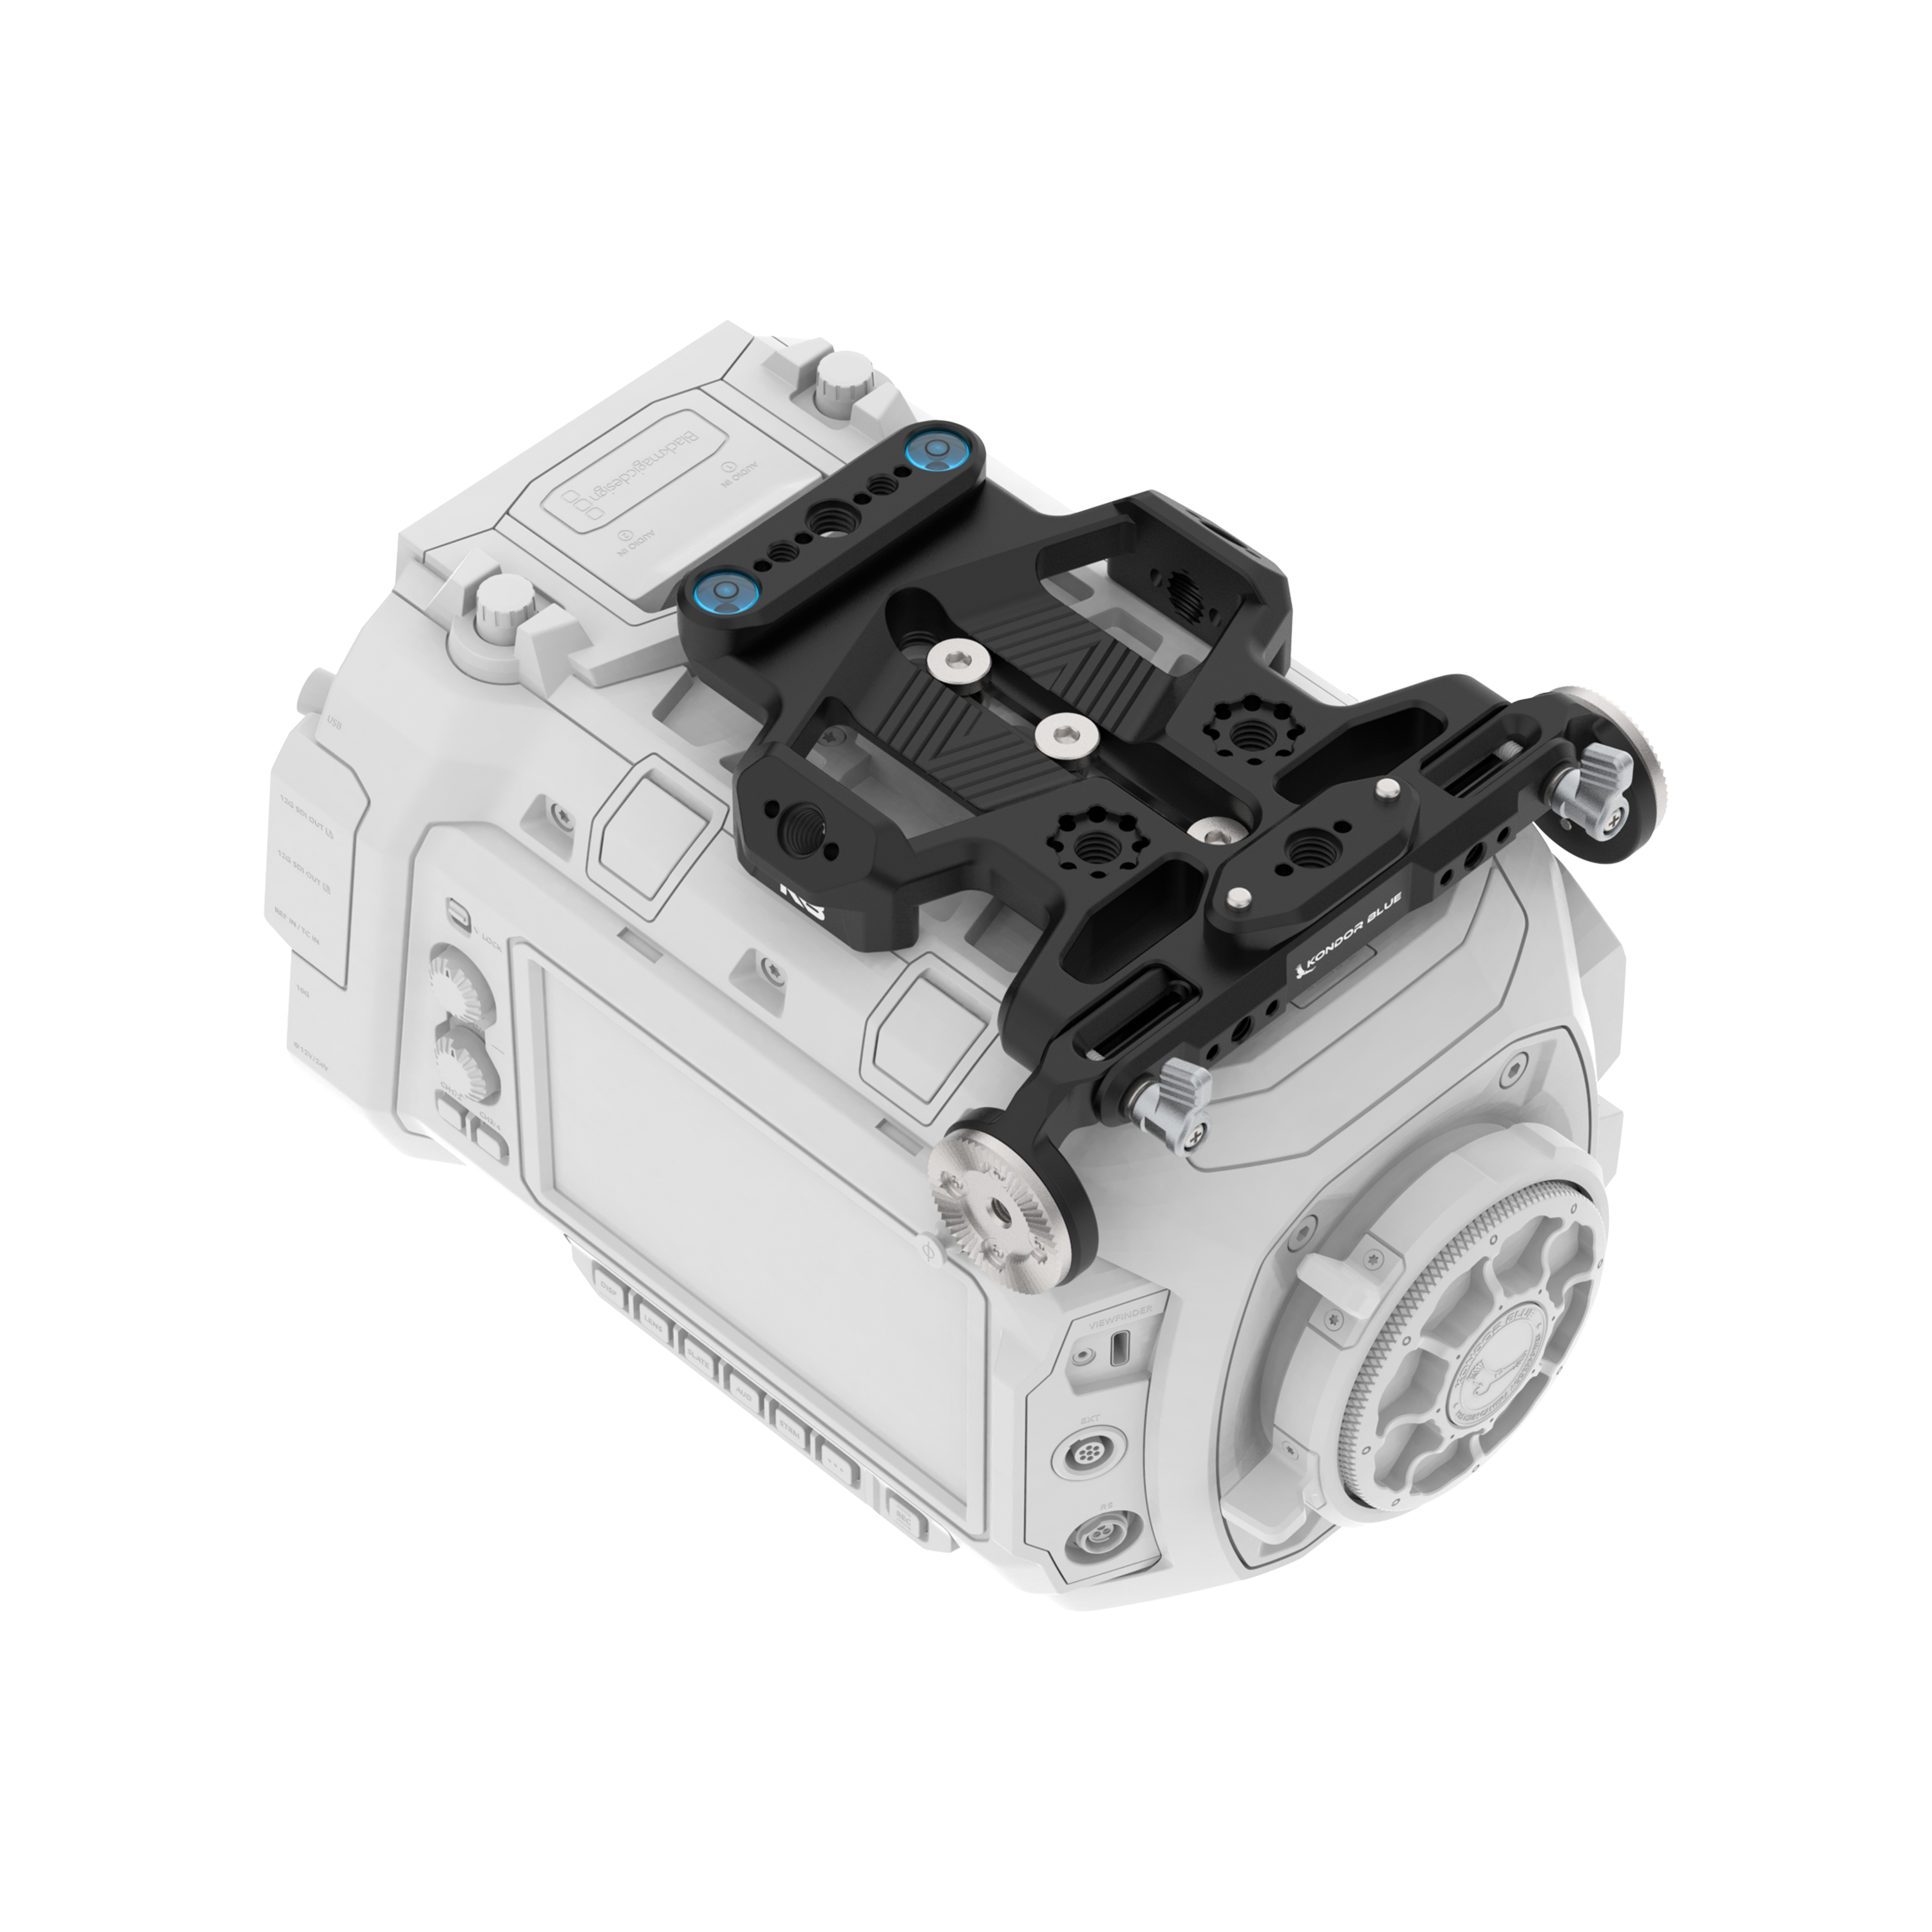
A camera cage is usually the foundation of a video rig. It gives you mounting points for handles, monitors, microphones, wireless transmitters, cable clamps, baseplates, and other accessories without relying on the camera body’s limited built-in threads.
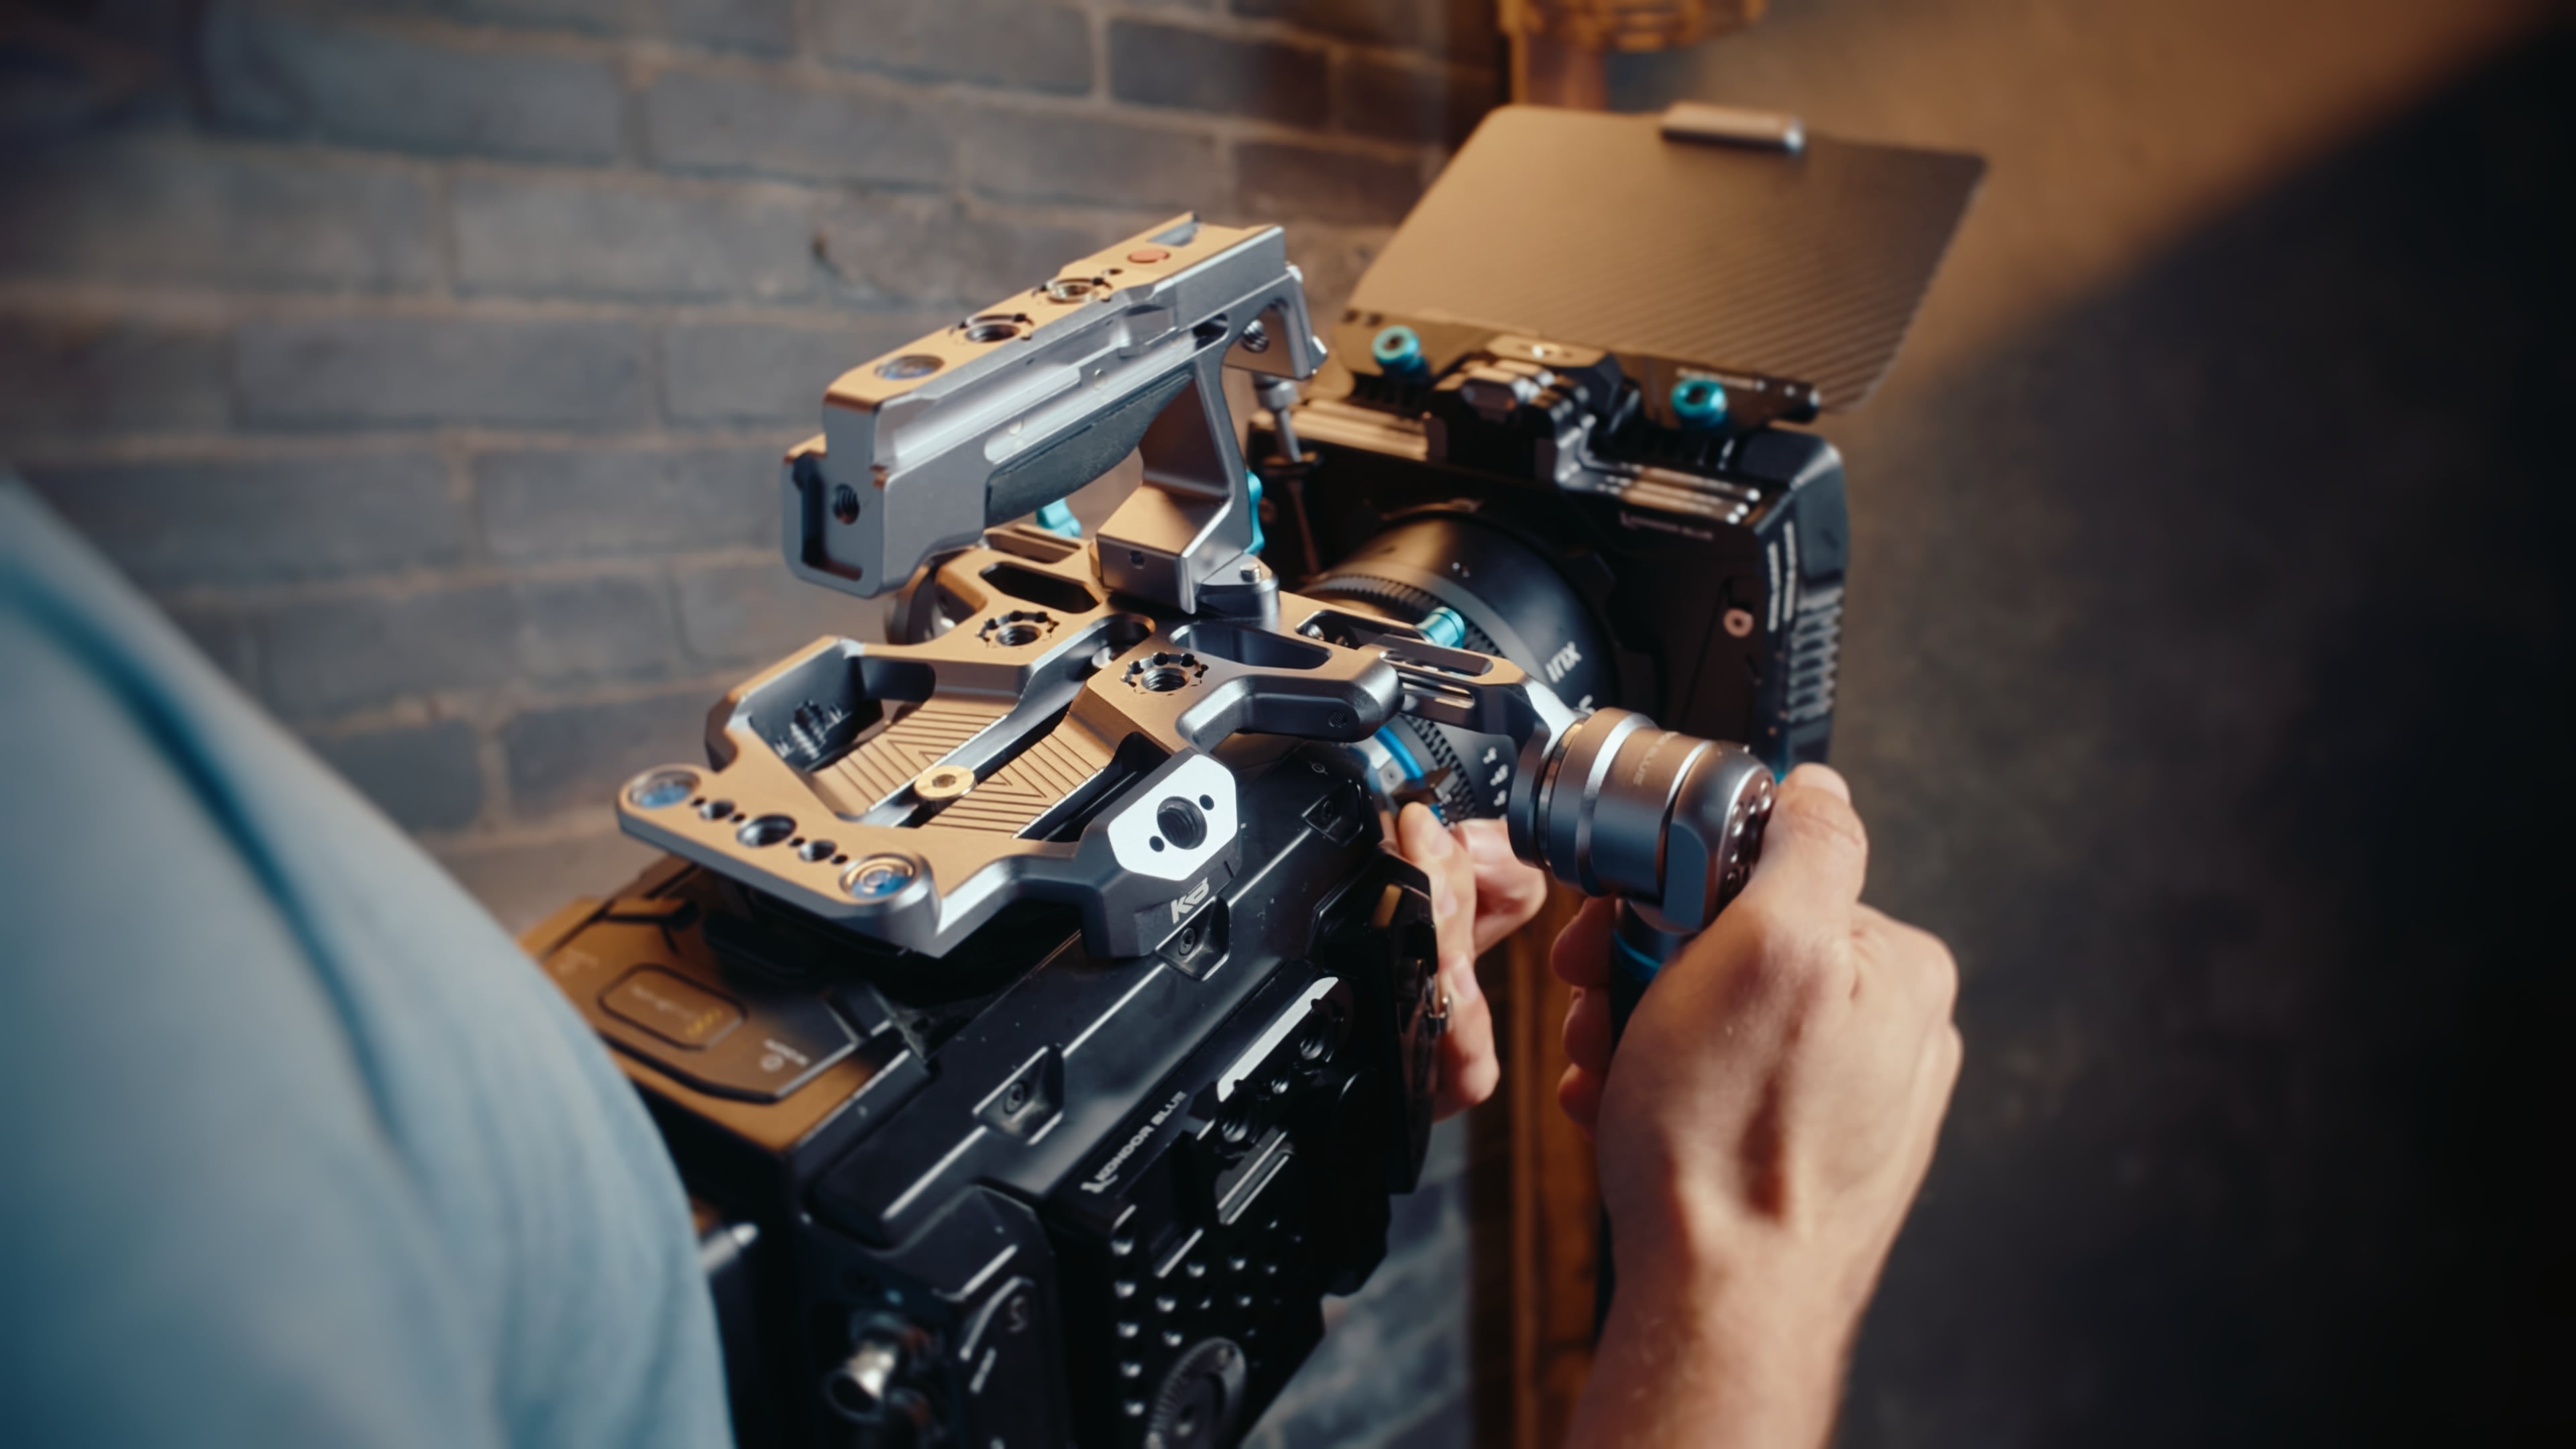
For YouTube and commercial work, a cage helps keep the setup modular. You can run a minimal build for quick handheld shooting, then add a top handle, monitor mount, side handle, power cable, or matte box when the production calls for it.
What to look for in a camera cage
| Feature | Why it matters |
|---|---|
| Camera-specific fit | Keeps ports, buttons, battery doors, and screens accessible |
| NATO rail options | Makes handles and accessories faster to mount or reposition |
| ARRI-style anti-twist mounts | Helps prevent accessories from rotating loose |
| Cable protection | Reduces stress on HDMI, USB-C, or other fragile ports |
| Arca or tripod compatibility | Makes it easier to move between handheld, tripod, and gimbal setups |
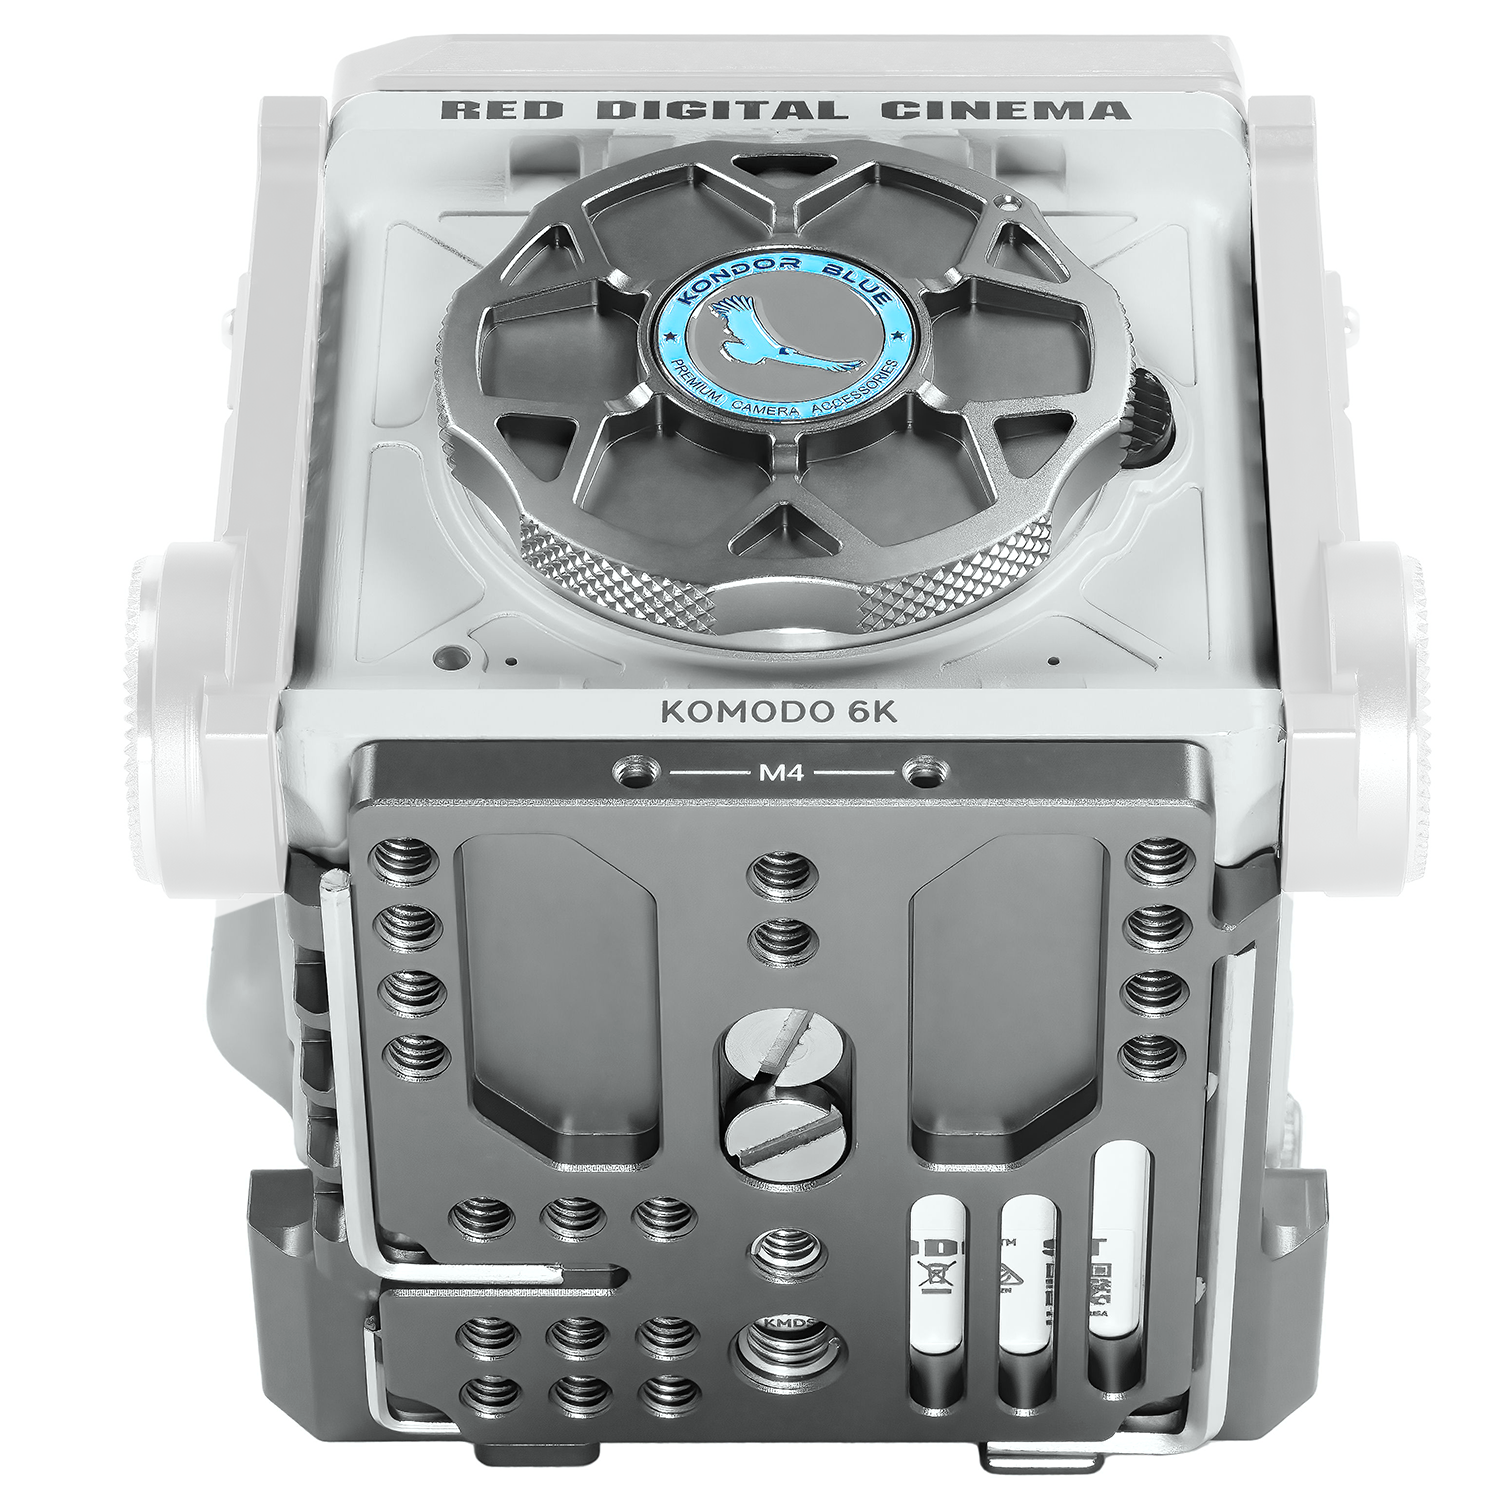
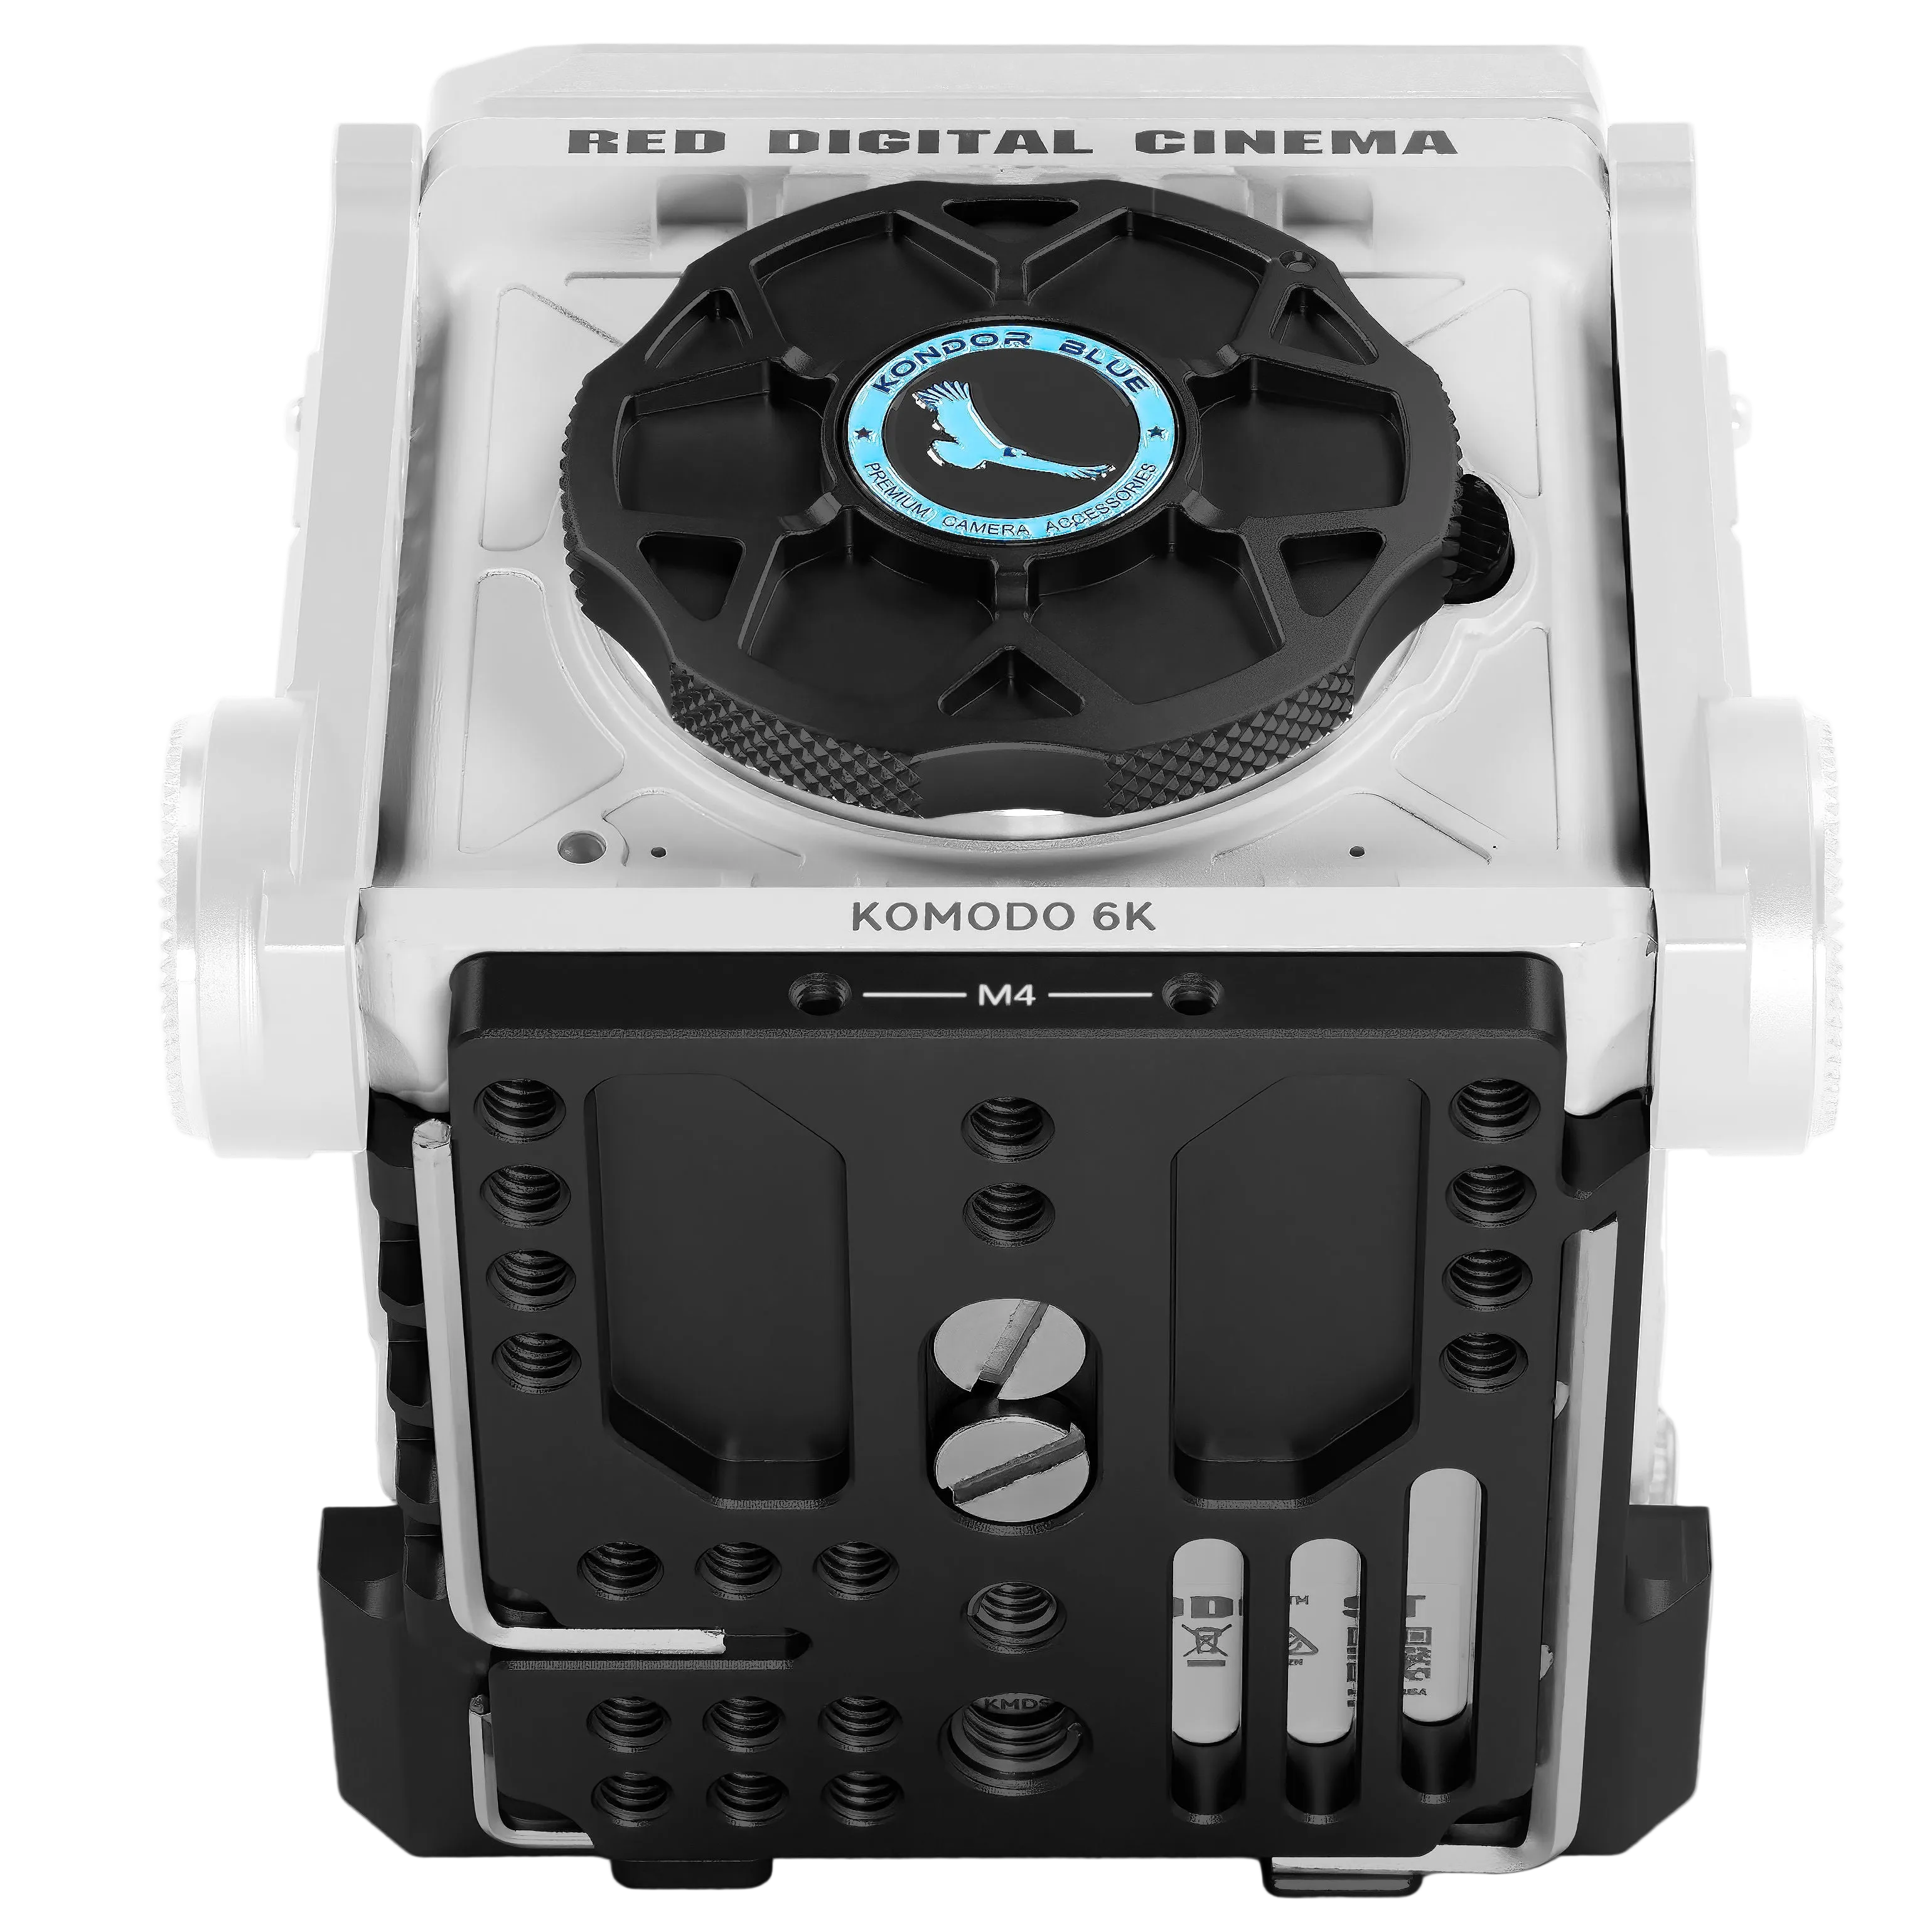
For camera-specific builds, the best path is usually to start from the correct Shop by Camera collection instead of trying to force universal parts into a camera-specific workflow.
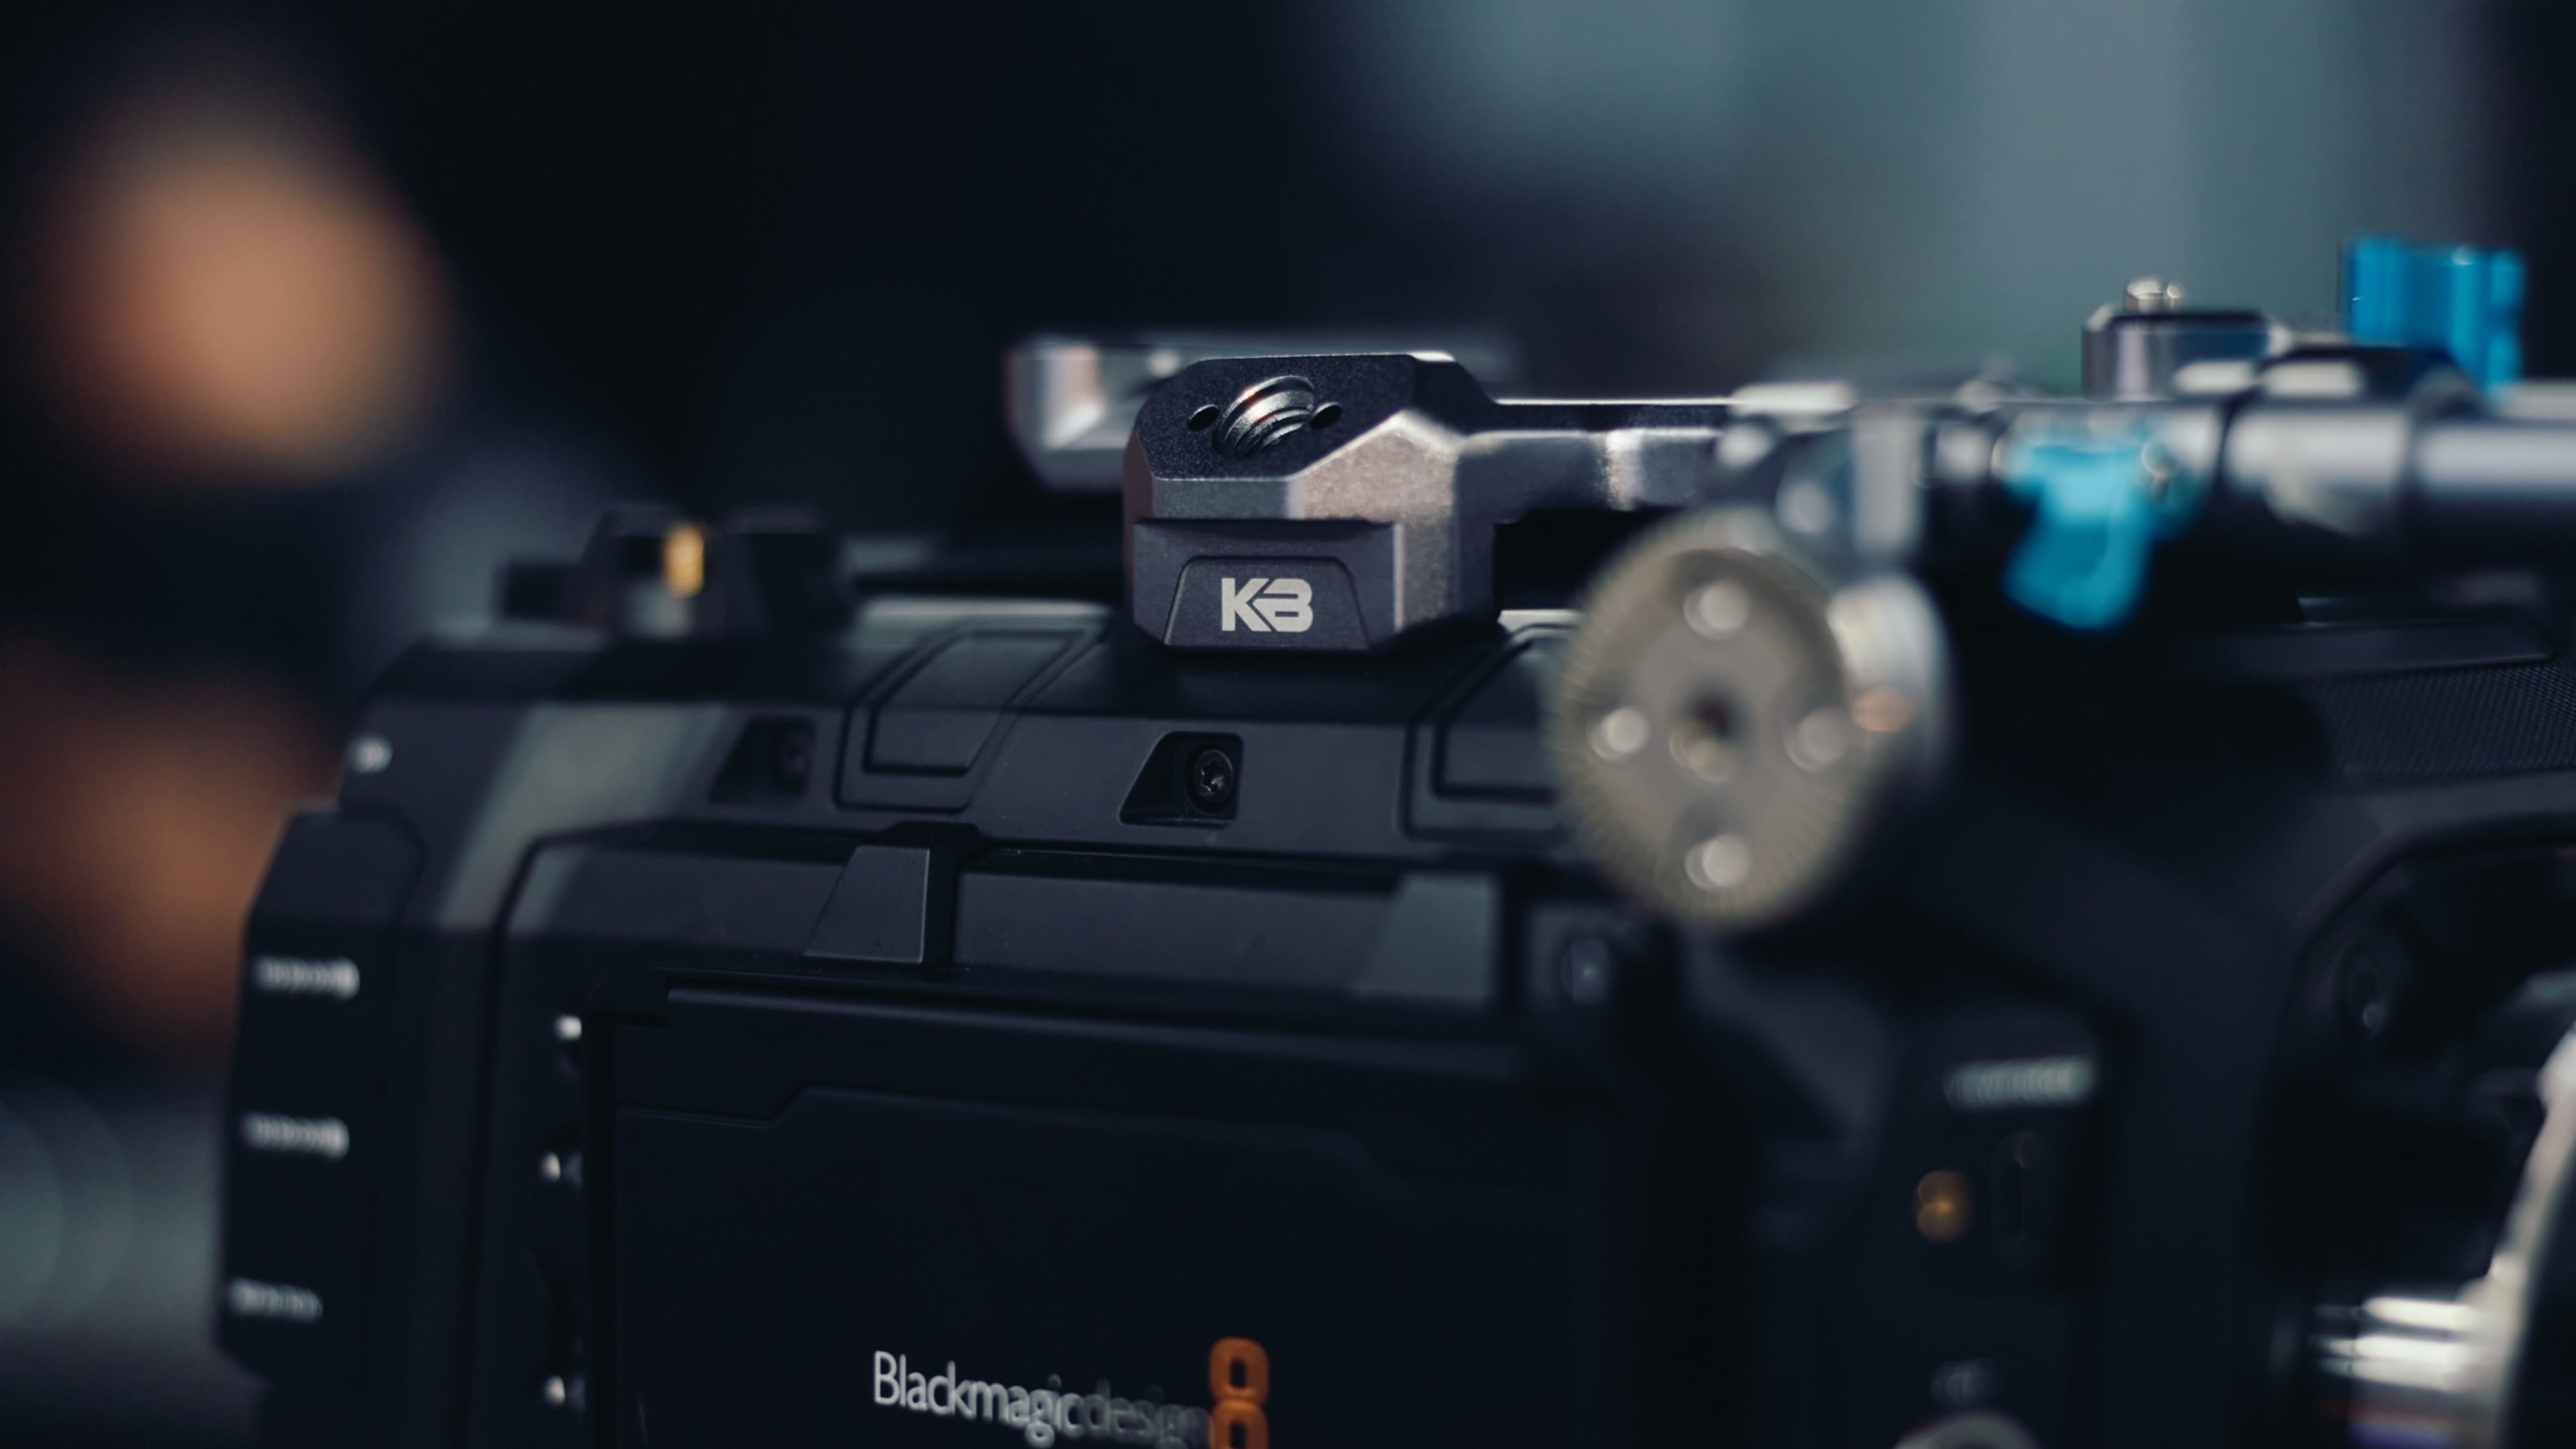
Add a top handle for better handheld control
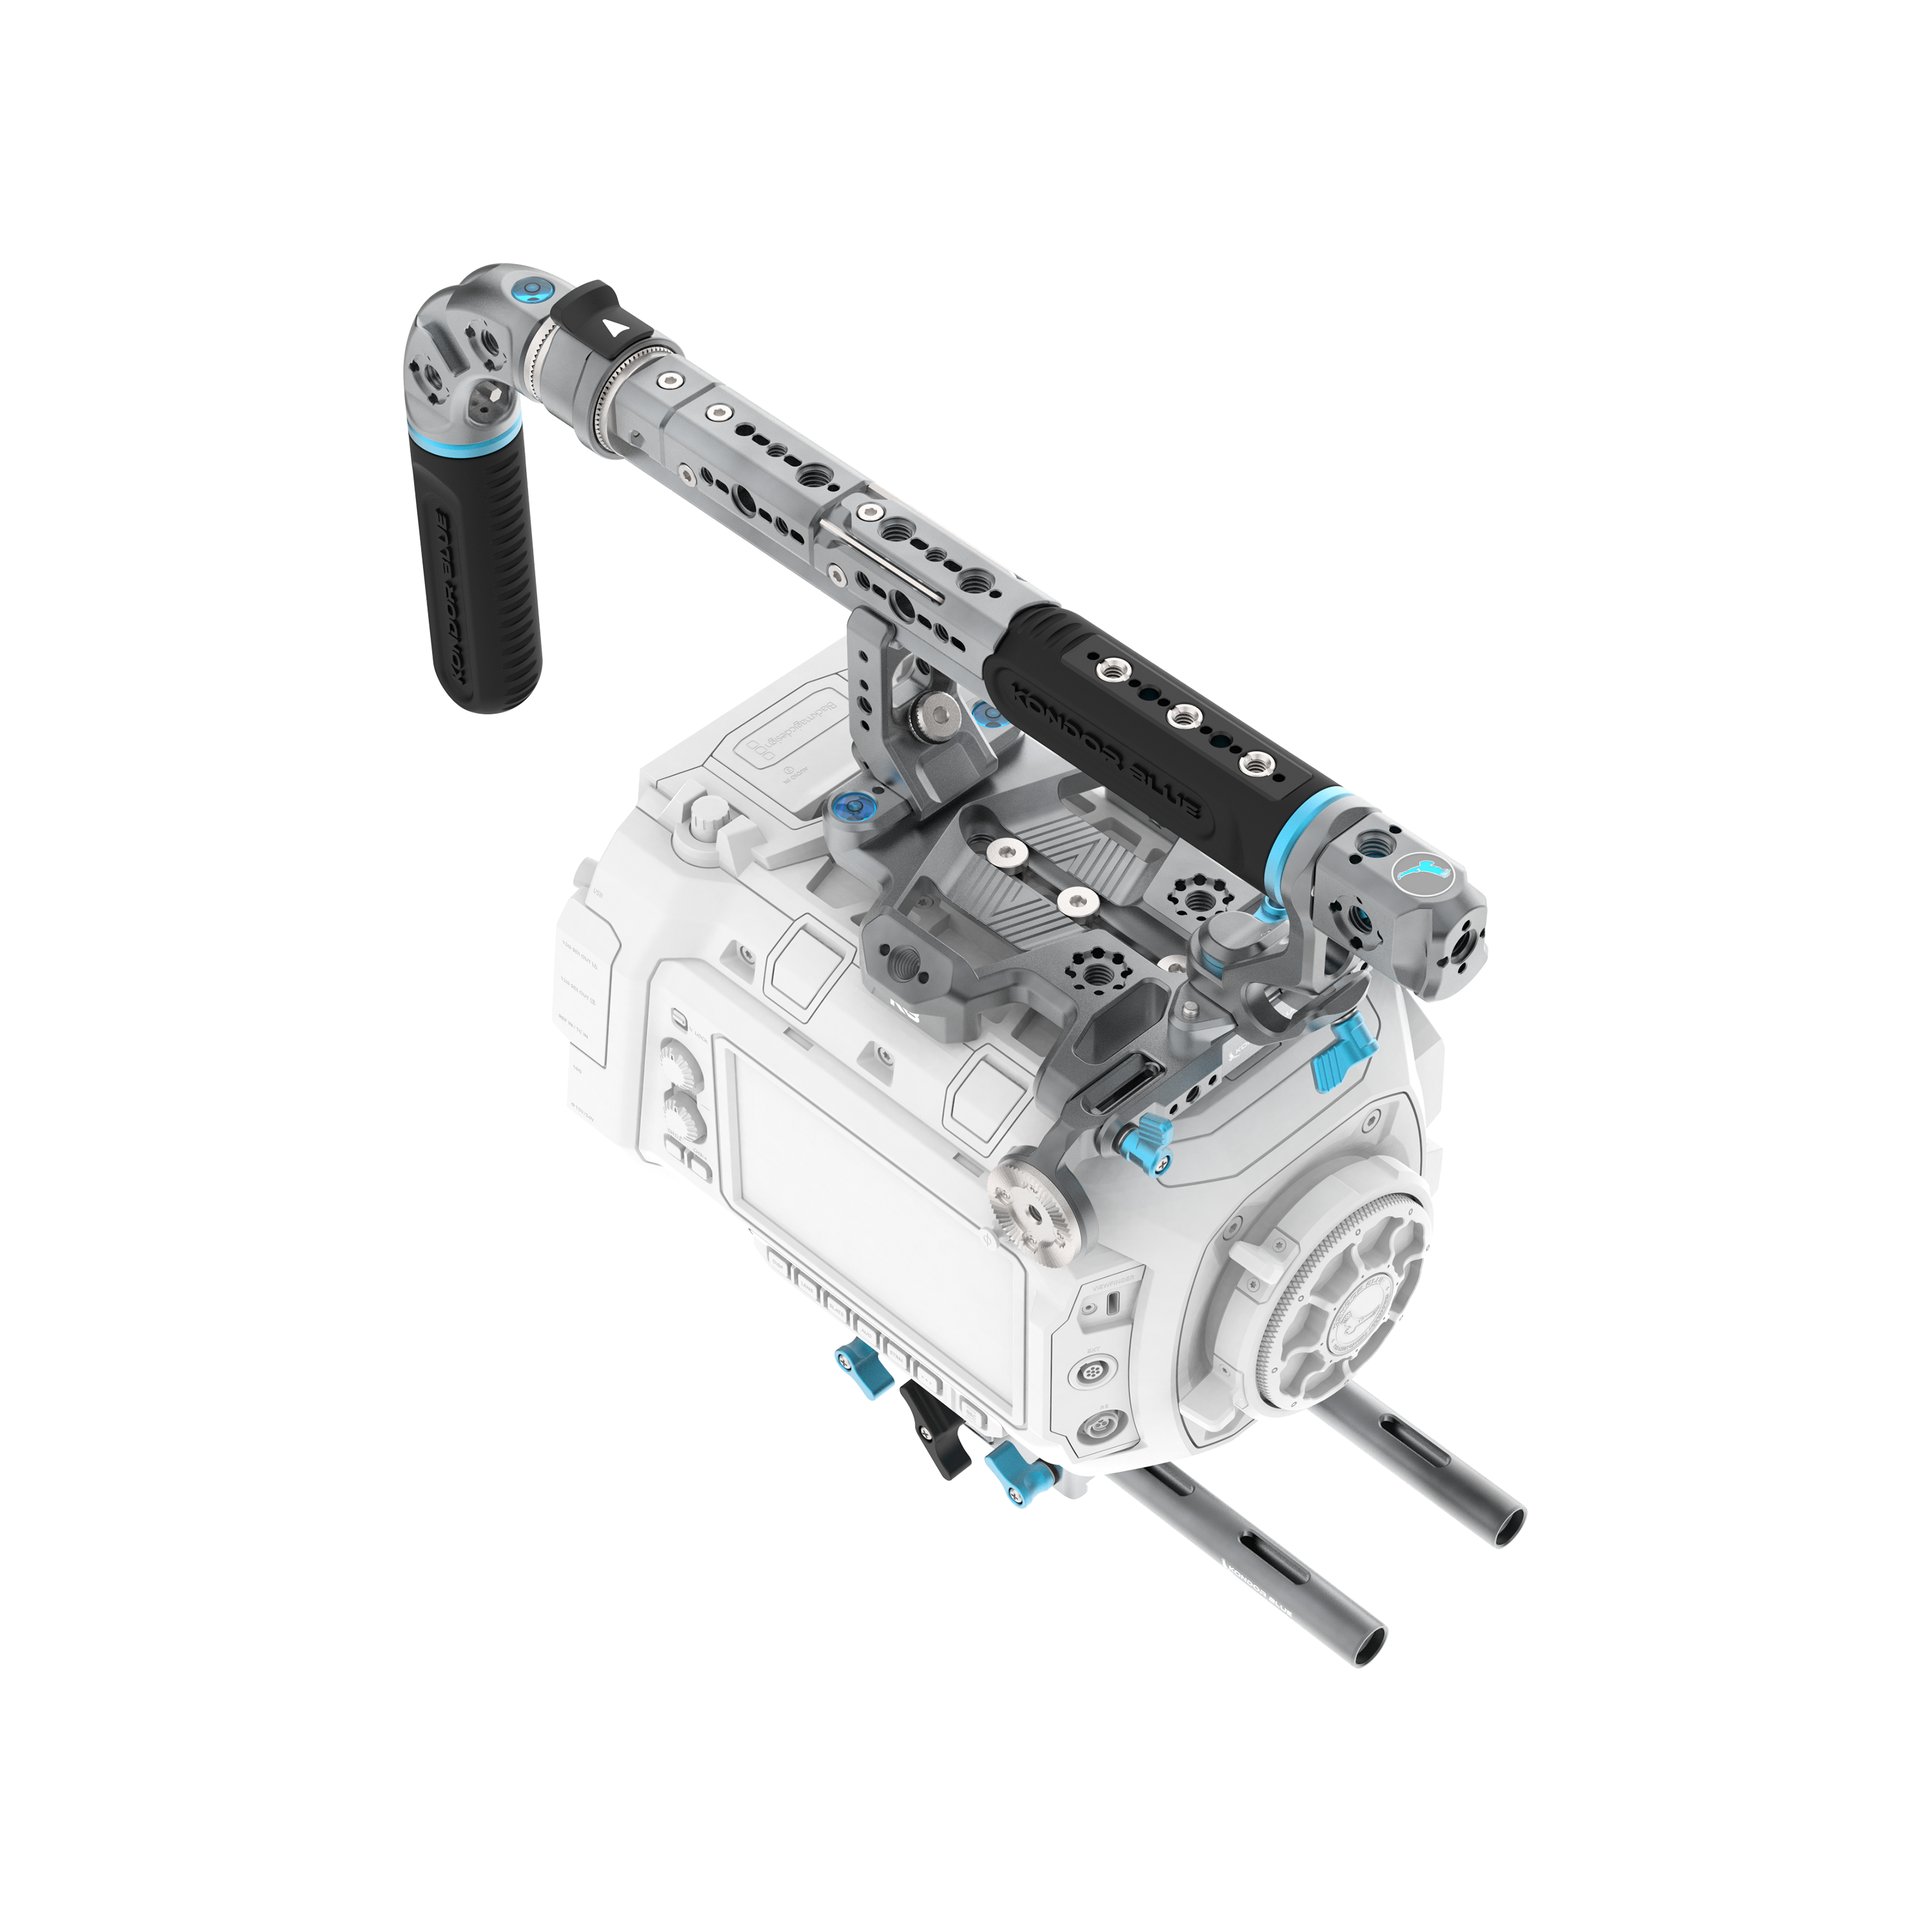
A top handle is one of the easiest ways to make a camera rig more comfortable and useful. It gives you a stronger grip for low-angle shots, easier carrying between setups, and more space to mount accessories.
The Talon Top Handle for Cameras, Monitors & Cages is a strong fit for compact and modular rigs because it adds an ergonomic grip plus multiple mounting points for monitors, audio gear, lights, or other accessories.
If you want start/stop control built into the handle, the Talon XL Top Handle with Trigger REC is the better direction. It is designed for camera rigs that need remote record control, accessory mounting, and a larger grip for more built-out handheld setups.
Use a side handle for stability and camera control
A side handle helps turn a boxy camera or cage setup into something easier to operate handheld. It gives your second hand a natural contact point, which is especially useful for run-and-gun shooting, documentary coverage, product filming, and solo creator work.
The Trigger Wing Side Handle is built for handheld stability and start/stop control on compatible cameras. It can mount on either side, includes multiple accessory mounting points, and helps create a more controlled handheld setup.
For a simpler grip option without trigger control, the Wing Side Handle gives you an ergonomic rosette side handle with ARRI-style mounting options and a cold shoe.
Build a reliable monitor setup
External monitors are common on YouTube, documentary, and commercial rigs because they make framing, exposure, and focus easier to judge. But the monitor is only helpful if it is mounted securely and connected with the right cable.
A monitor mount should let you position the screen without tools and keep it from twisting loose. For compact rigs, a swivel or tilt monitor mount is often enough. For heavier setups, use a mount with anti-twist support.
For the cable path, use a short production cable instead of a long loose cable. The Full HDMI Cable for On-Camera Monitors 12"-24" Braided Coiled is made for camera-to-monitor setups and supports 4K 60 Hz, HDMI 2.0, 18Gbps, and HDR metadata.
Camera monitor setup checklist
| Need | Recommended approach |
|---|---|
| Short monitor cable | Use a 12"-24" coiled HDMI cable |
| Cleaner cable routing | Choose right-angle or coiled cables when possible |
| Secure monitor angle | Use a swivel/tilt mount with anti-twist support |
| Port protection | Add cable clamps when your cage supports them |
| Fast adjustments | Use tool-free monitor positioning where possible |
Plan your power before the shoot
Power is where a lot of small rigs fall apart. Internal batteries are fine for short clips, but longer interviews, commercial shoots, livestreams, or documentary days usually need a more reliable power path.
For Sony mirrorless and FX-line cameras, a D-Tap to Sony A7/FX3/FX30 NP-FZ100 Dummy Battery Cable can help power compatible cameras from an external battery source. This is useful when you want longer runtime without swapping small internal batteries all day.
If you are building a larger rig, look at camera power solutions like D-Tap cables, regulated power cables, battery plates, and dummy battery options that match your camera.
Add filters when the image needs it
Filters should not be the first thing you add to a rig, but they can be a big part of making footage look intentional in-camera.
For interviews, portraits, and commercial content, a diffusion filter can help create a more natural glow and reduce the overly clinical feel of sharp digital capture. The Opaline 1/8 Diffusion Filter – Brass Threaded is a good lightweight option for threaded lens setups.
For larger cinema builds, a matte box and 4x5.65 filter setup gives you more flexibility with ND filters, diffusion filters, adapter rings, filter trays, and lens flare control.
Threaded filters vs matte box filters
| Filter setup | Best for | Why choose it |
|---|---|---|
| Threaded filter | Small rigs, YouTube, interviews, travel setups | Lightweight, fast, minimal |
| 4x5.65 matte box filter | Cinema cameras, commercial sets, lens swaps | Works across more lenses with the right matte box setup |
| Matte box + ND + diffusion | Production rigs and controlled shoots | More complete image-control workflow |
How to build your rig based on the type of work
YouTube / creator rig
A YouTube rig should stay light, quick, and repeatable.
Start with:
- camera cage
- top handle
- compact monitor mount
- short HDMI cable
- optional side handle
- threaded diffusion filter if you want a consistent interview look
Best for: talking head videos, product reviews, tutorials, interviews, creator studios.
Documentary / run-and-gun rig
A documentary rig needs to be comfortable for long handheld days and flexible enough to react quickly.
Start with:
- camera cage
- side handle
- top handle
- secure monitor mount
- external power cable or dummy battery
- reinforced HDMI or USB-C cable
- cable protection where possible
Best for: handheld shooting, vérité work, event coverage, field interviews, fast setup changes.
Commercial / production rig
A commercial rig should prioritize repeatability, accessory mounting, and image control.
Start with:
- full camera cage or modular cage
- top handle
- side handle or rosette grip
- monitor mount
- external power solution
- matte box
- ND filters
- diffusion filters
- production cables
- quick-release plate or baseplate
Best for: branded content, product shoots, agency work, studio setups, controlled lighting environments.
What should you buy first?
If you are building a camera rig in stages, this is the order I’d recommend:
| Priority | Gear | Why it comes first |
|---|---|---|
| 1 | Camera cage | Foundation for mounting and protection |
| 2 | Top handle | Improves handling and adds mounting options |
| 3 | Monitor mount + HDMI cable | Makes framing and focus easier |
| 4 | Side handle | Adds handheld stability |
| 5 | Power cable / dummy battery | Extends runtime for longer shoots |
| 6 | Filter setup | Controls the image and final look |
| 7 | Quick-release / baseplate | Speeds up setup changes |
Quick rig-building checklist
Before you buy, ask:
- What camera body am I rigging?
- Do I need a full cage, half cage, or minimal setup?
- Will I be shooting handheld, tripod, gimbal, or all three?
- Do I need a top handle, side handle, or both?
- Am I using an external monitor?
- Which HDMI, SDI, or USB-C cable does my setup need?
- Do I need longer power runtime?
- Do I need filters for exposure control or image character?
- Can I still access the battery, media, screen, ports, and controls?
Frequently asked questions
What accessories do I need for a camera rig?
Most camera rigs start with a camera cage, top handle, monitor mount, cable, and power solution. From there, you can add a side handle, quick-release plate, matte box, ND filter, diffusion filter, or audio accessories based on the type of work you shoot.
Do I need a camera cage for YouTube videos?
Not always, but a camera cage becomes useful when you want to mount a monitor, microphone, light, wireless transmitter, handle, or cable clamp. It also helps keep the setup consistent if you film regularly.
What is the best camera rig for documentary work?
A good documentary rig is lightweight, comfortable handheld, and quick to adjust. Start with a camera-specific cage, top handle, side handle, secure monitor mount, short production cables, and a reliable power solution.
Should I use a top handle or side handle?
Use a top handle for carrying the camera, low-angle shots, and accessory mounting. Use a side handle for handheld stability and better control during longer takes. Many production rigs use both.
What cable do I need for an external camera monitor?
That depends on your camera and monitor ports. Many compact rigs use HDMI, while larger cinema setups may use SDI. For HDMI monitor setups, a short coiled cable helps reduce clutter and cable strain.
Should I add filters to my camera rig?
Add filters when you need more control over exposure or image character. ND filters help control exposure in bright conditions. Diffusion filters can add glow, smooth skin tones, and reduce the overly sharp feel of some digital cameras.
Build the rig around your workflow
A better camera rig is not just a bigger rig. It is a setup that makes your camera easier to operate for the work you actually do.
For YouTube and studio content, keep it clean and repeatable. For documentary work, prioritize comfort, runtime, and cable security. For commercial production, build around modularity, monitoring, power, and image control.
Start with the foundation, then add the accessories that solve the next real problem in your workflow.
Shop KONDOR BLUE rigging essentials: Camera Cages, Handles & Grips, Monitor Mounts, Camera Cables, Power Solutions, and Matte Box & Filters.