
How to Choose the Right Camera Cage for Your Camera Rig
A camera cage is one of the simplest ways to turn a bare camera body into a more capable production rig. Whether you are building a lightweight handheld setup, a gimbal-friendly hybrid rig, or a fully built cinema camera package, the right cage gives you more mounting points, better protection, cleaner cable management, and a stronger foundation for accessories.
Quick answer: The best camera cage is the one built specifically for your camera body and shooting style. Look for secure mounting points, anti-twist support, NATO rails, cable clamp compatibility, port access, and a setup that can adapt between handheld, tripod, gimbal, shoulder, or studio work.
Explore the full Kondor Blue camera cages collection to find a cage built for your specific camera body.
What Is a Camera Cage?
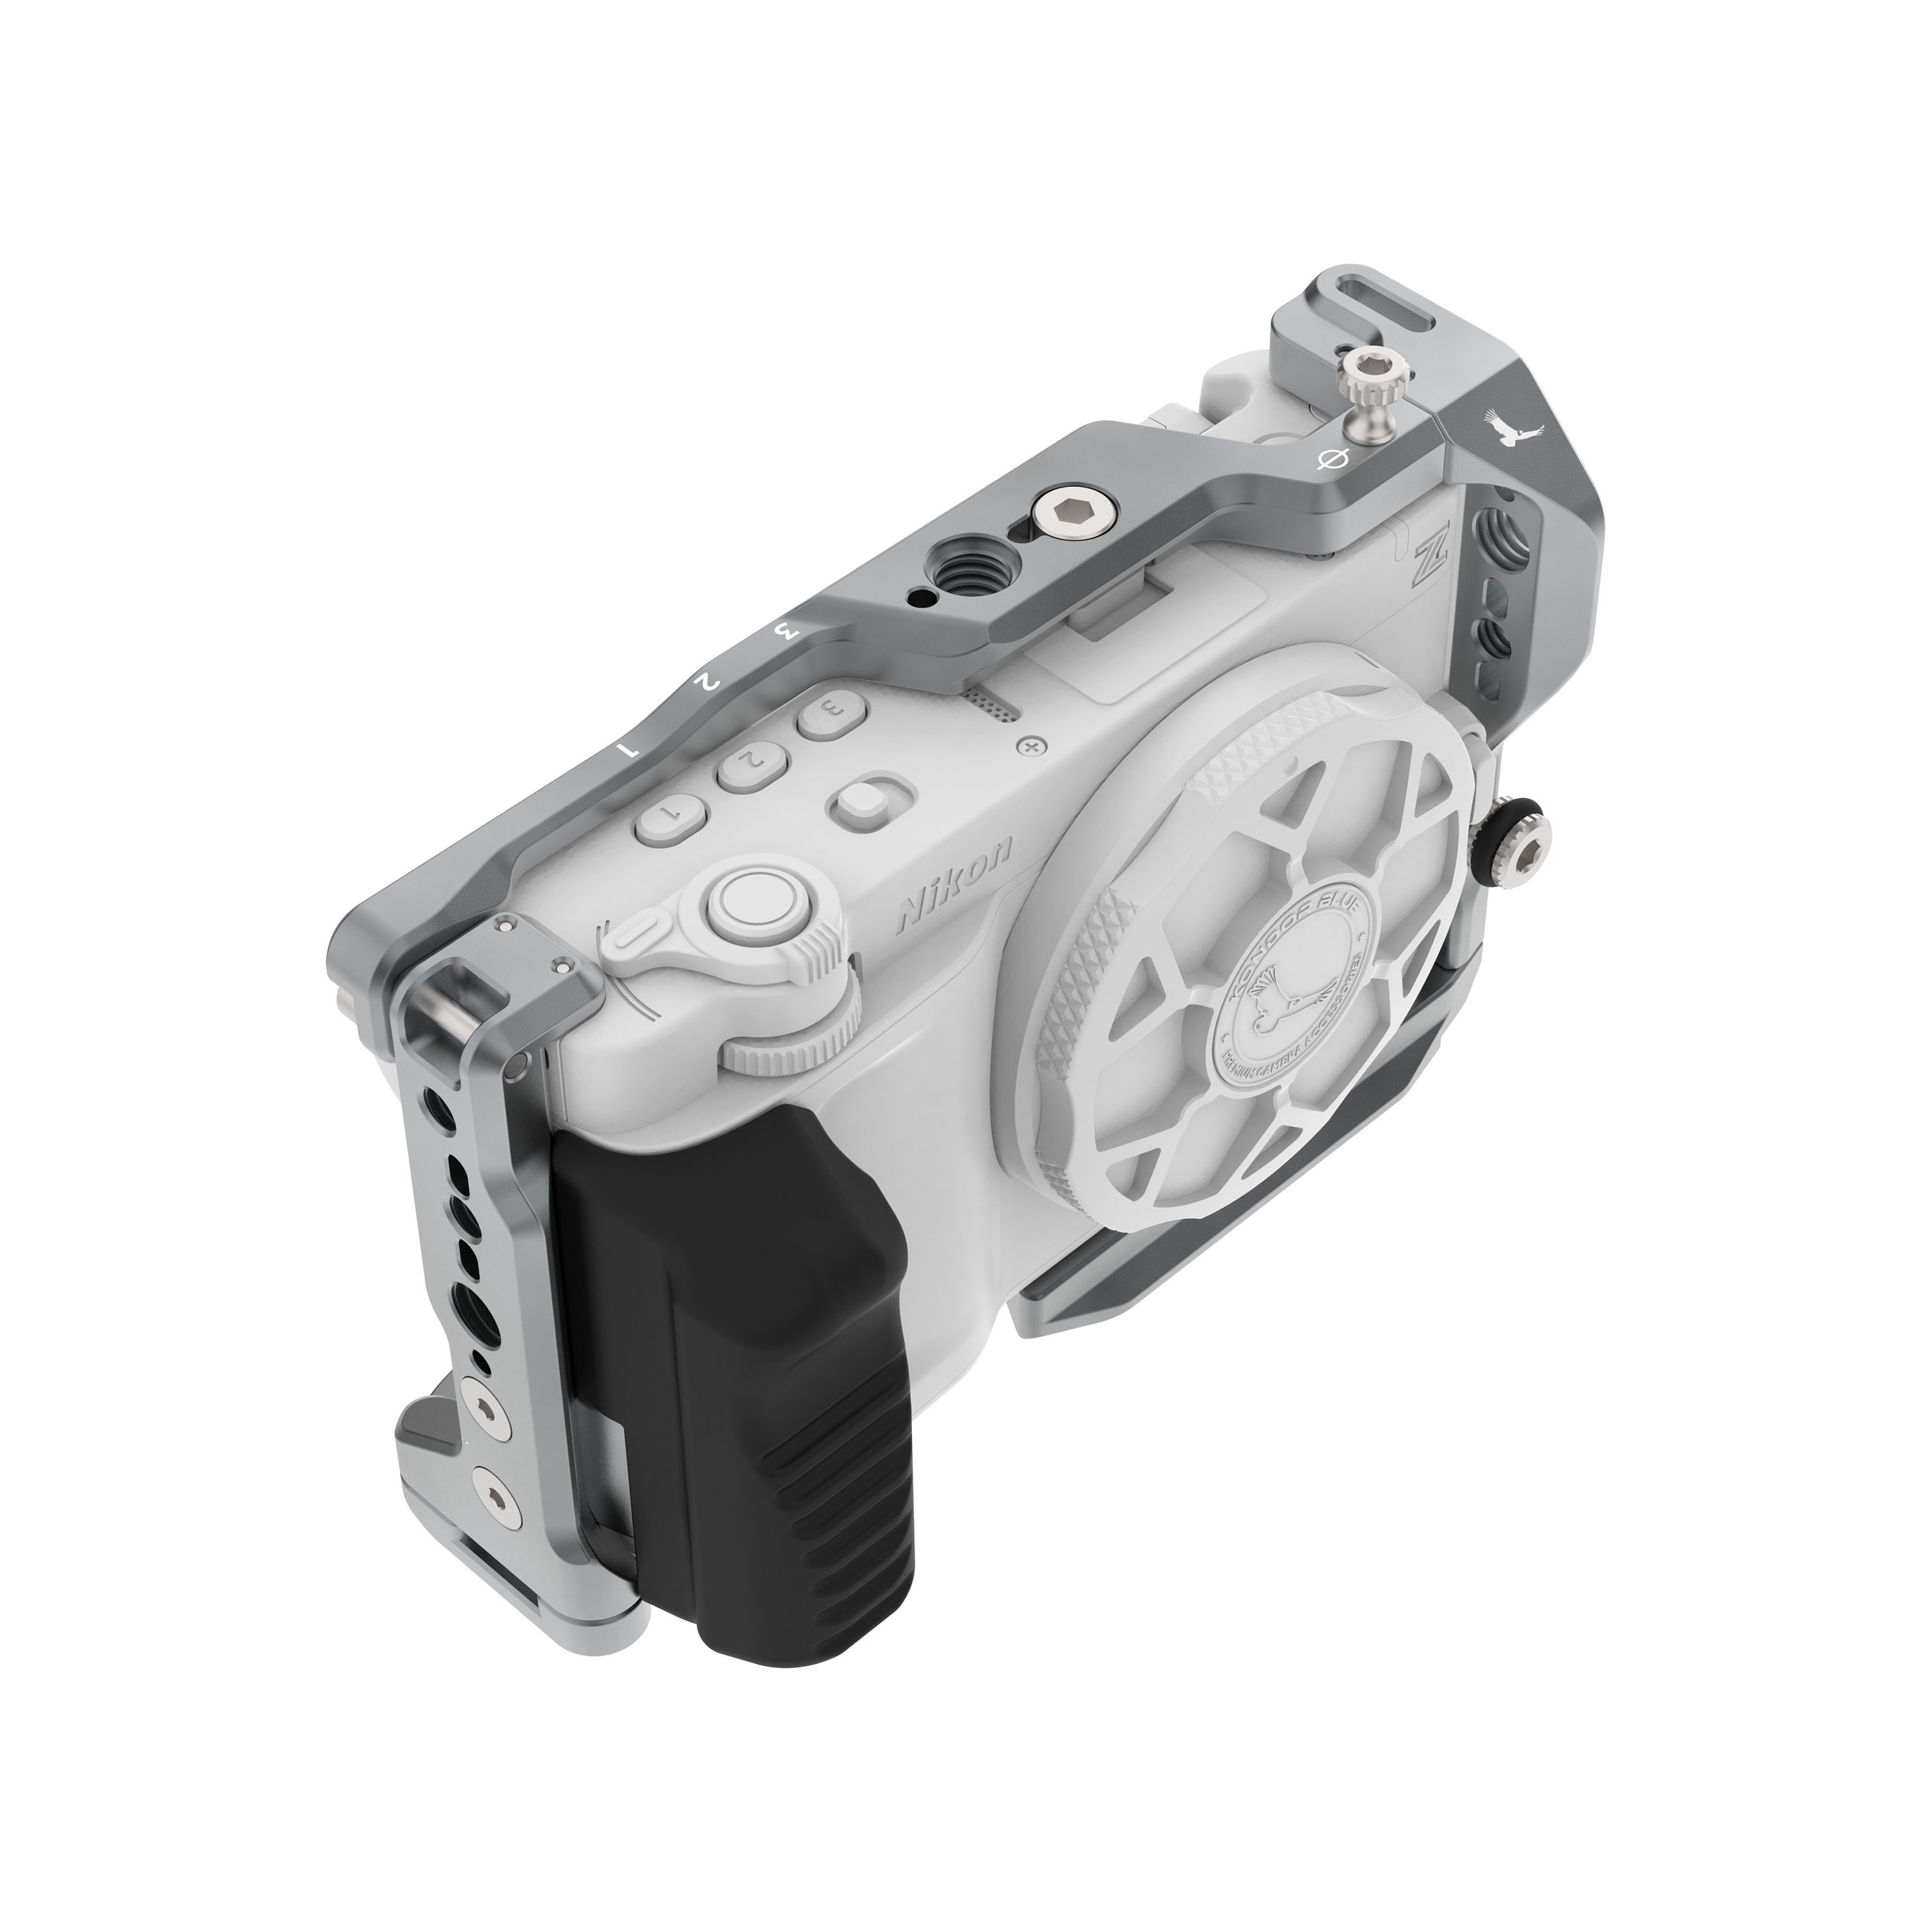
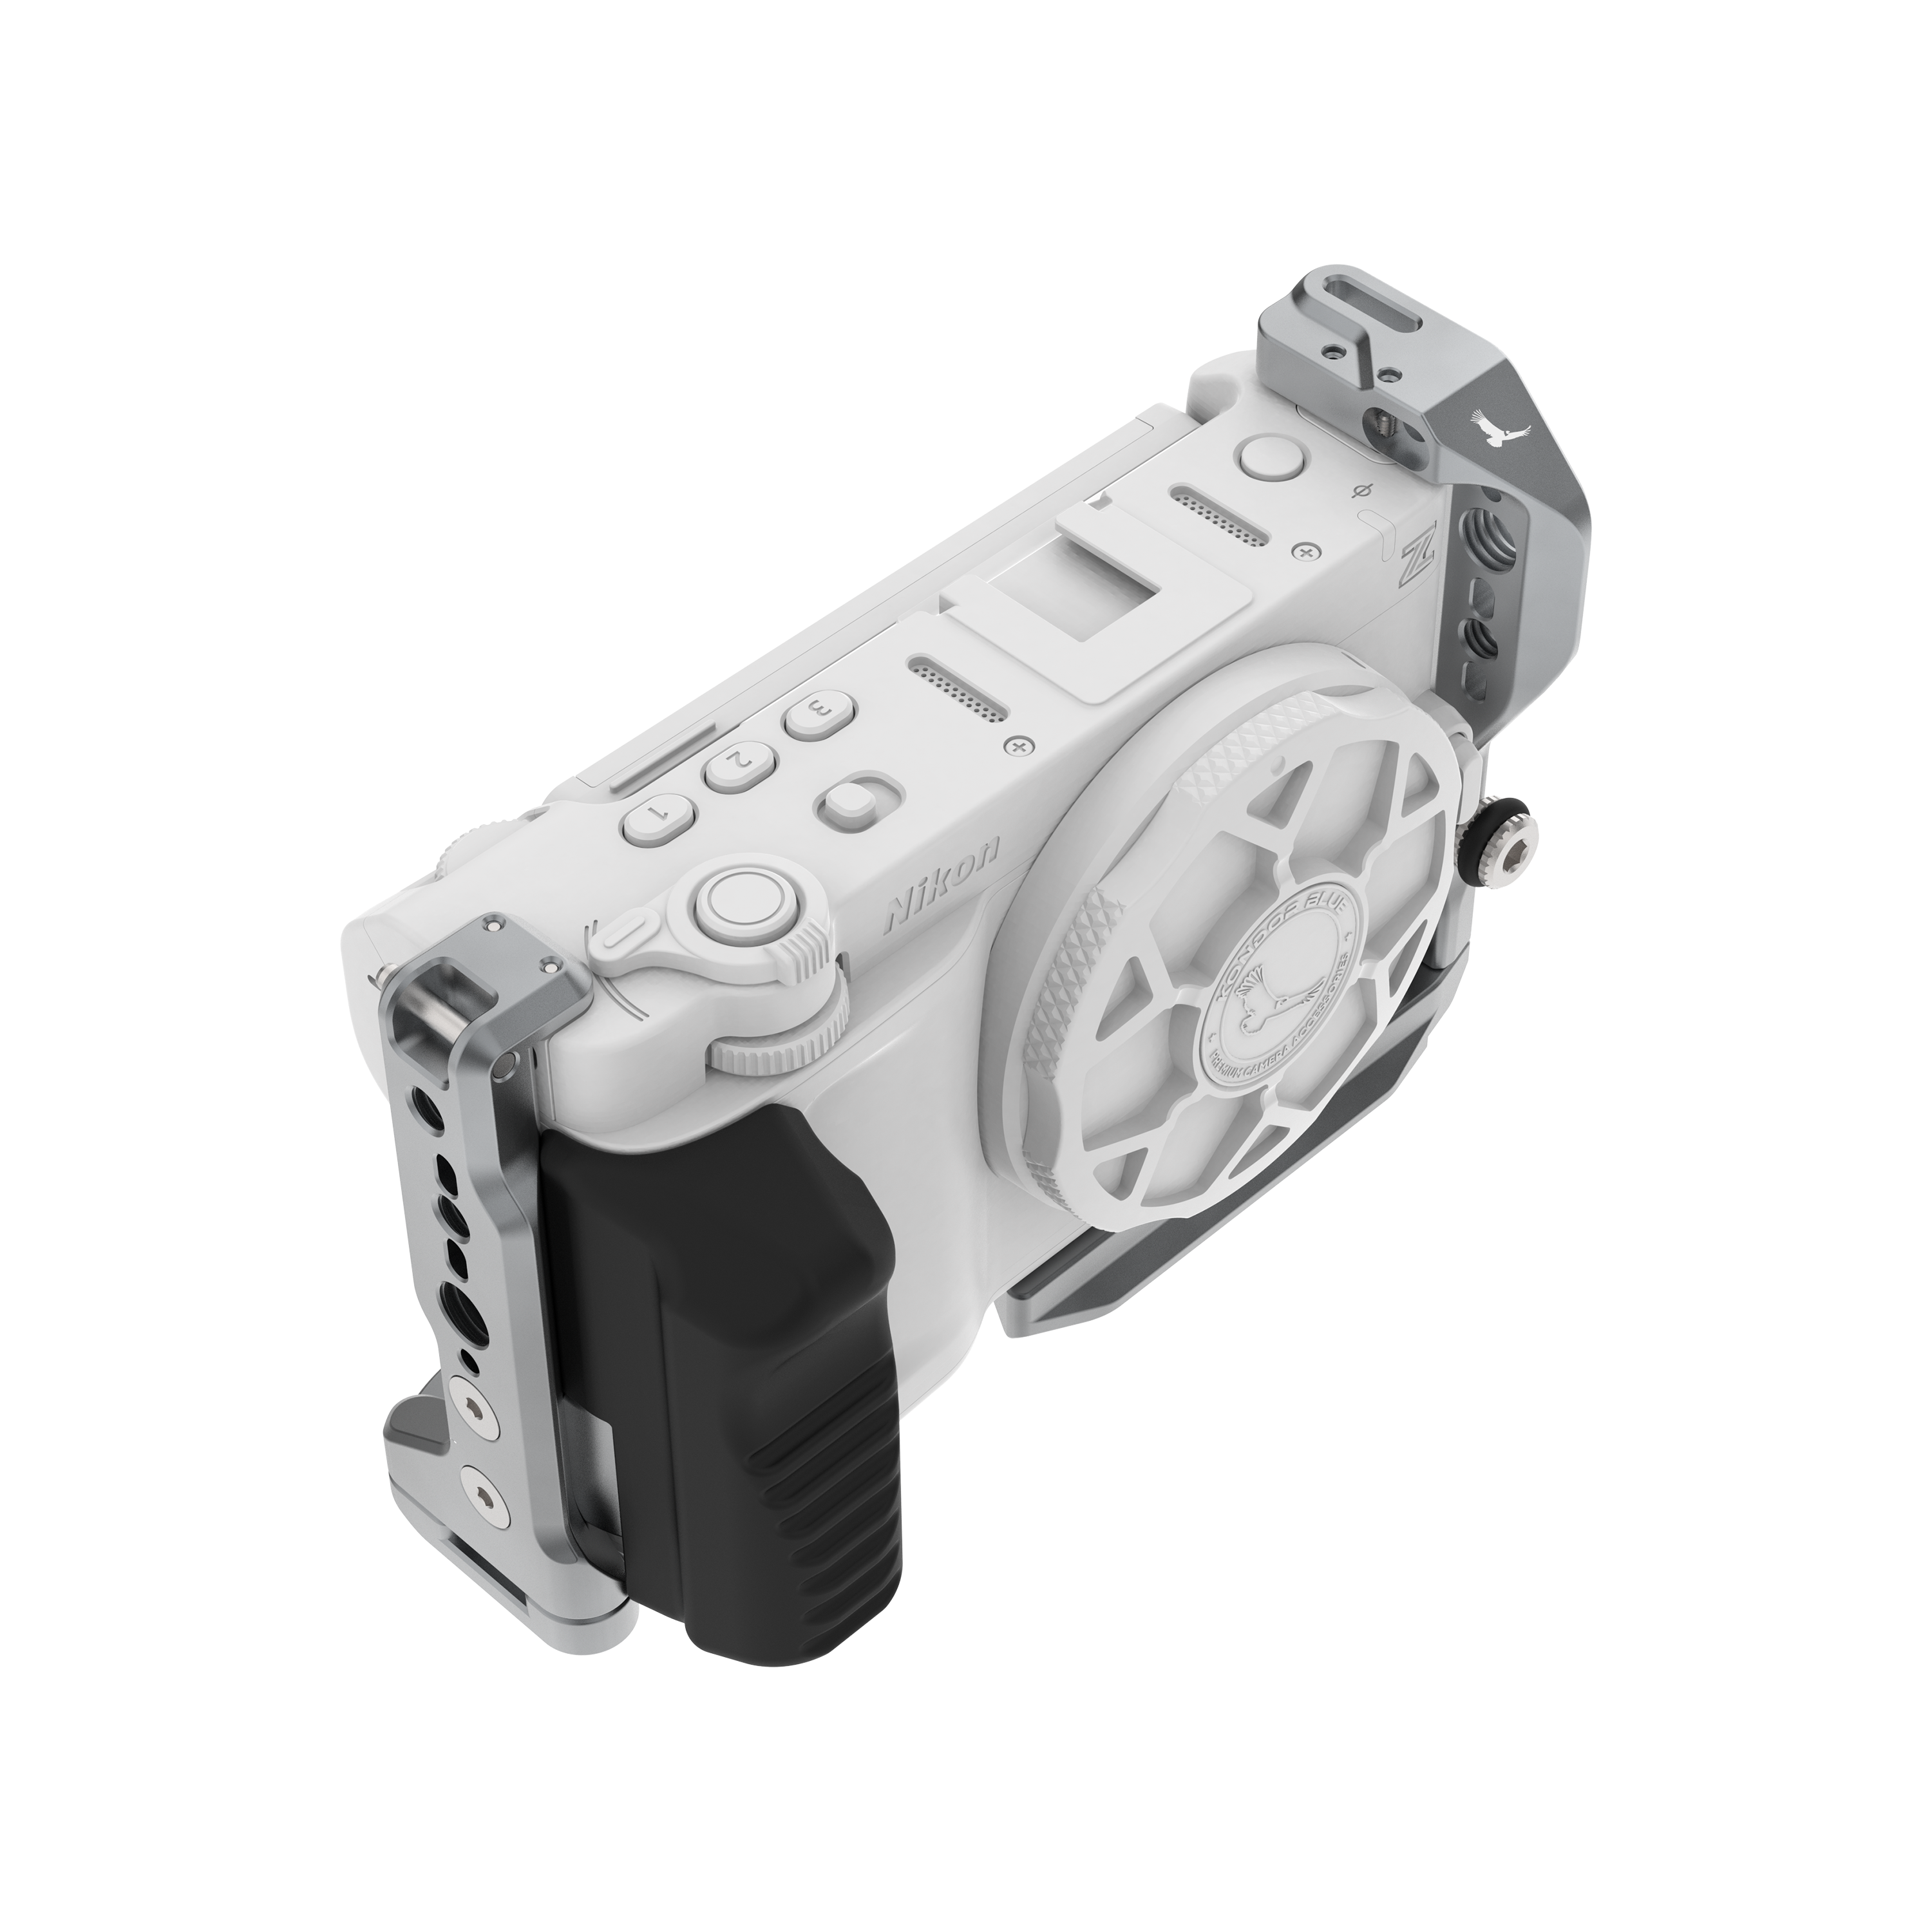
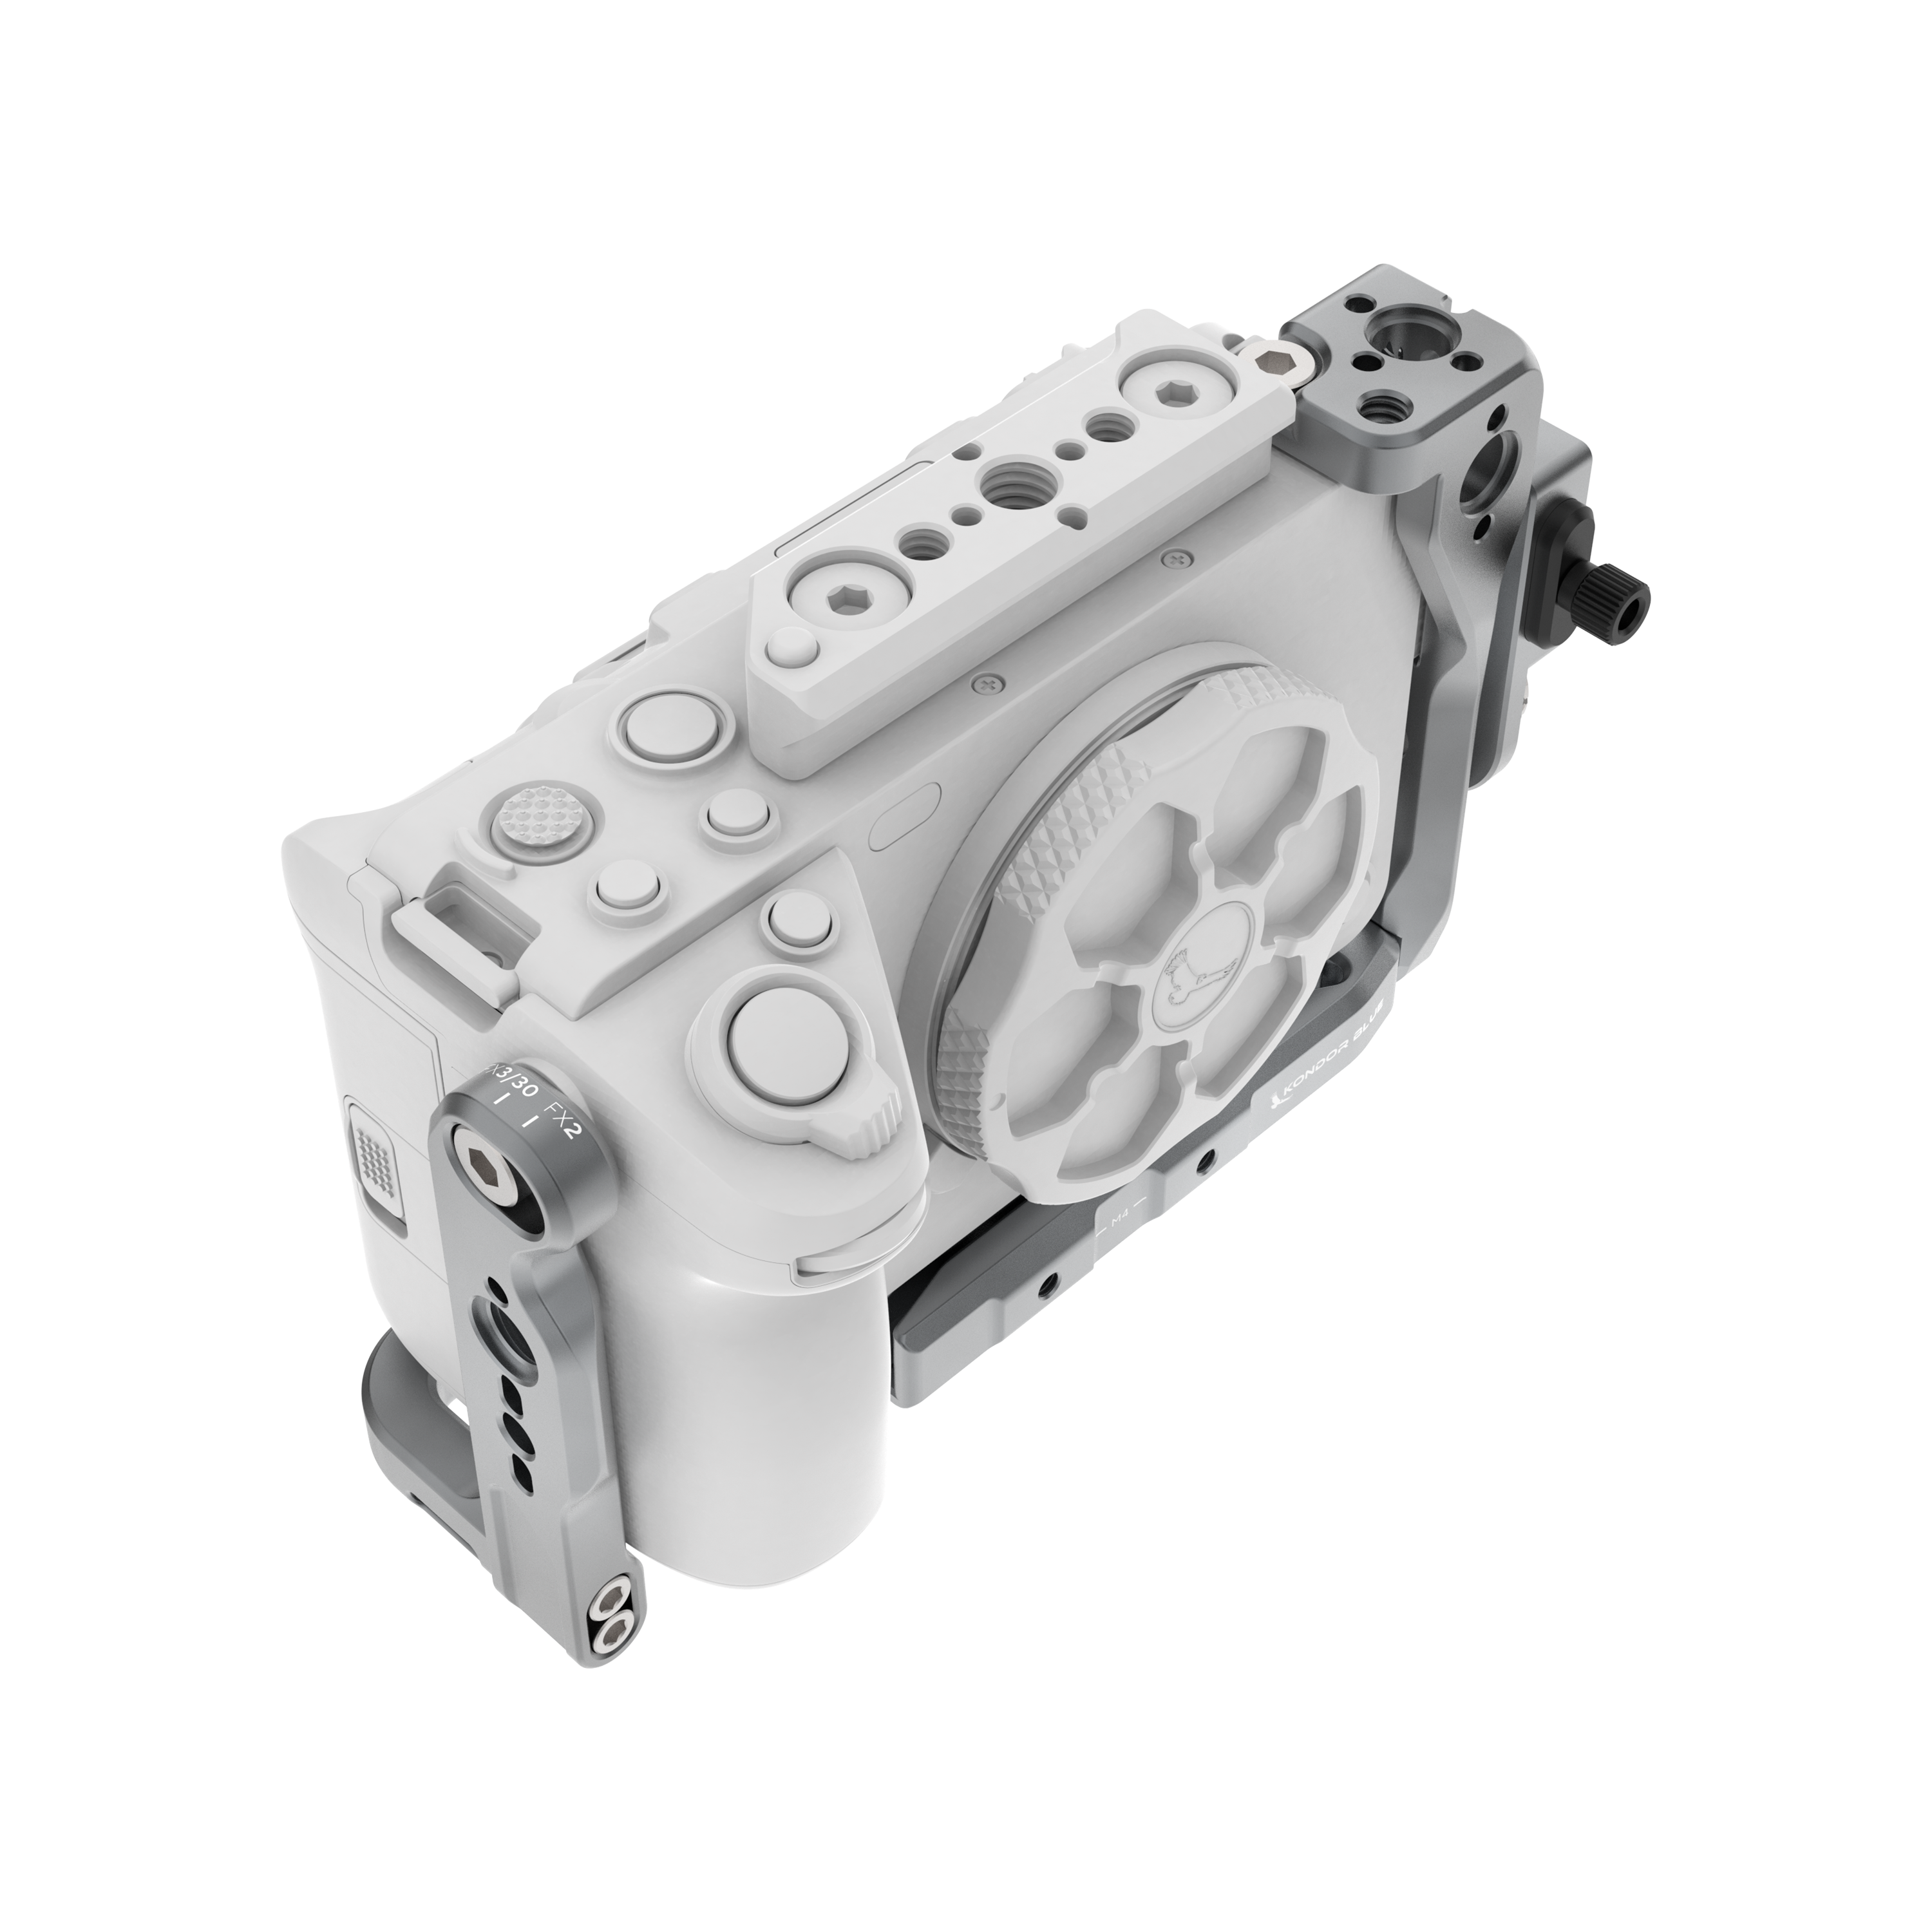
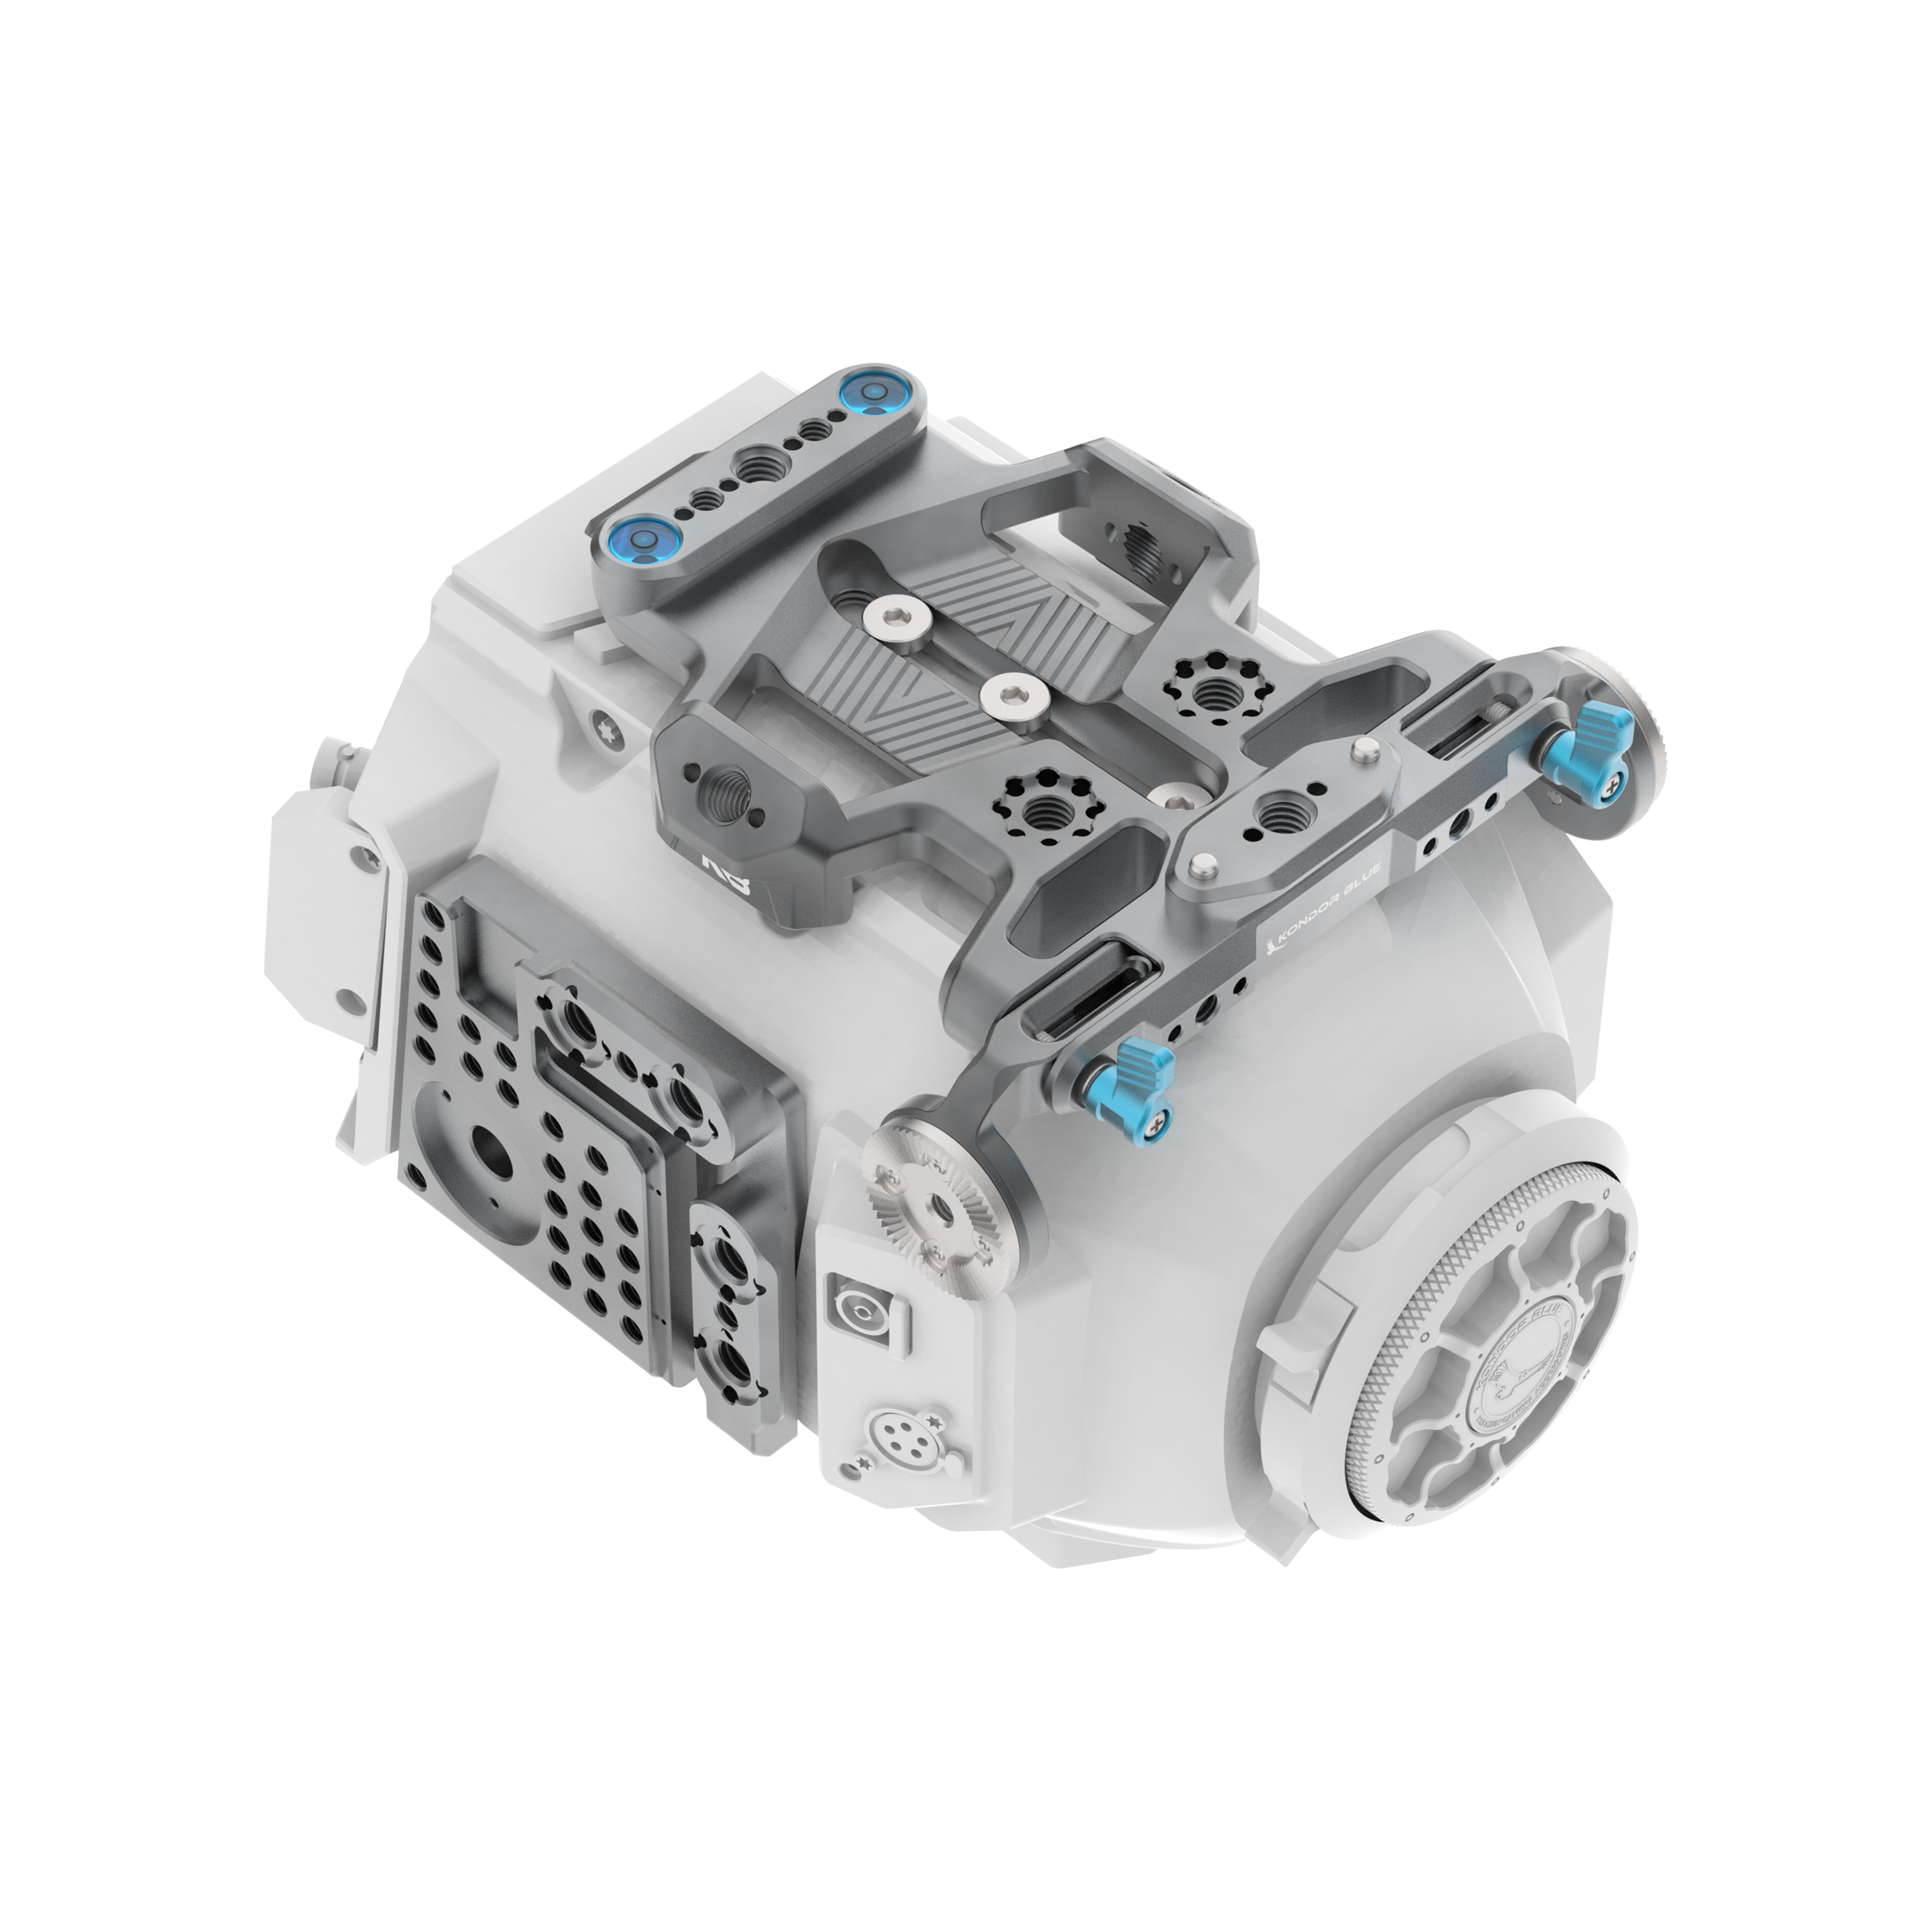
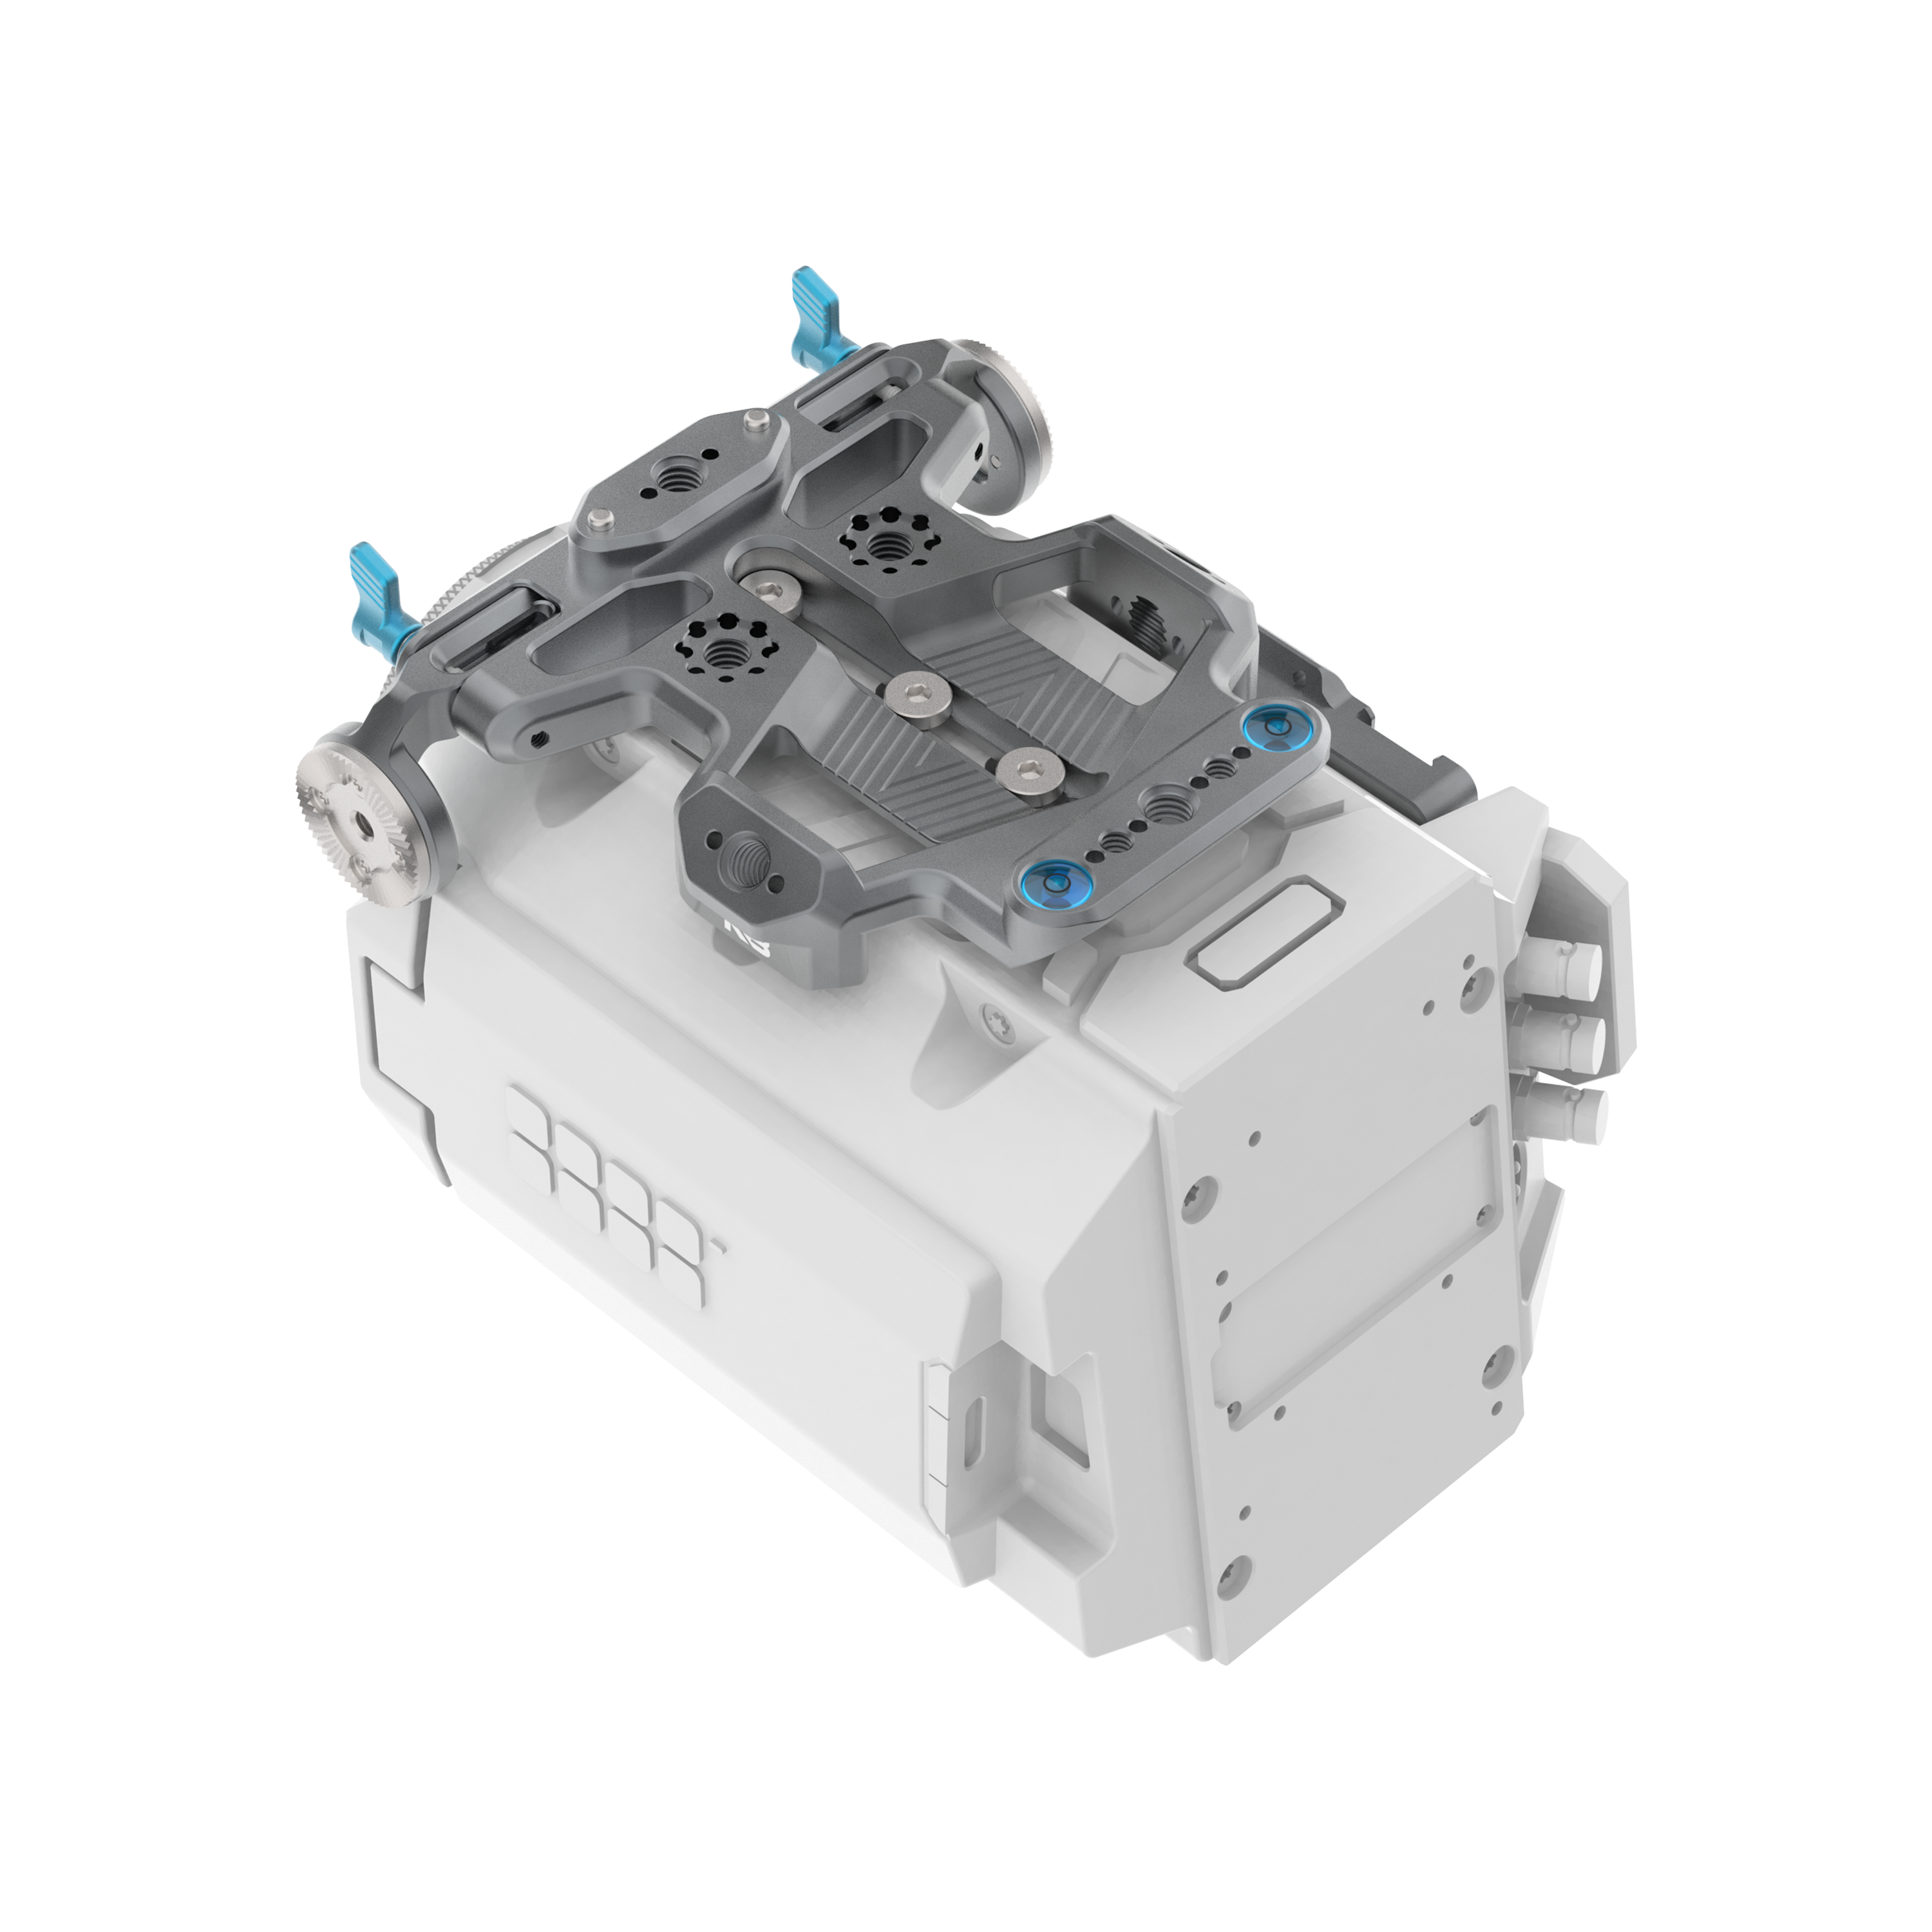
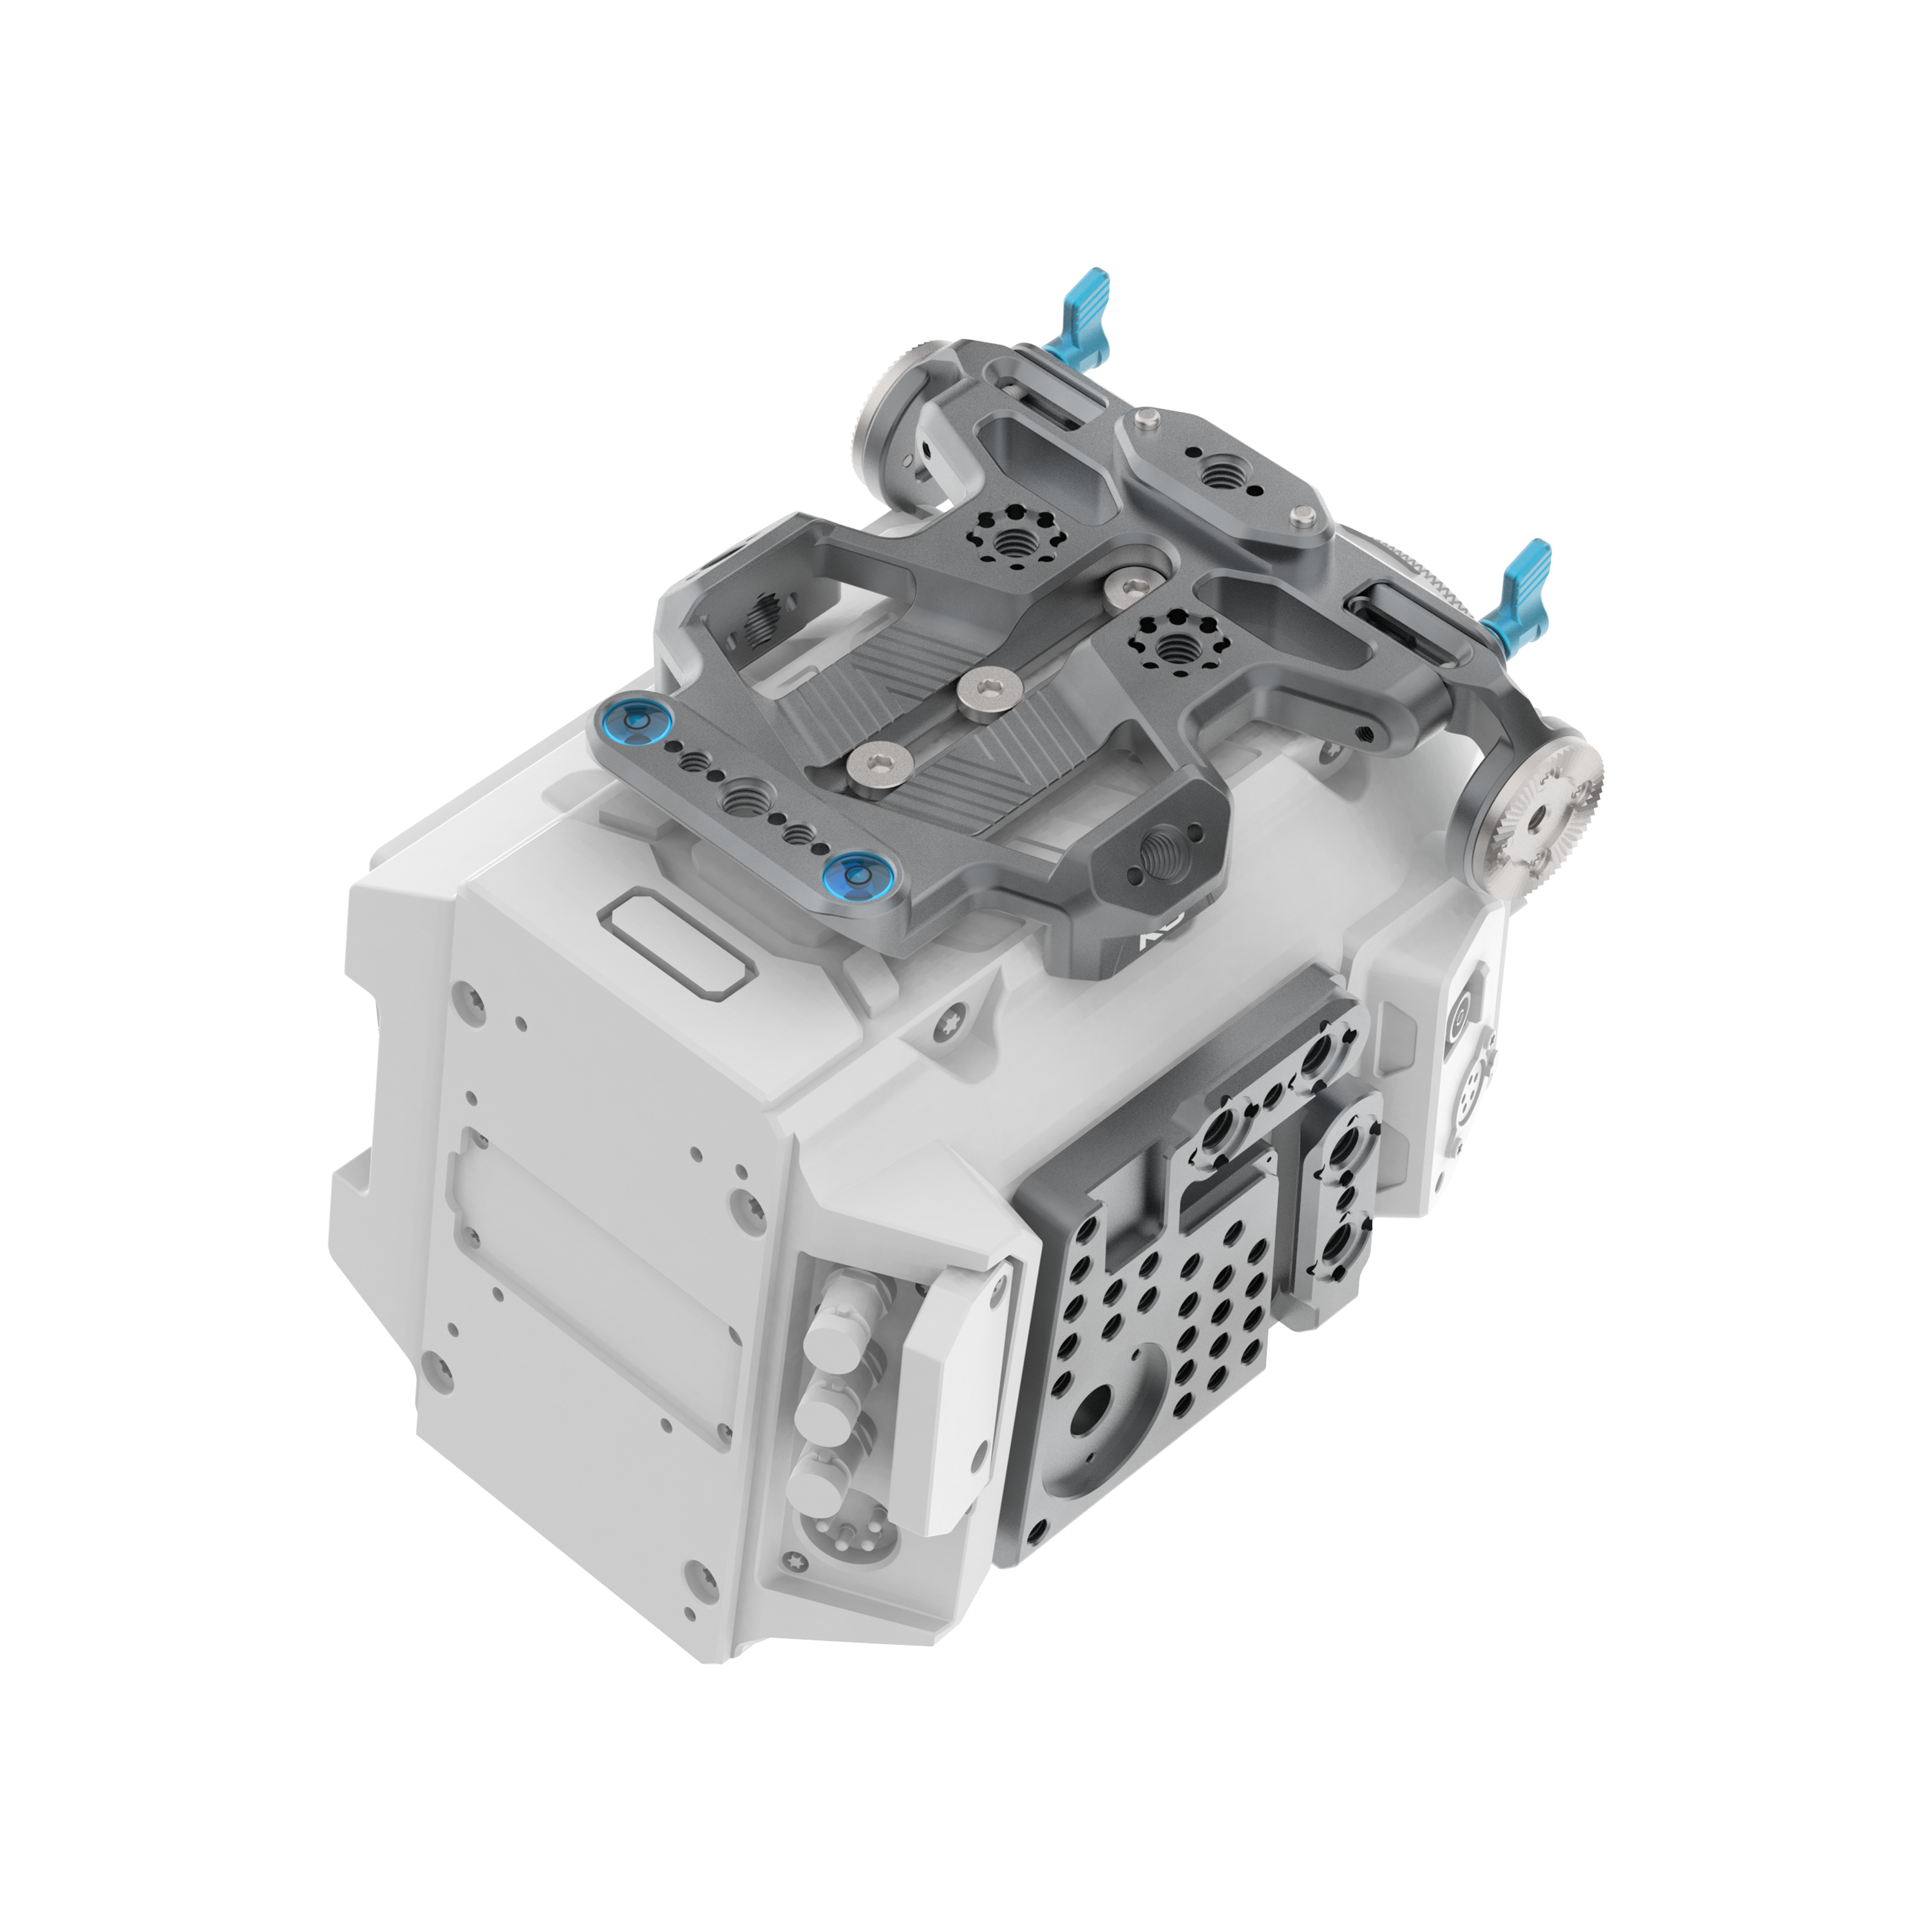
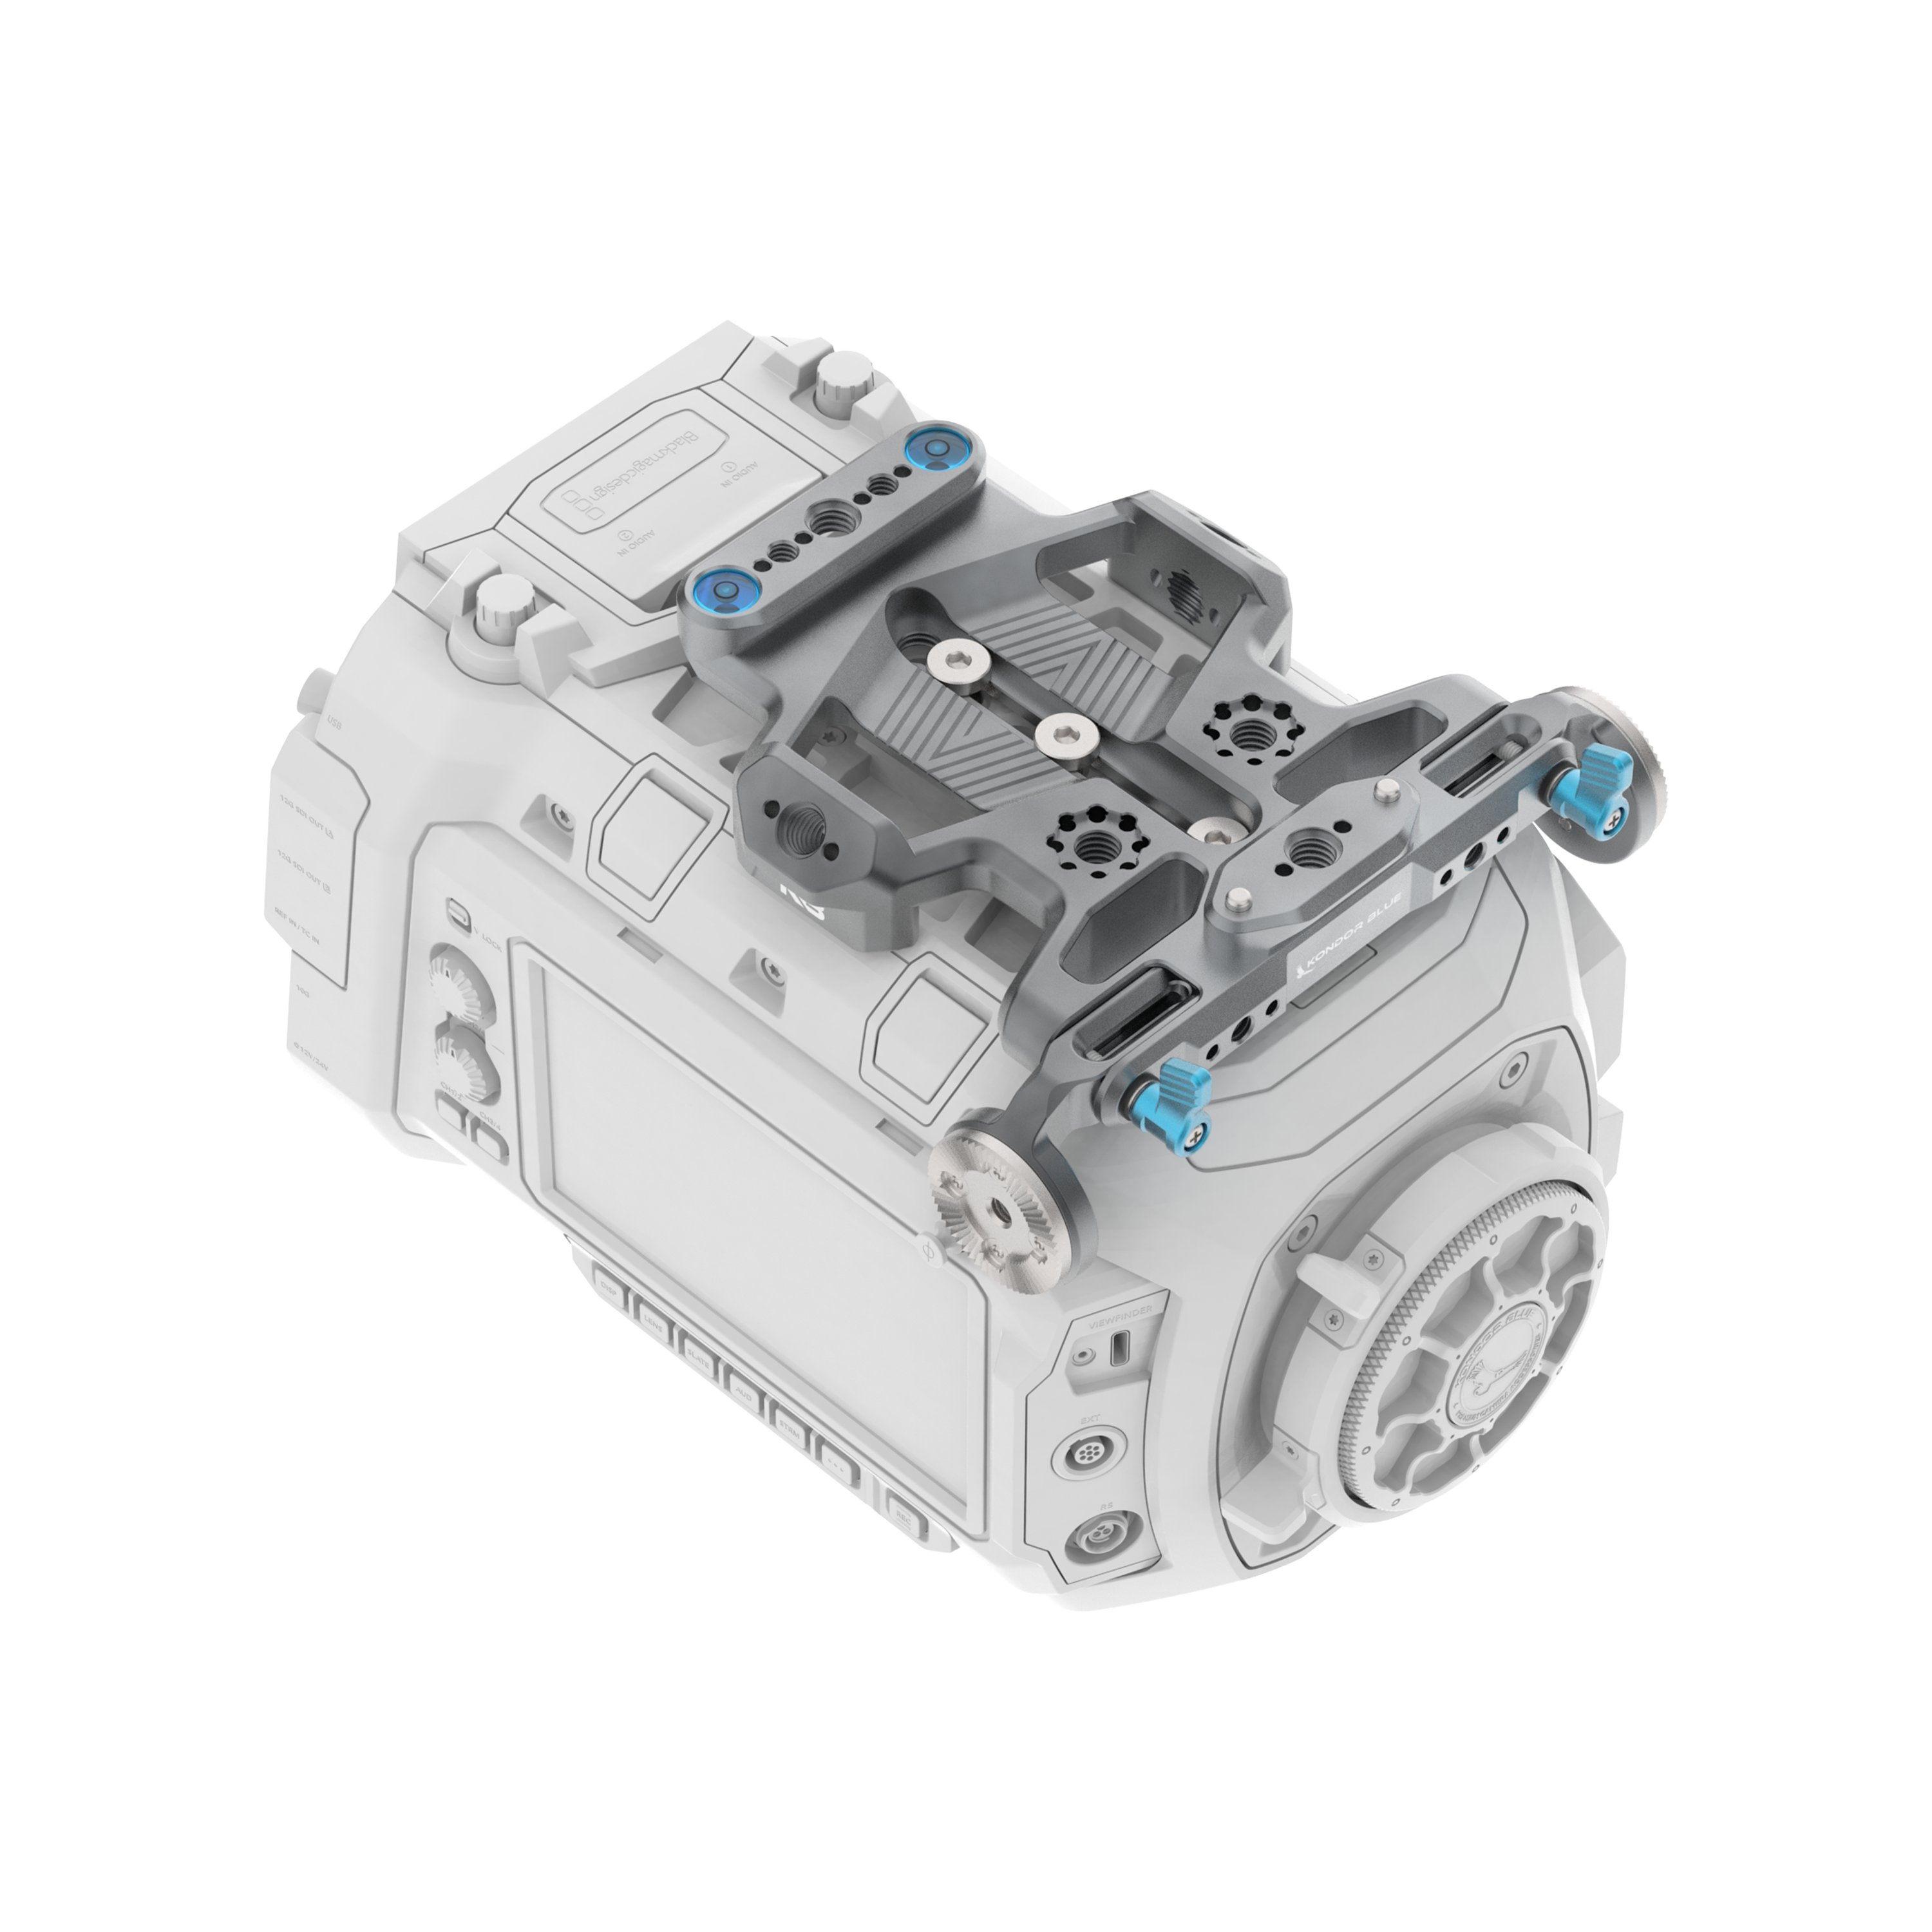
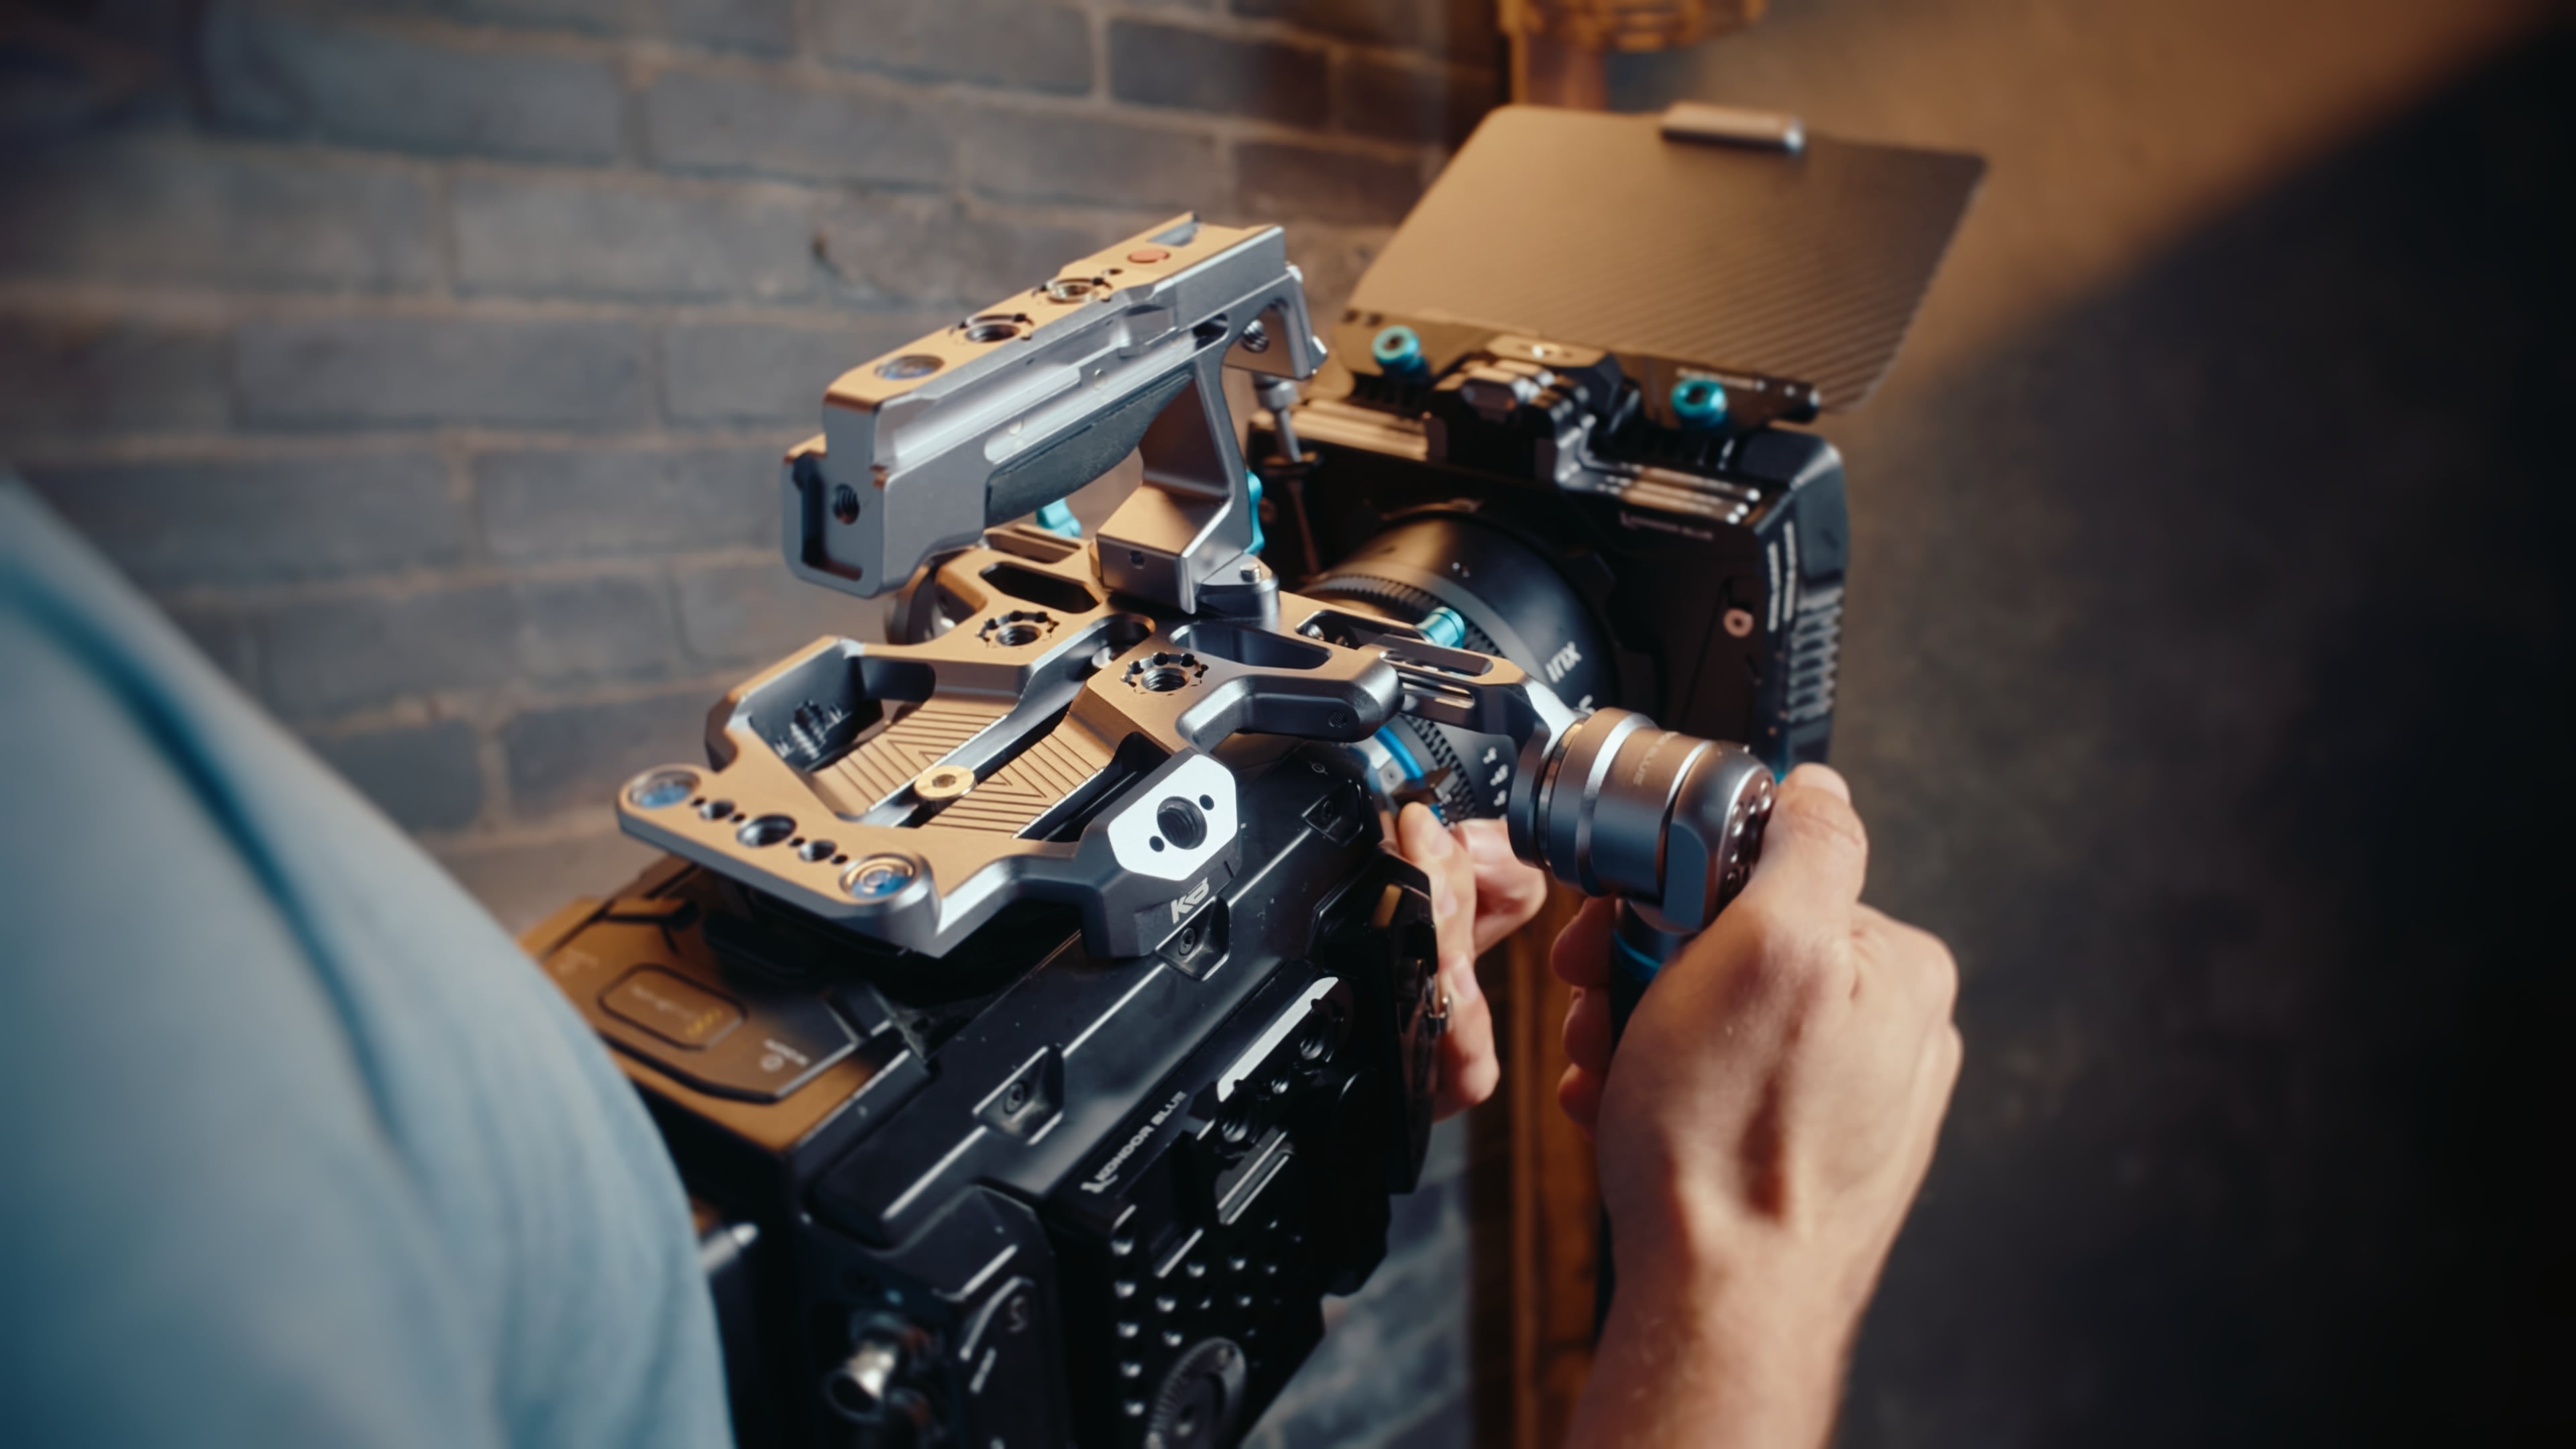
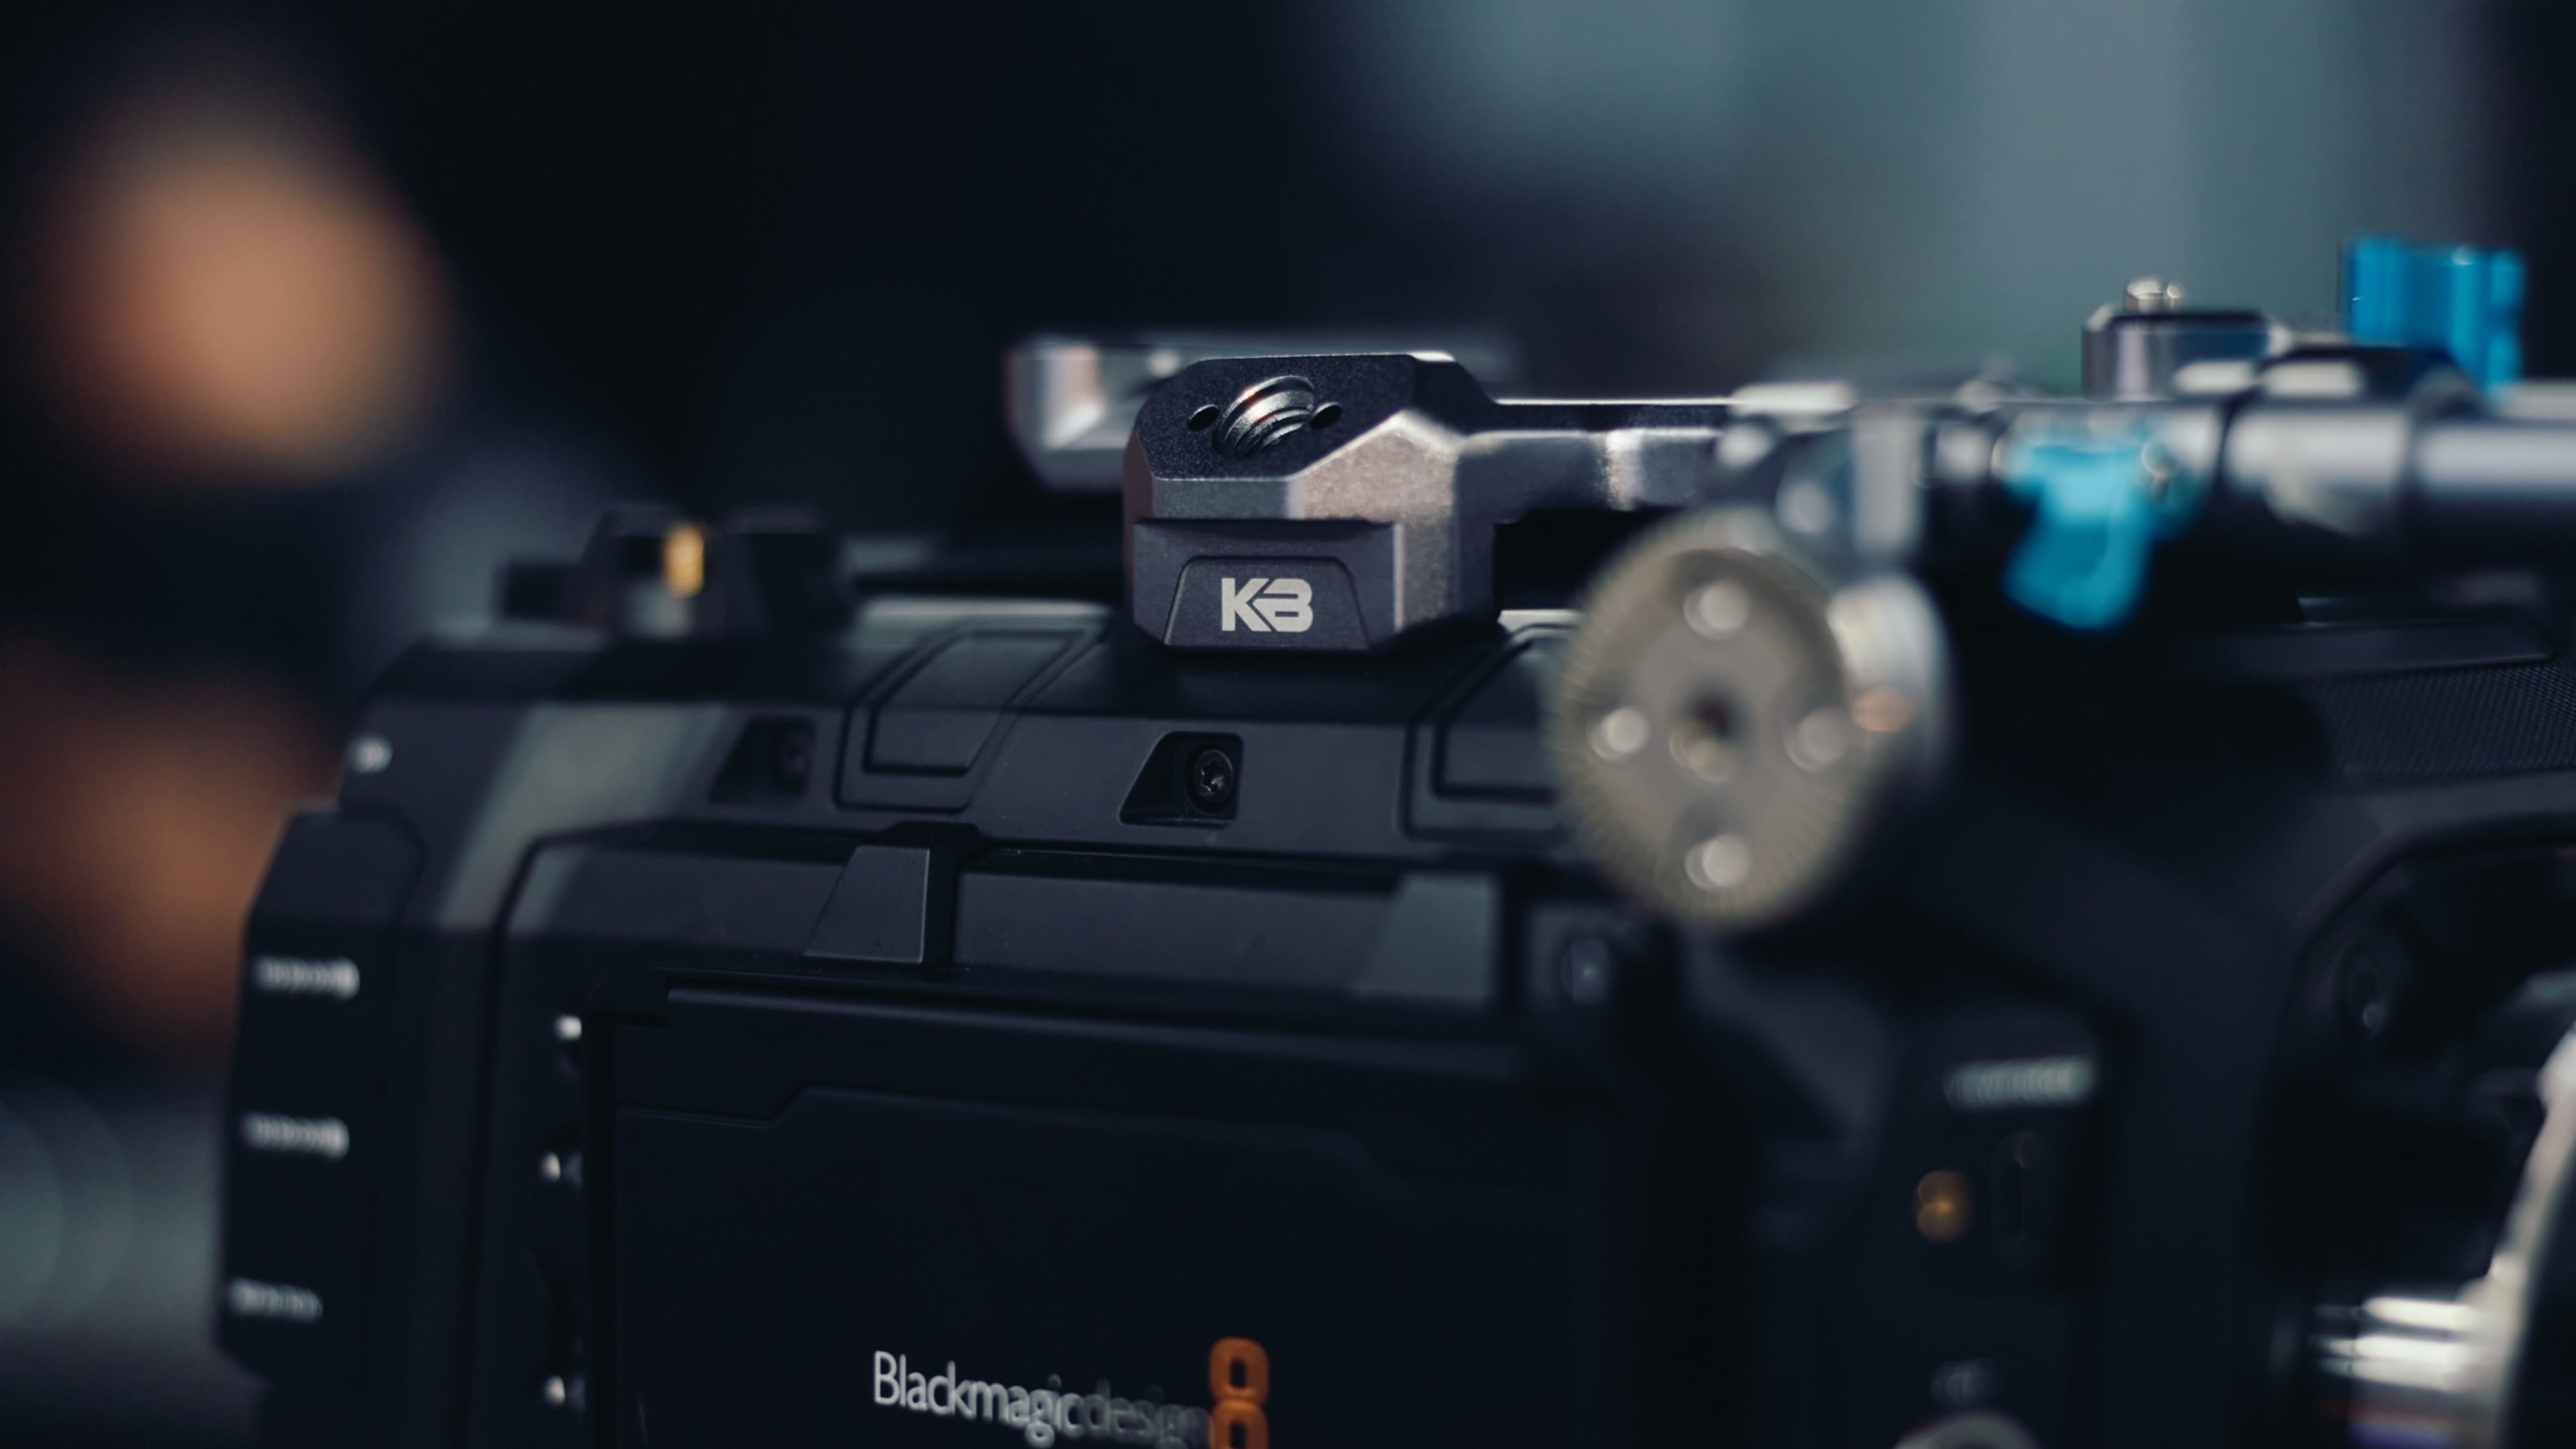
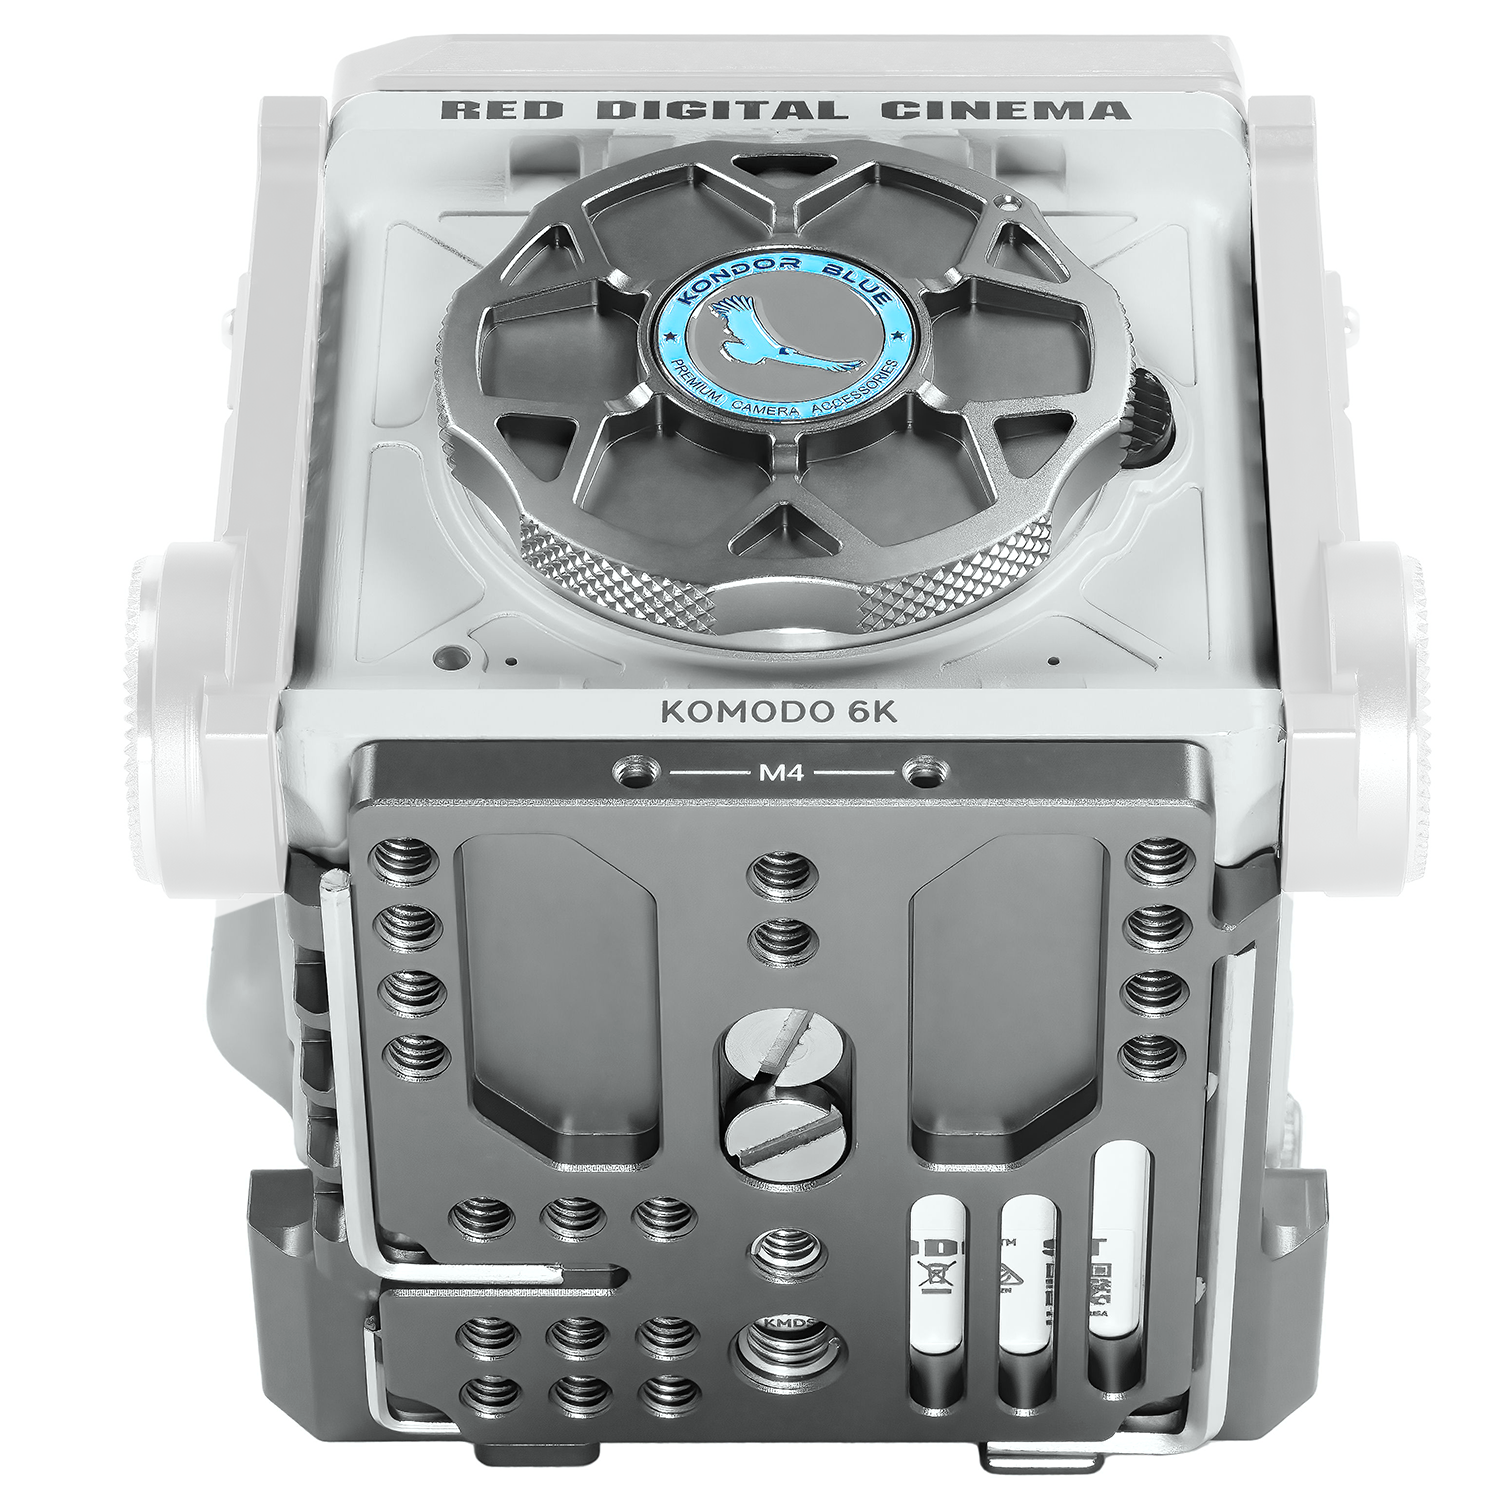
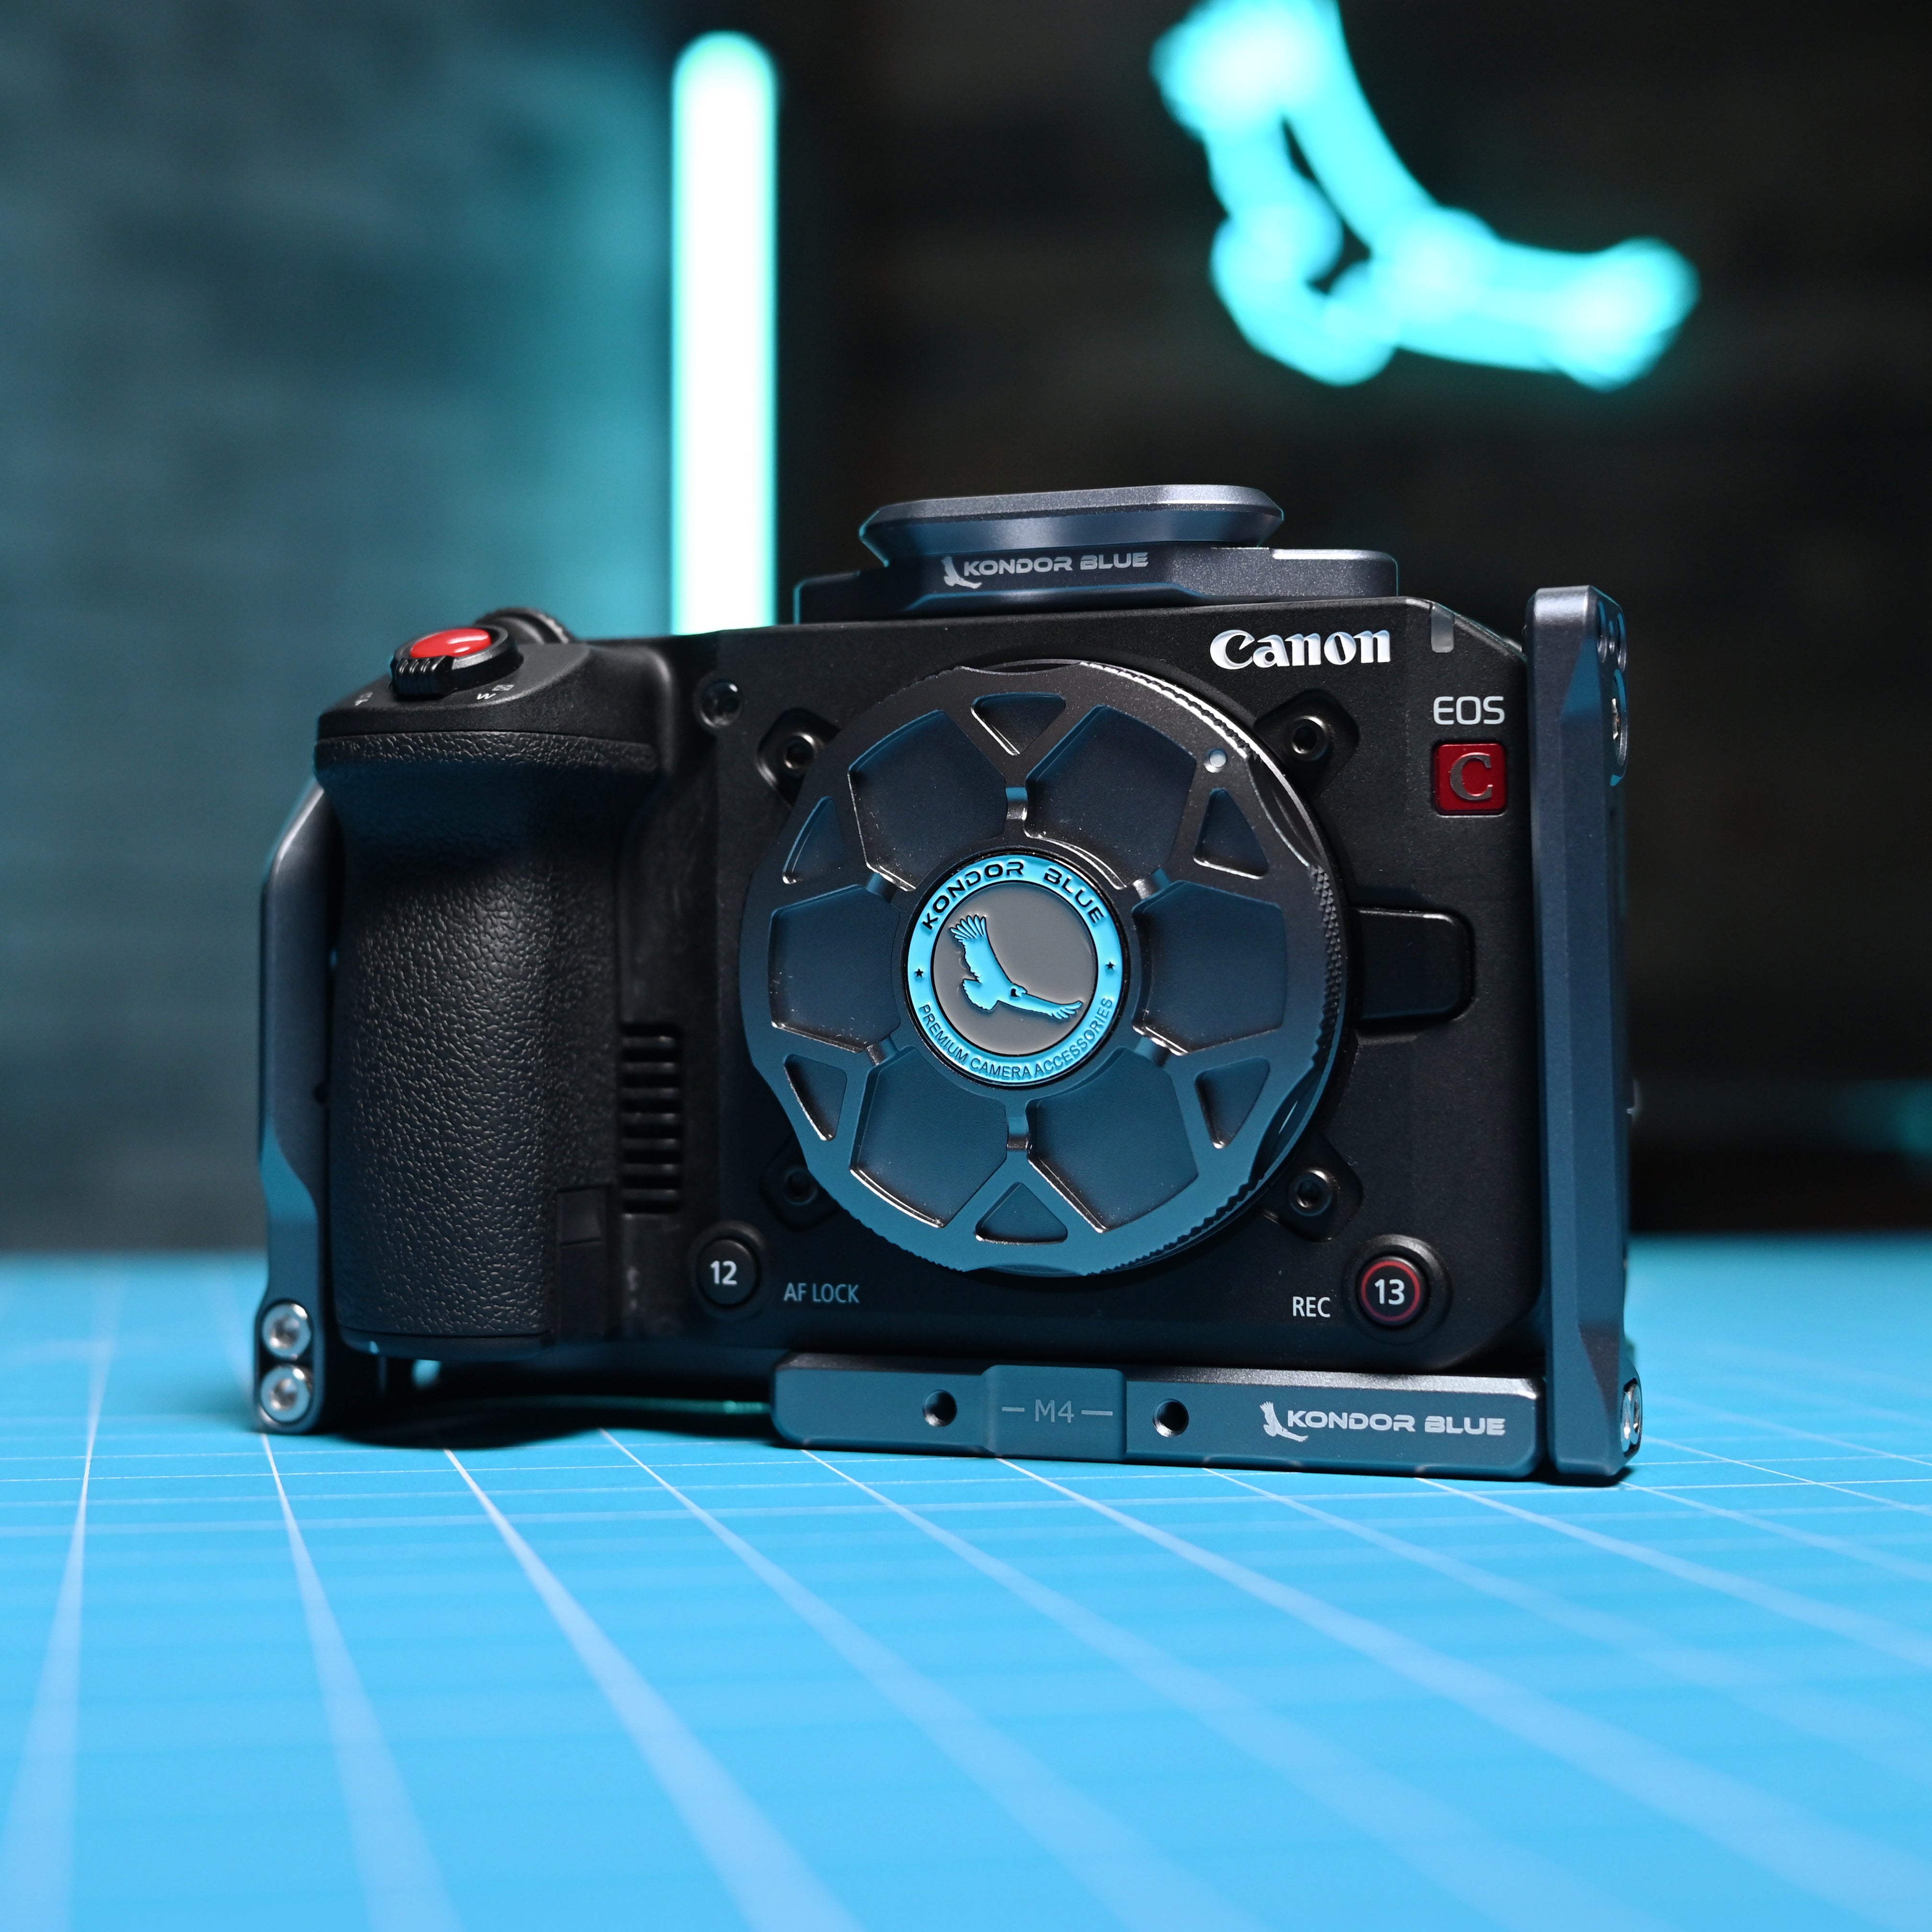
A camera cage is a fitted frame that mounts around your camera body to add more accessory mounting points, protection, and rigging flexibility. Instead of attaching everything directly to the camera, a cage gives you a stronger foundation for monitors, handles, microphones, wireless systems, power solutions, cable clamps, baseplates, and other production accessories.
A good cage should make your camera easier to operate, not harder. It should protect the camera, improve handling, and keep the most important controls, ports, battery doors, screens, and media slots accessible.
Why a Camera Cage Matters
Modern cameras are powerful, but most camera bodies are not designed to carry every accessory directly. Once you add a monitor, top handle, microphone, wireless video system, battery plate, or cable clamp, you need a stronger structure around the camera.
A well-designed camera cage helps you:
- Add monitors, handles, microphones, and wireless systems more securely
- Protect camera ports with better cable routing and cable clamps
- Keep your setup balanced for handheld, tripod, shoulder, or gimbal work
- Use industry-standard mounting points like 1/4”-20, 3/8”-16, ARRI-style anti-twist, NATO, and Arca-compatible mounts
- Maintain access to your camera’s ports, screen, battery door, media slots, and controls
- Build the camera up for production or strip it down for a smaller setup
A cage should give you more options without adding unnecessary complexity.
Dedicated Camera Cage vs Universal Cage
A universal cage can work in some situations, but a dedicated camera cage is usually the better choice for serious production.
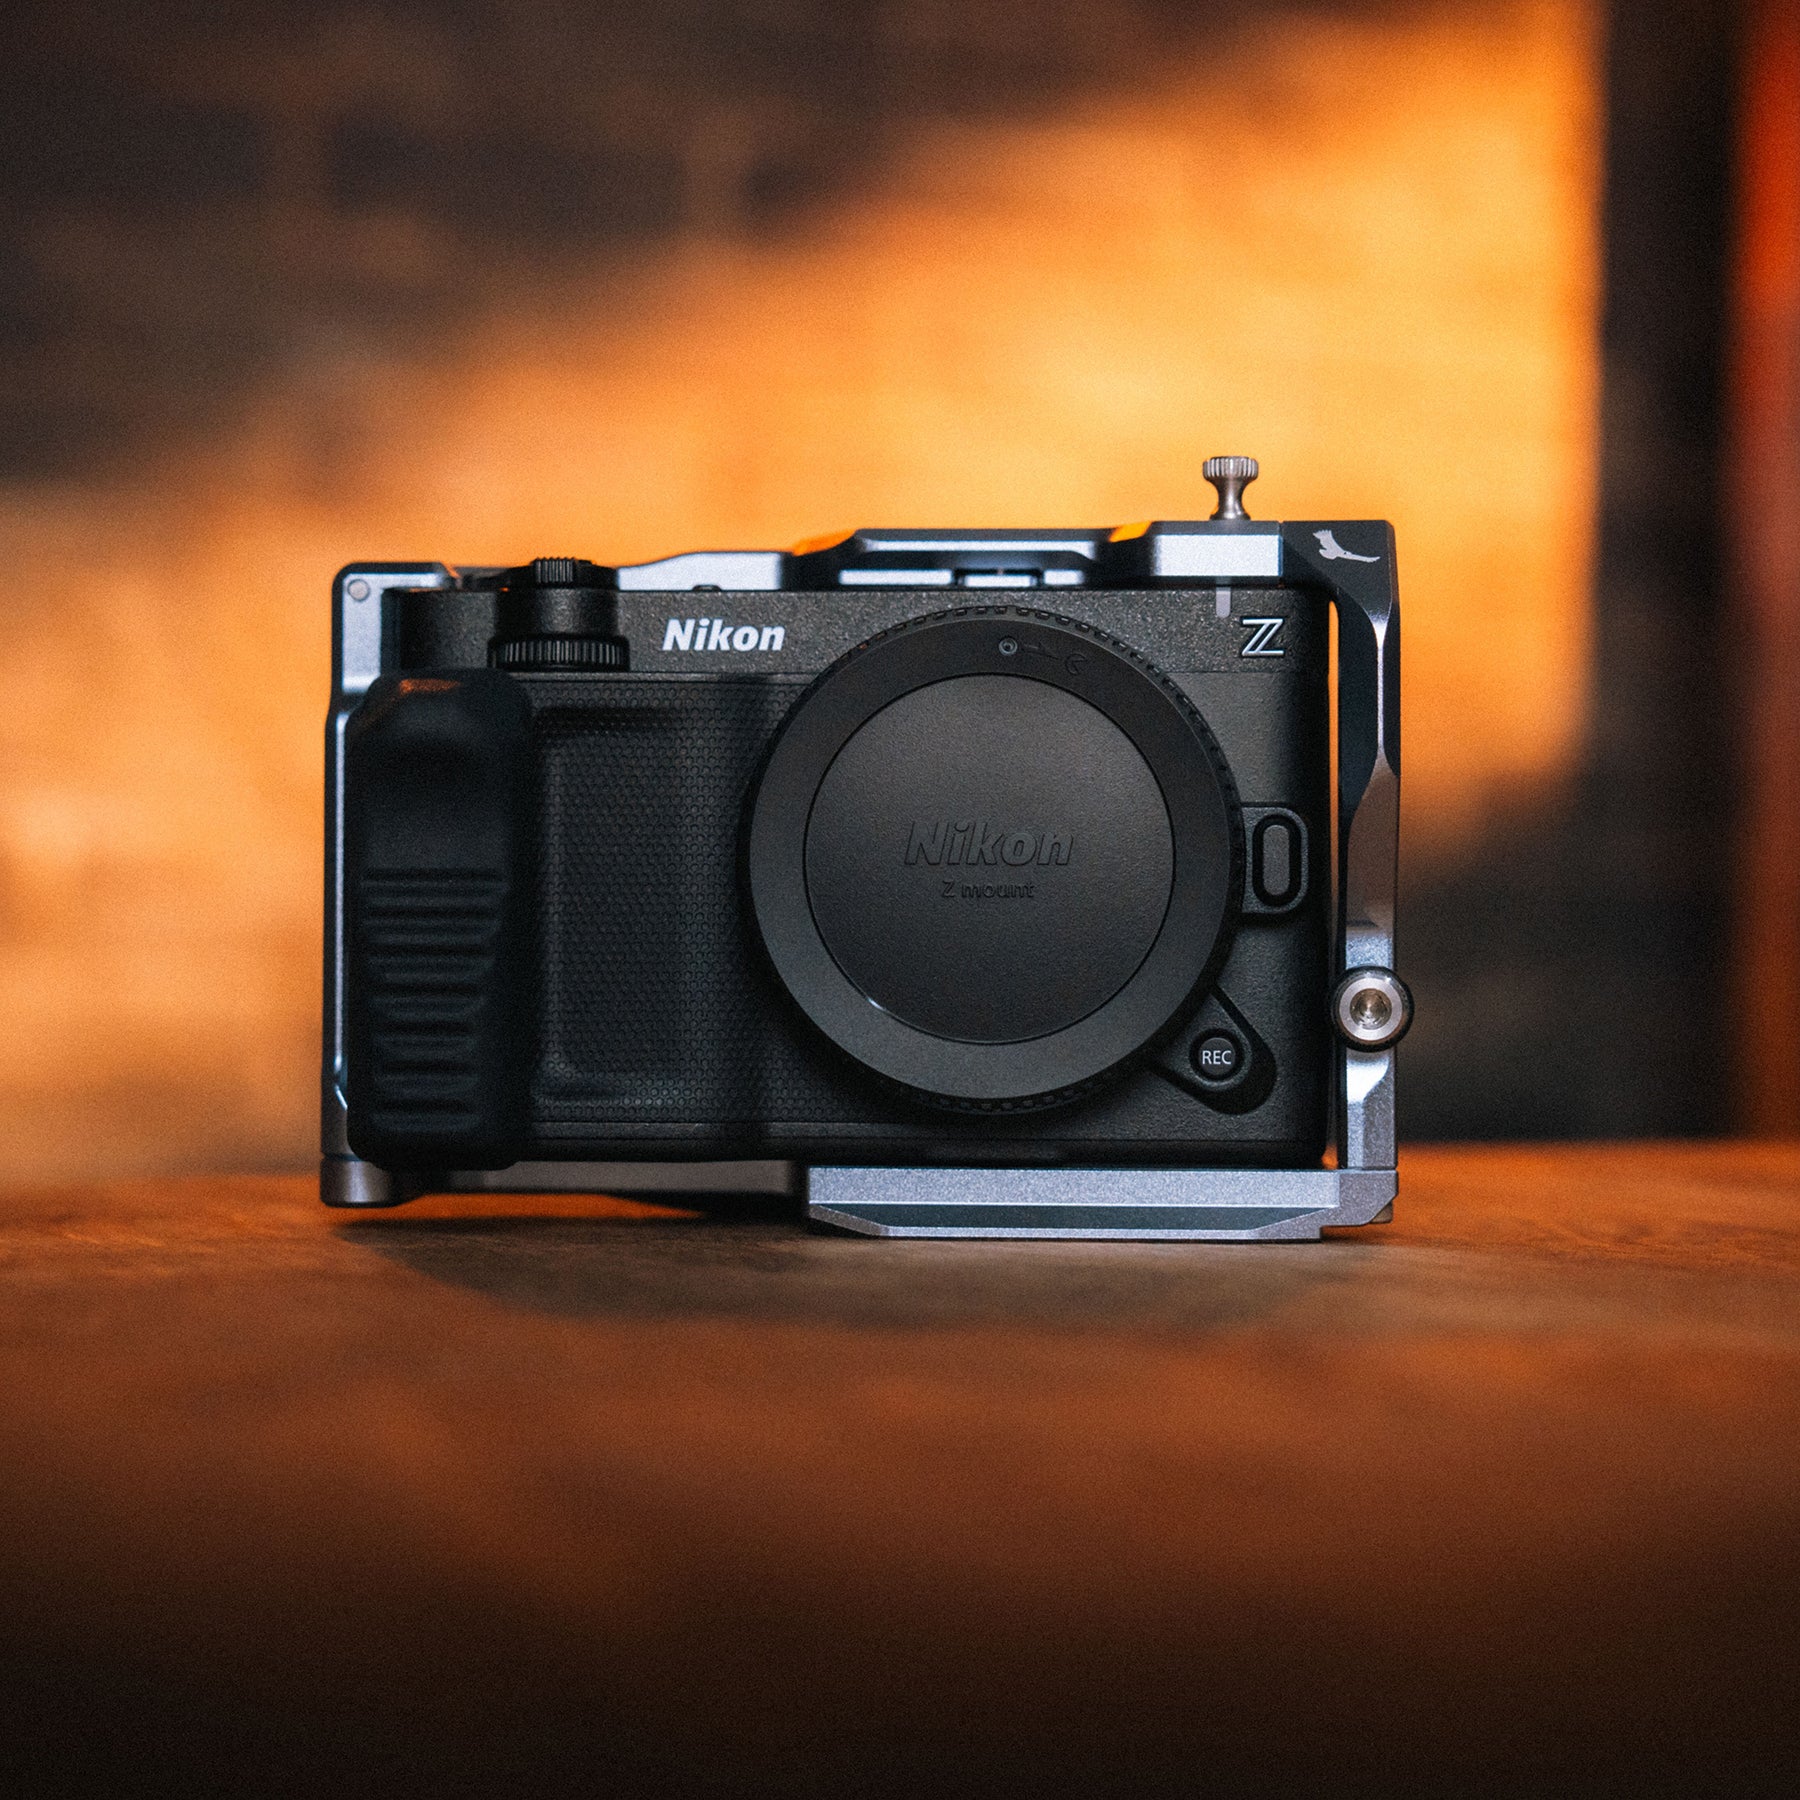
A dedicated cage is designed around one specific camera body. That means the shape, mounting points, port access, battery access, screen clearance, and accessory placement are built around the camera you actually use.
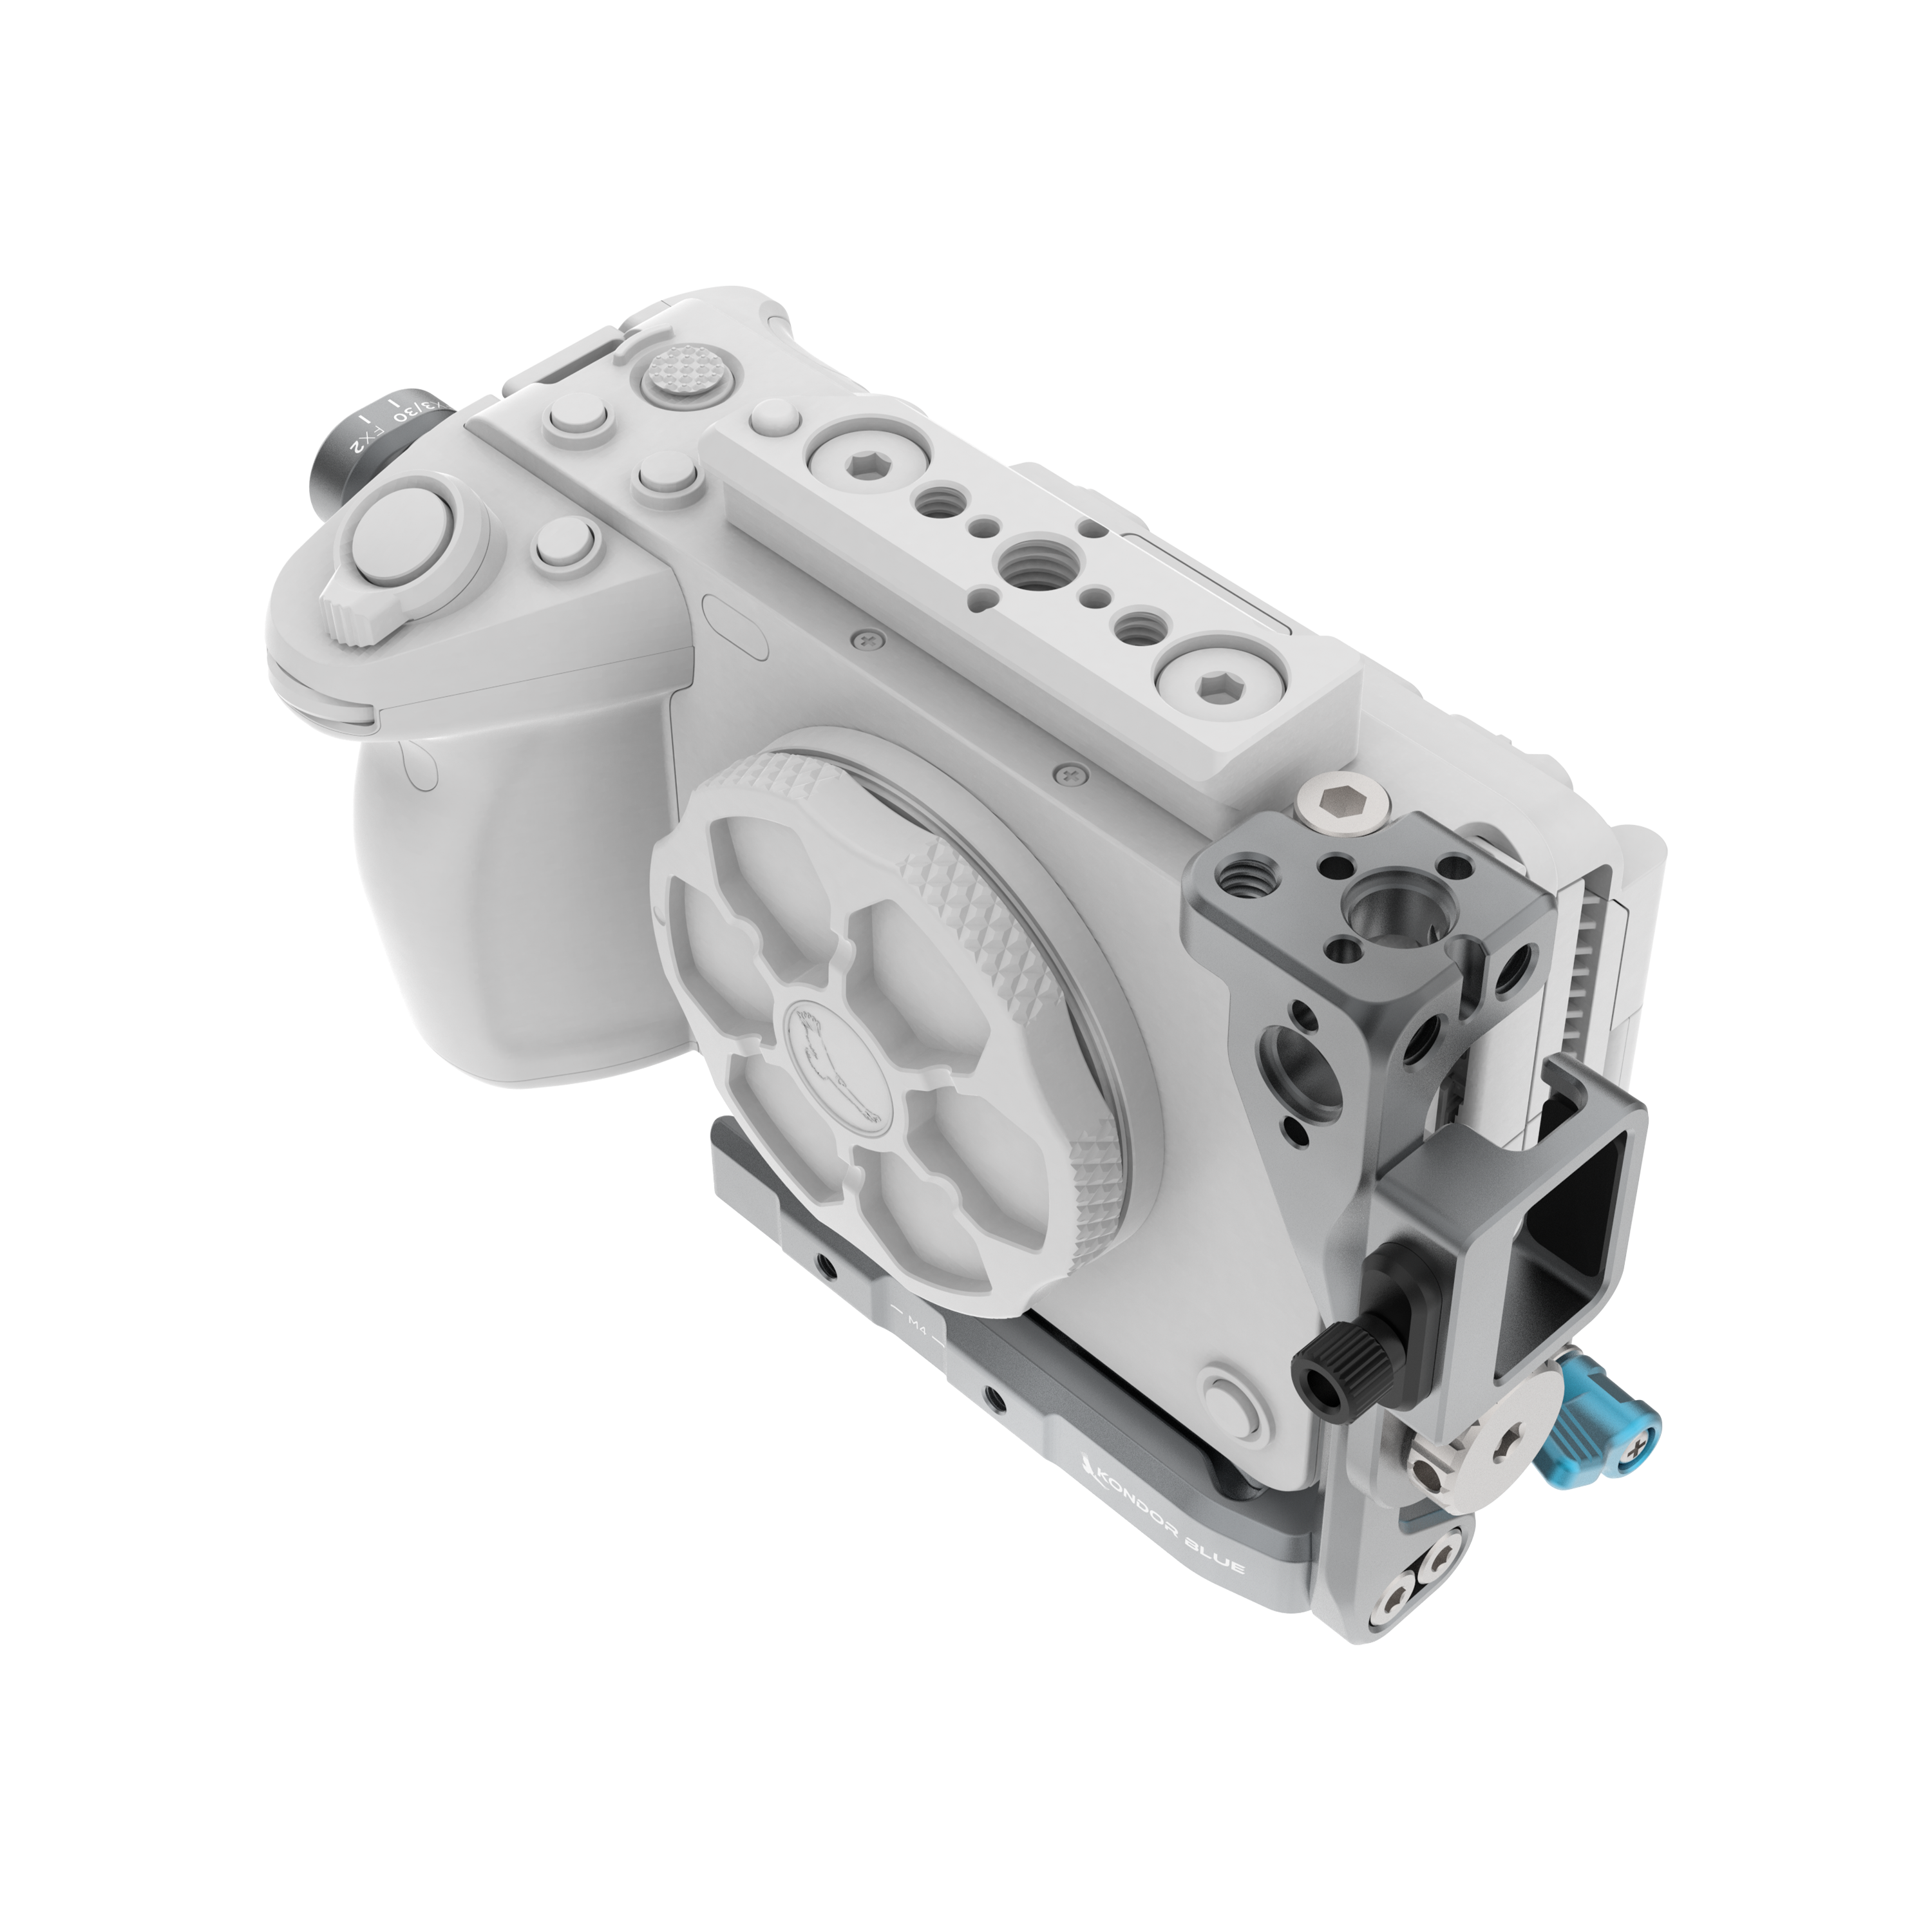
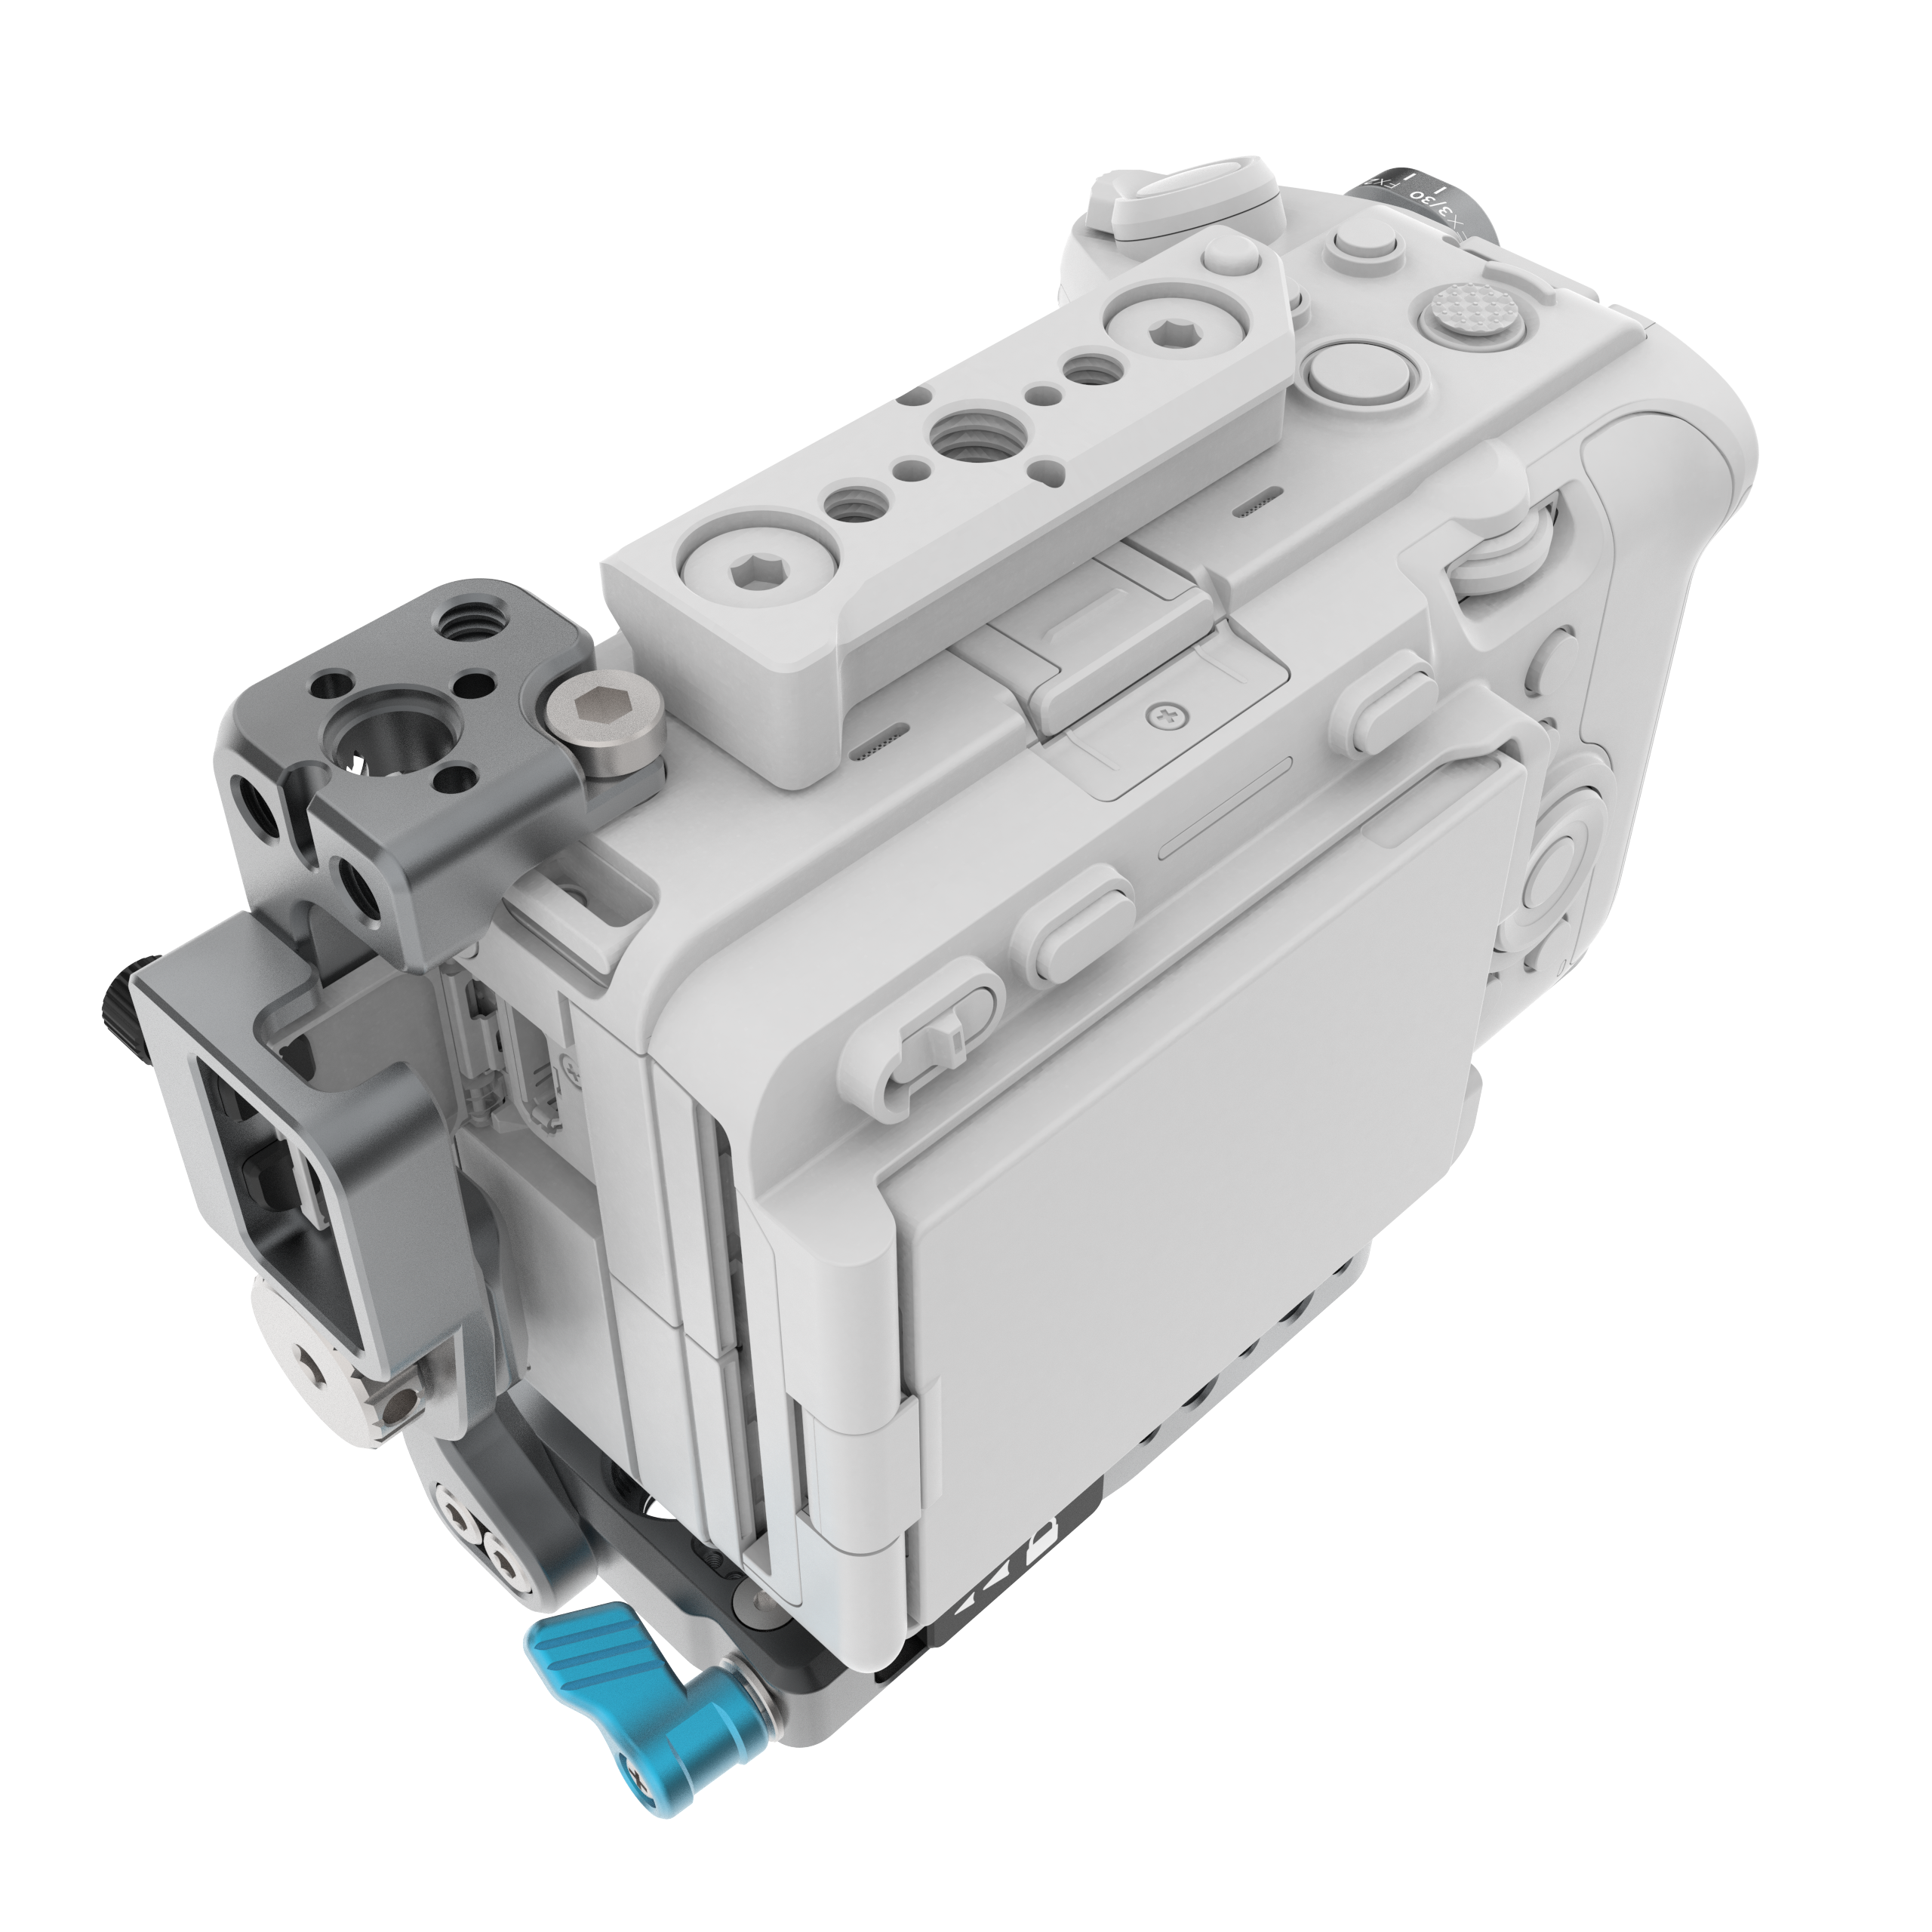
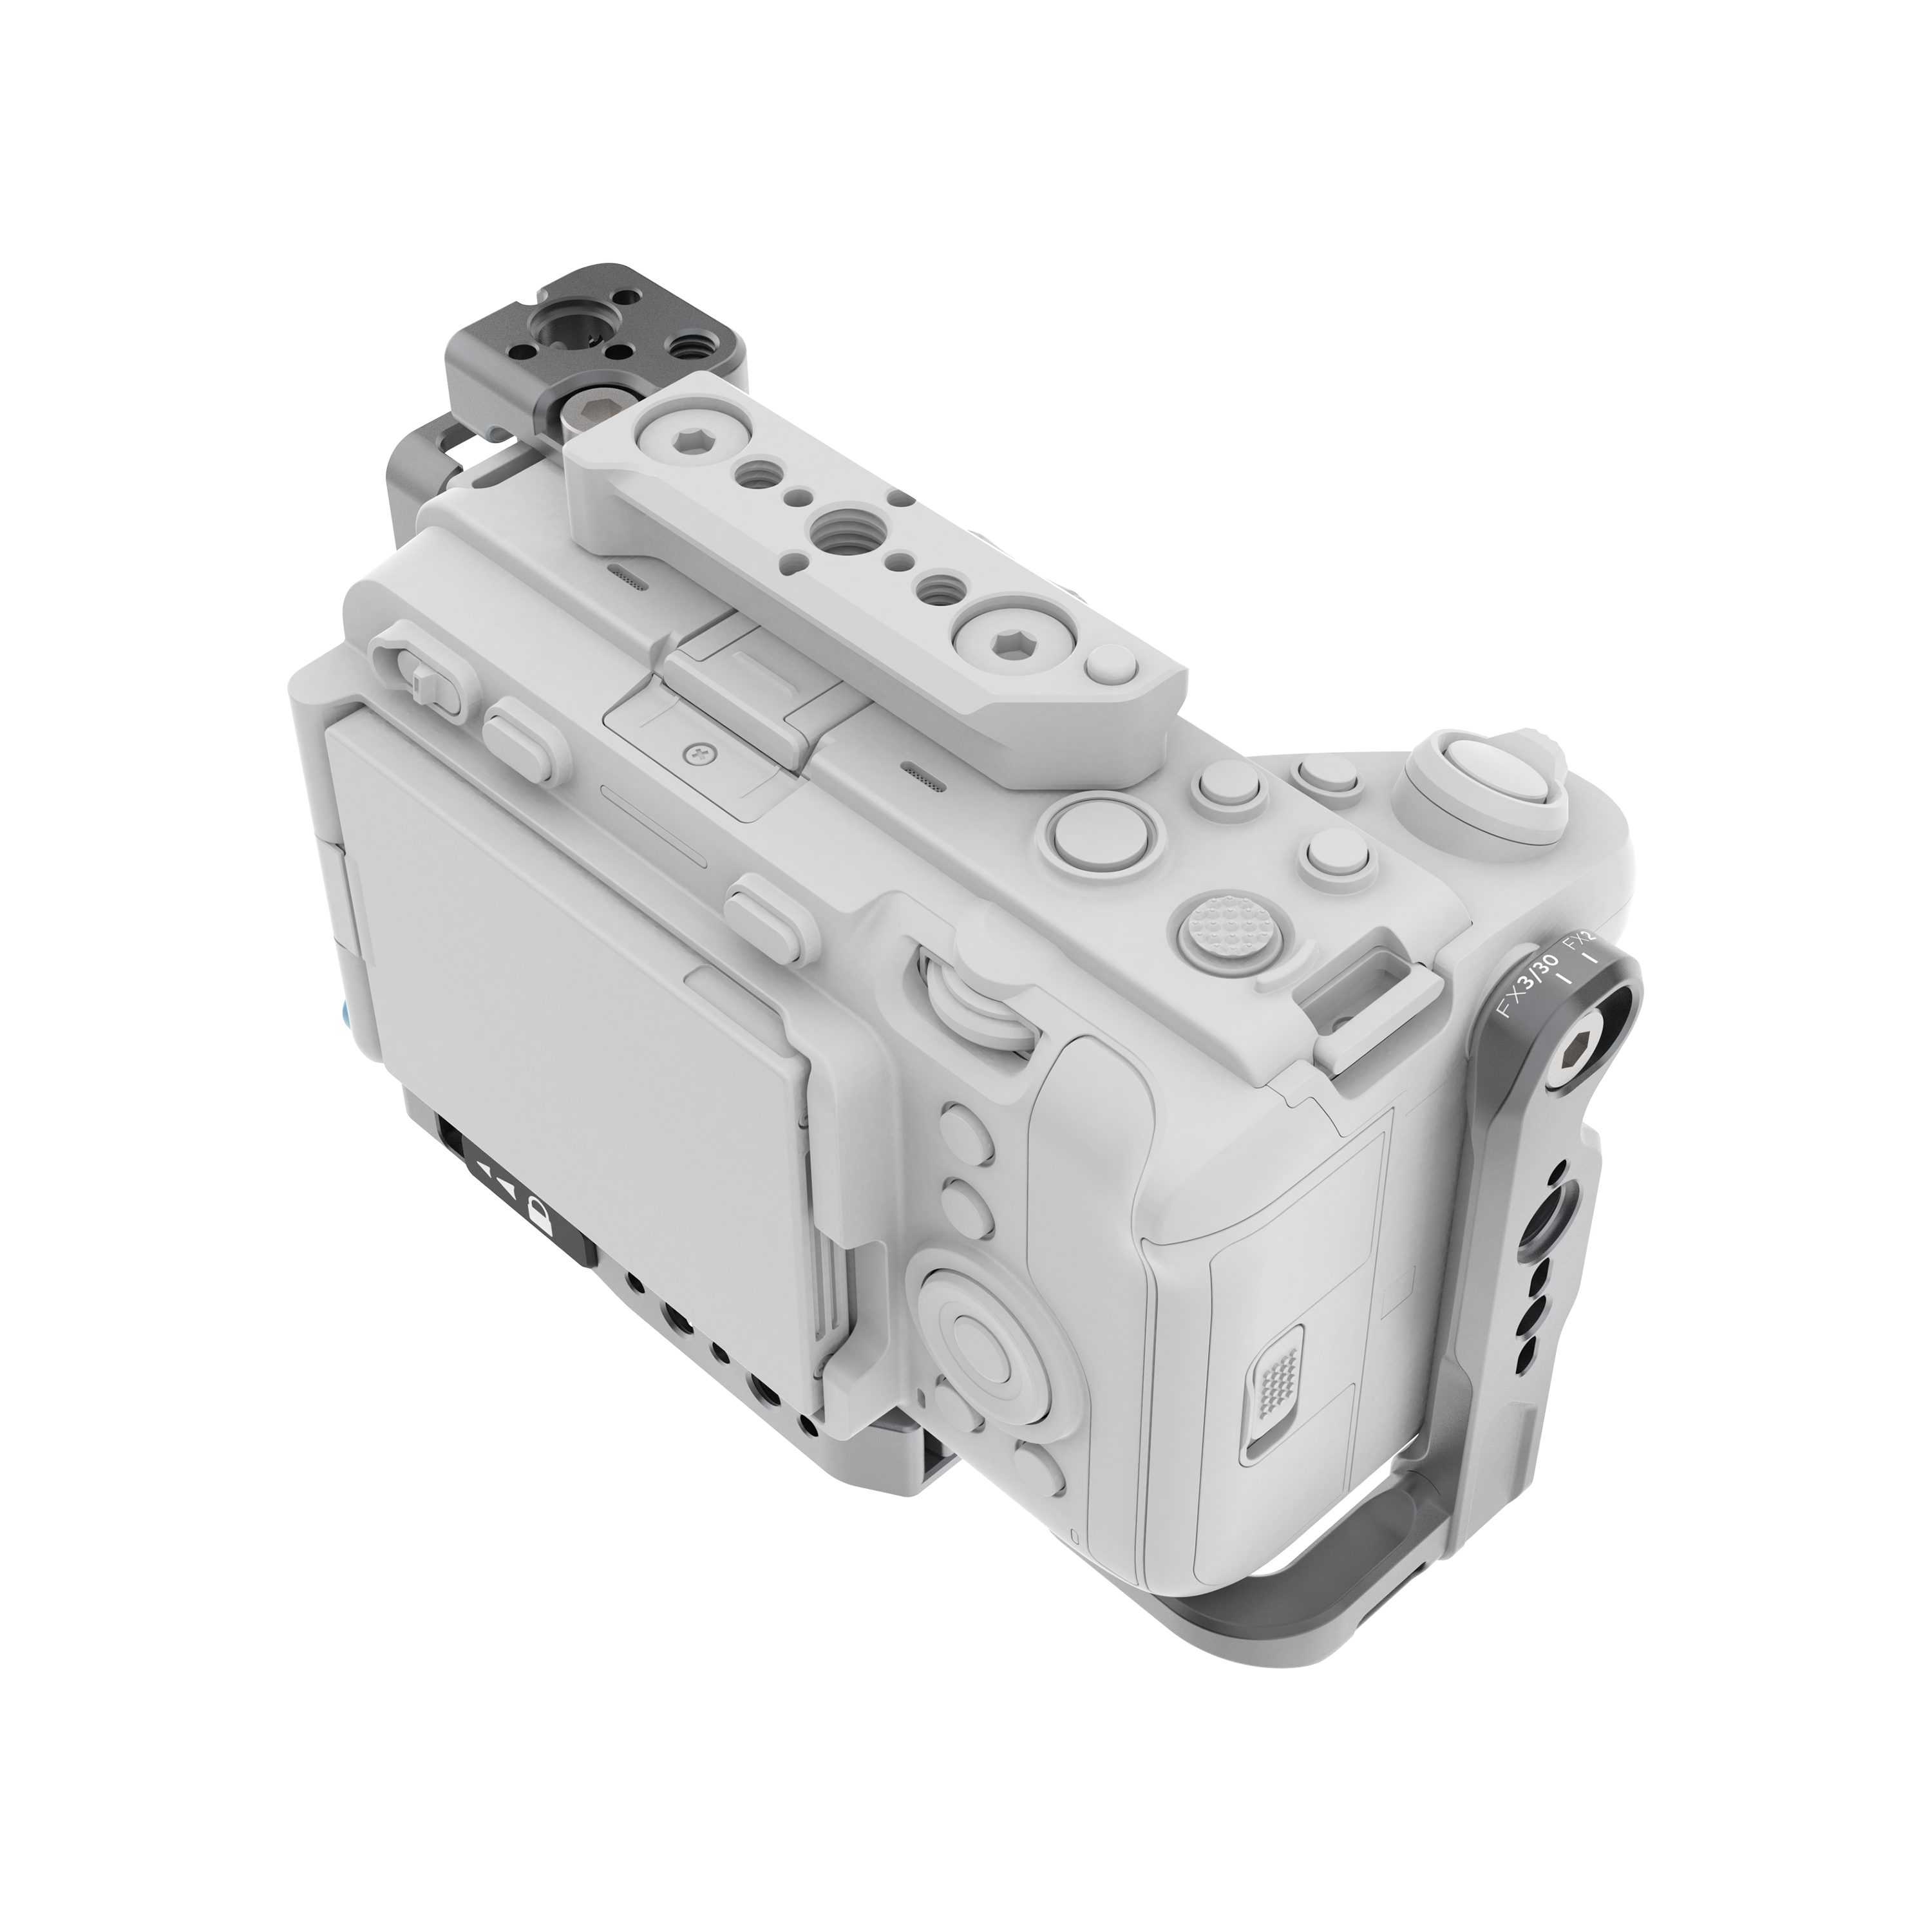
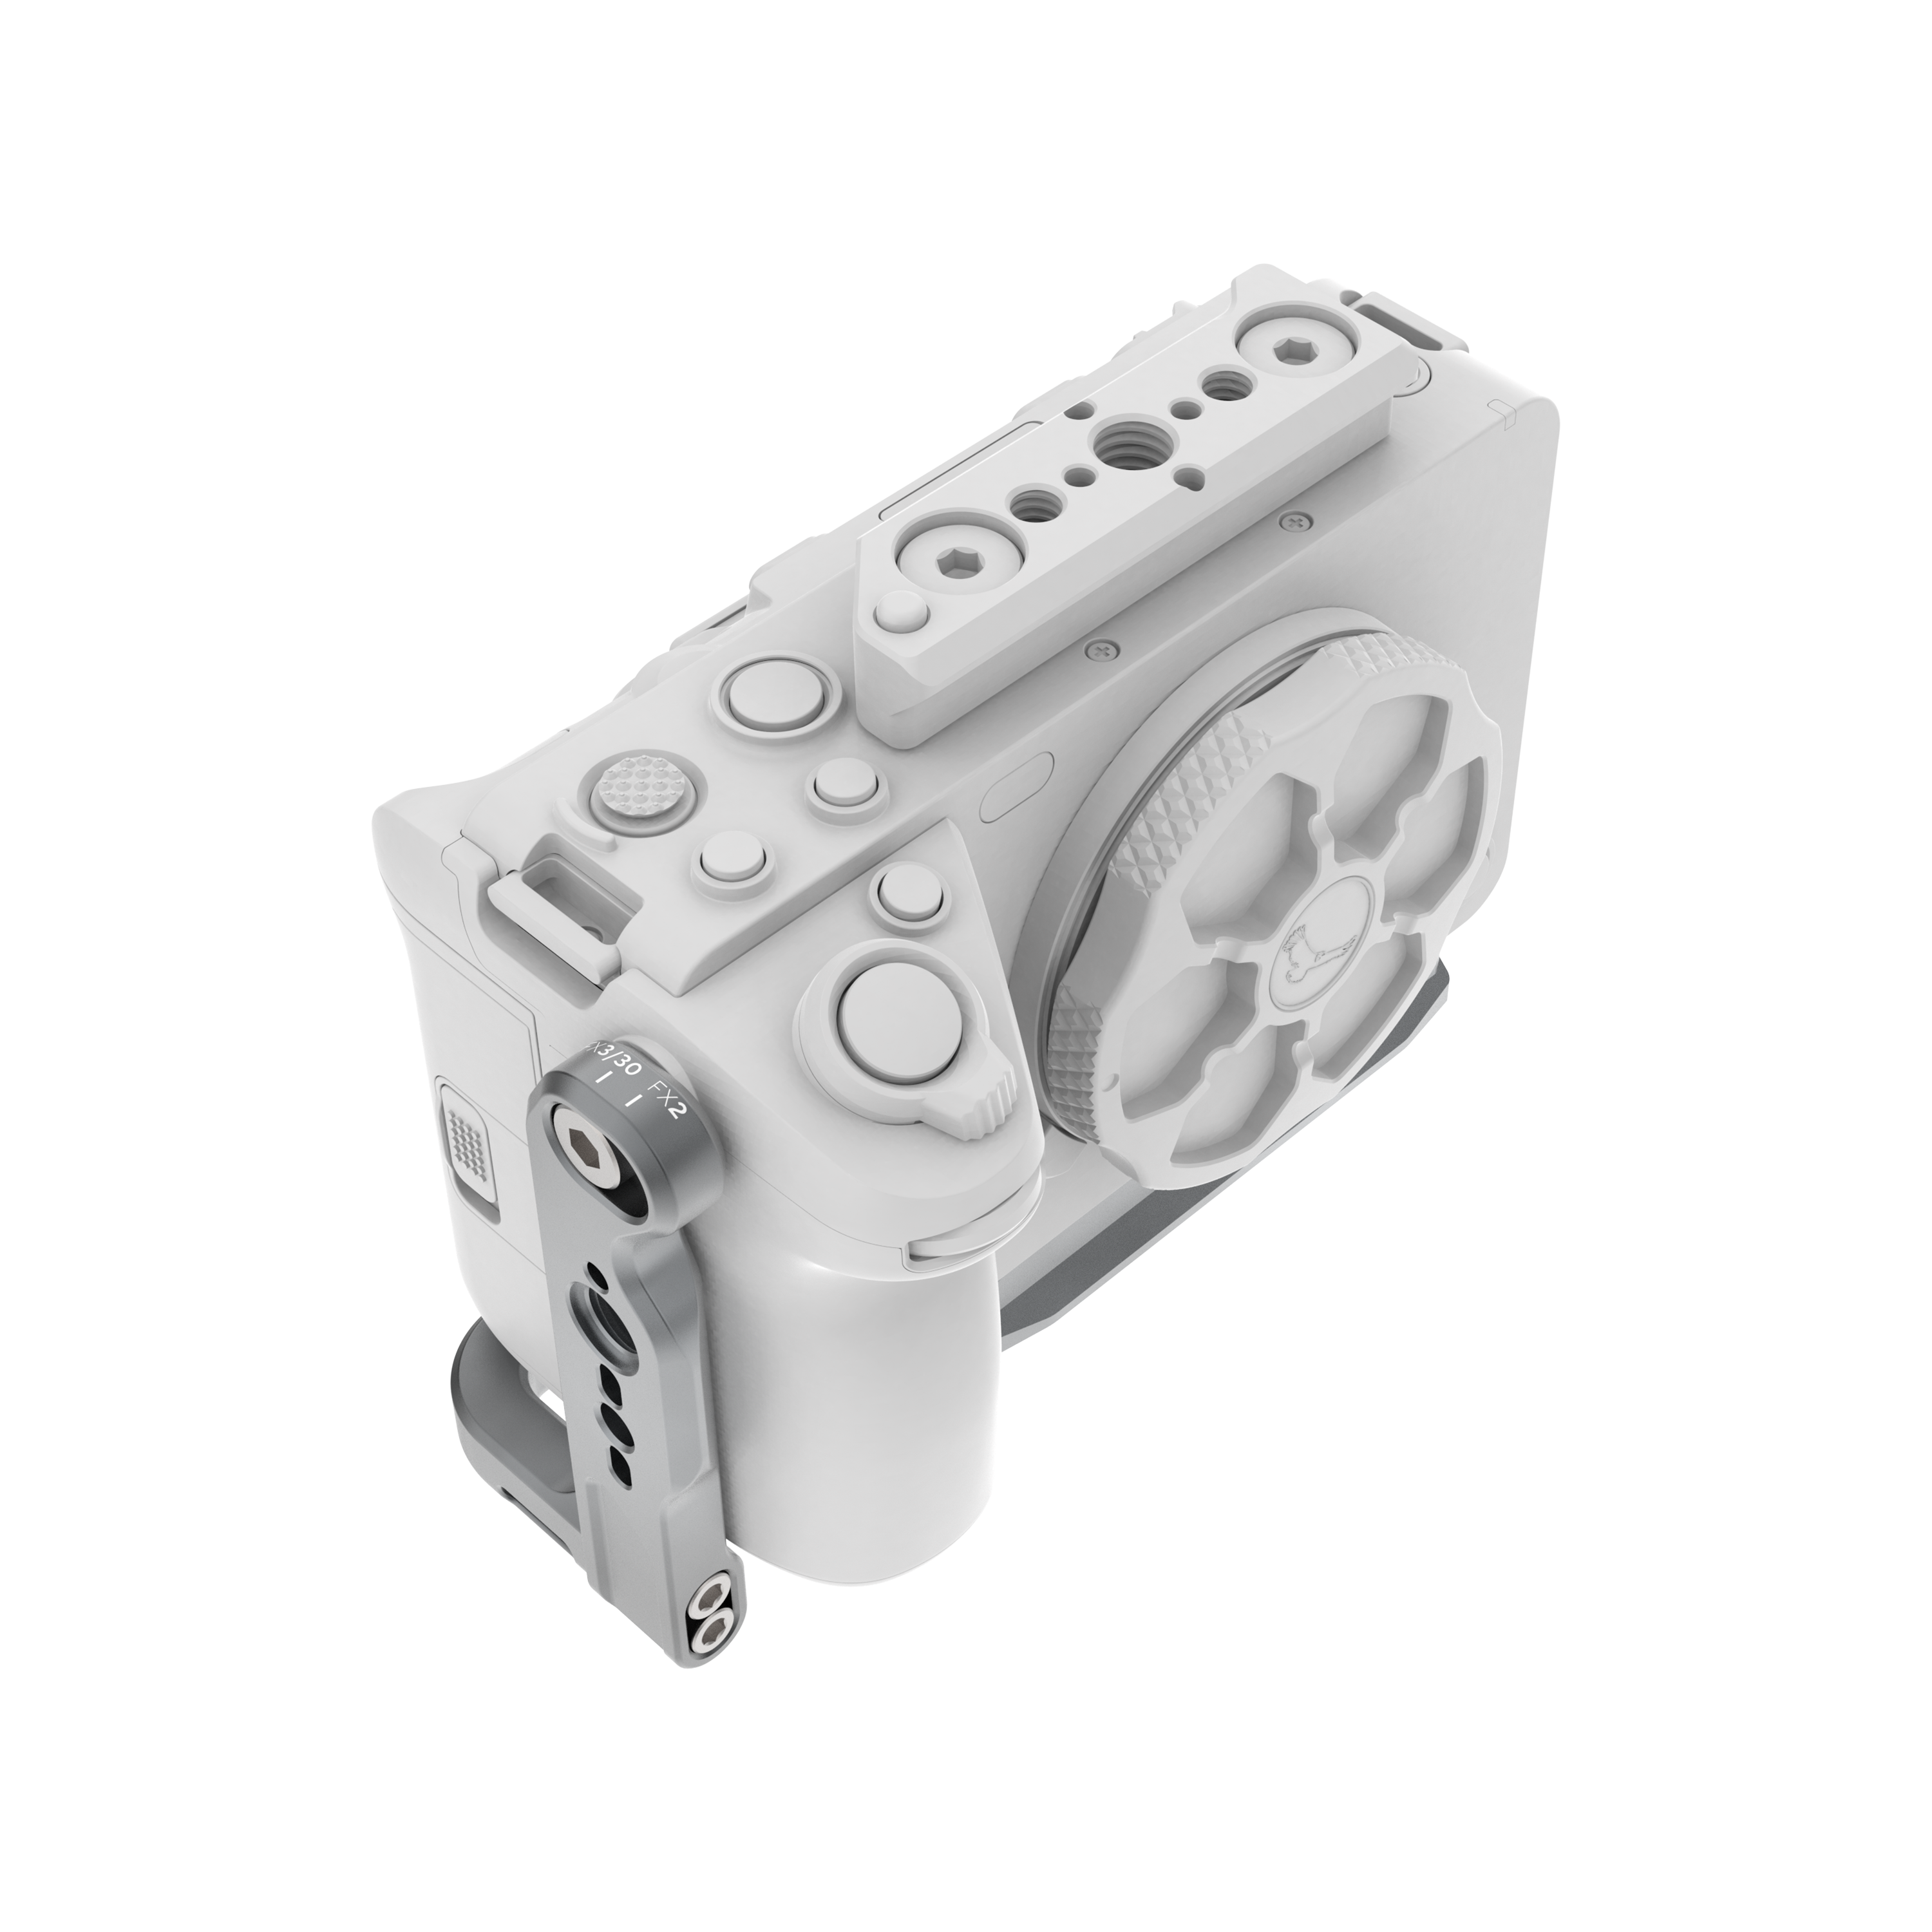
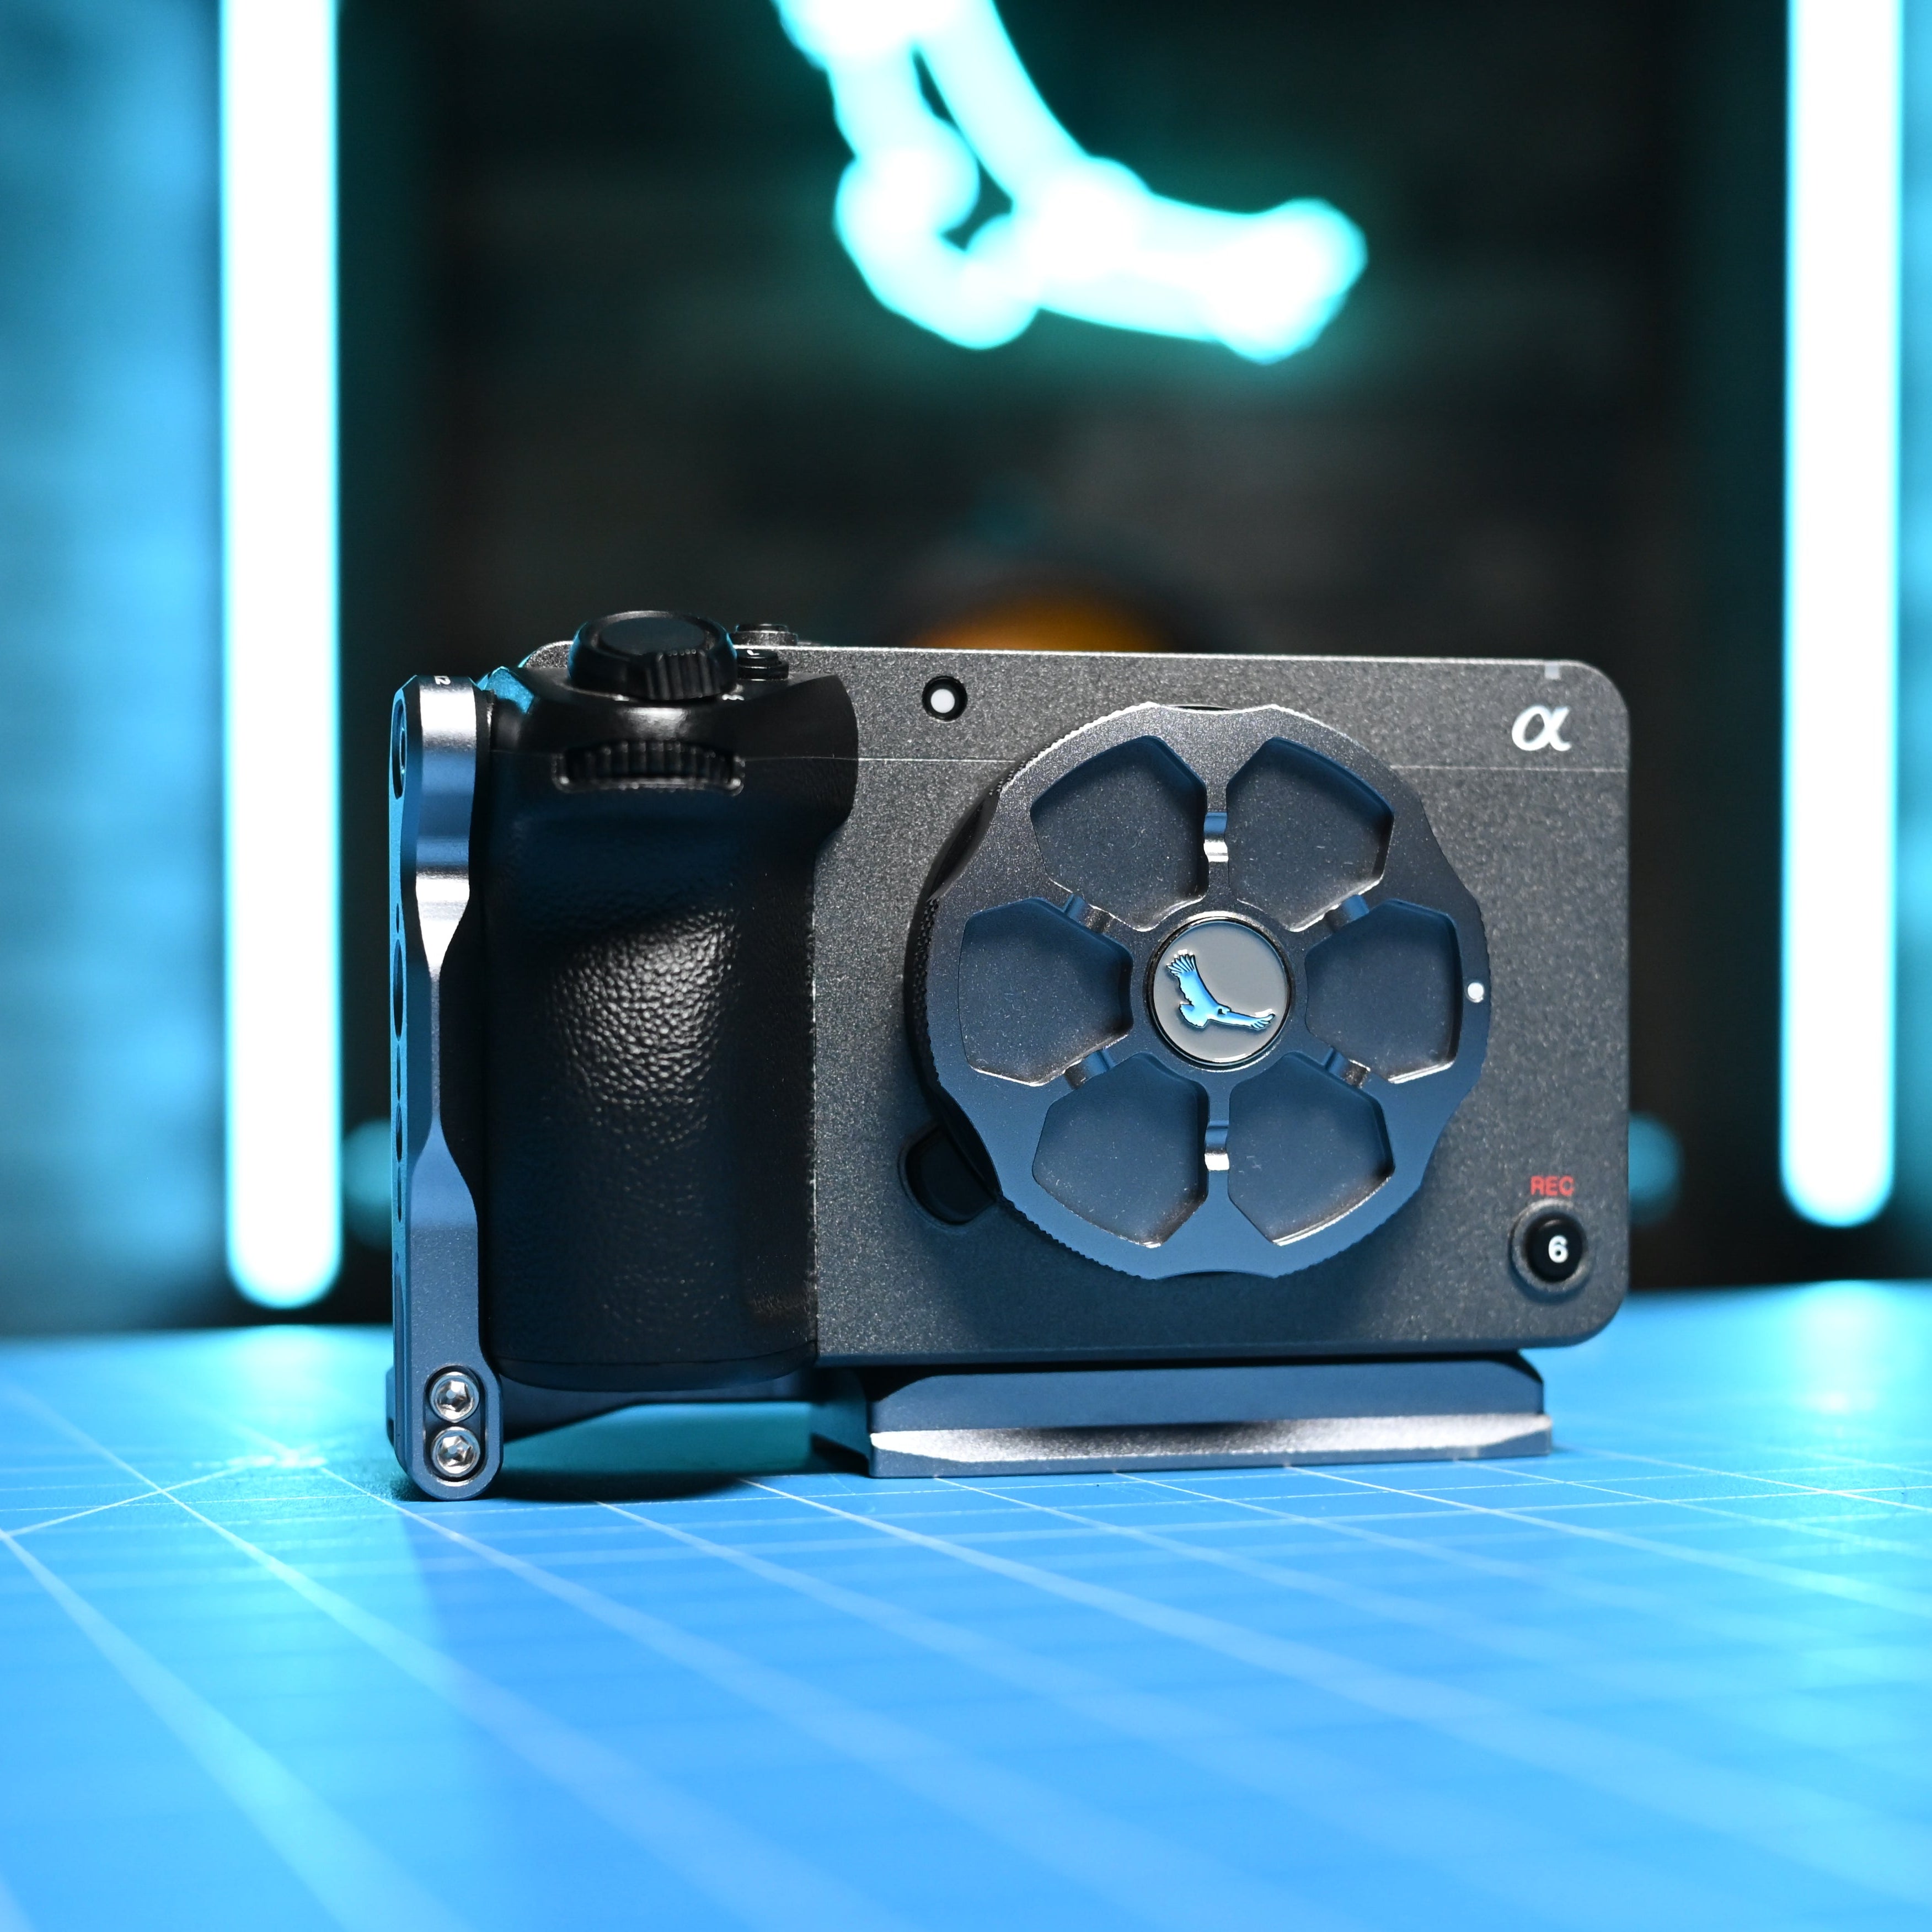
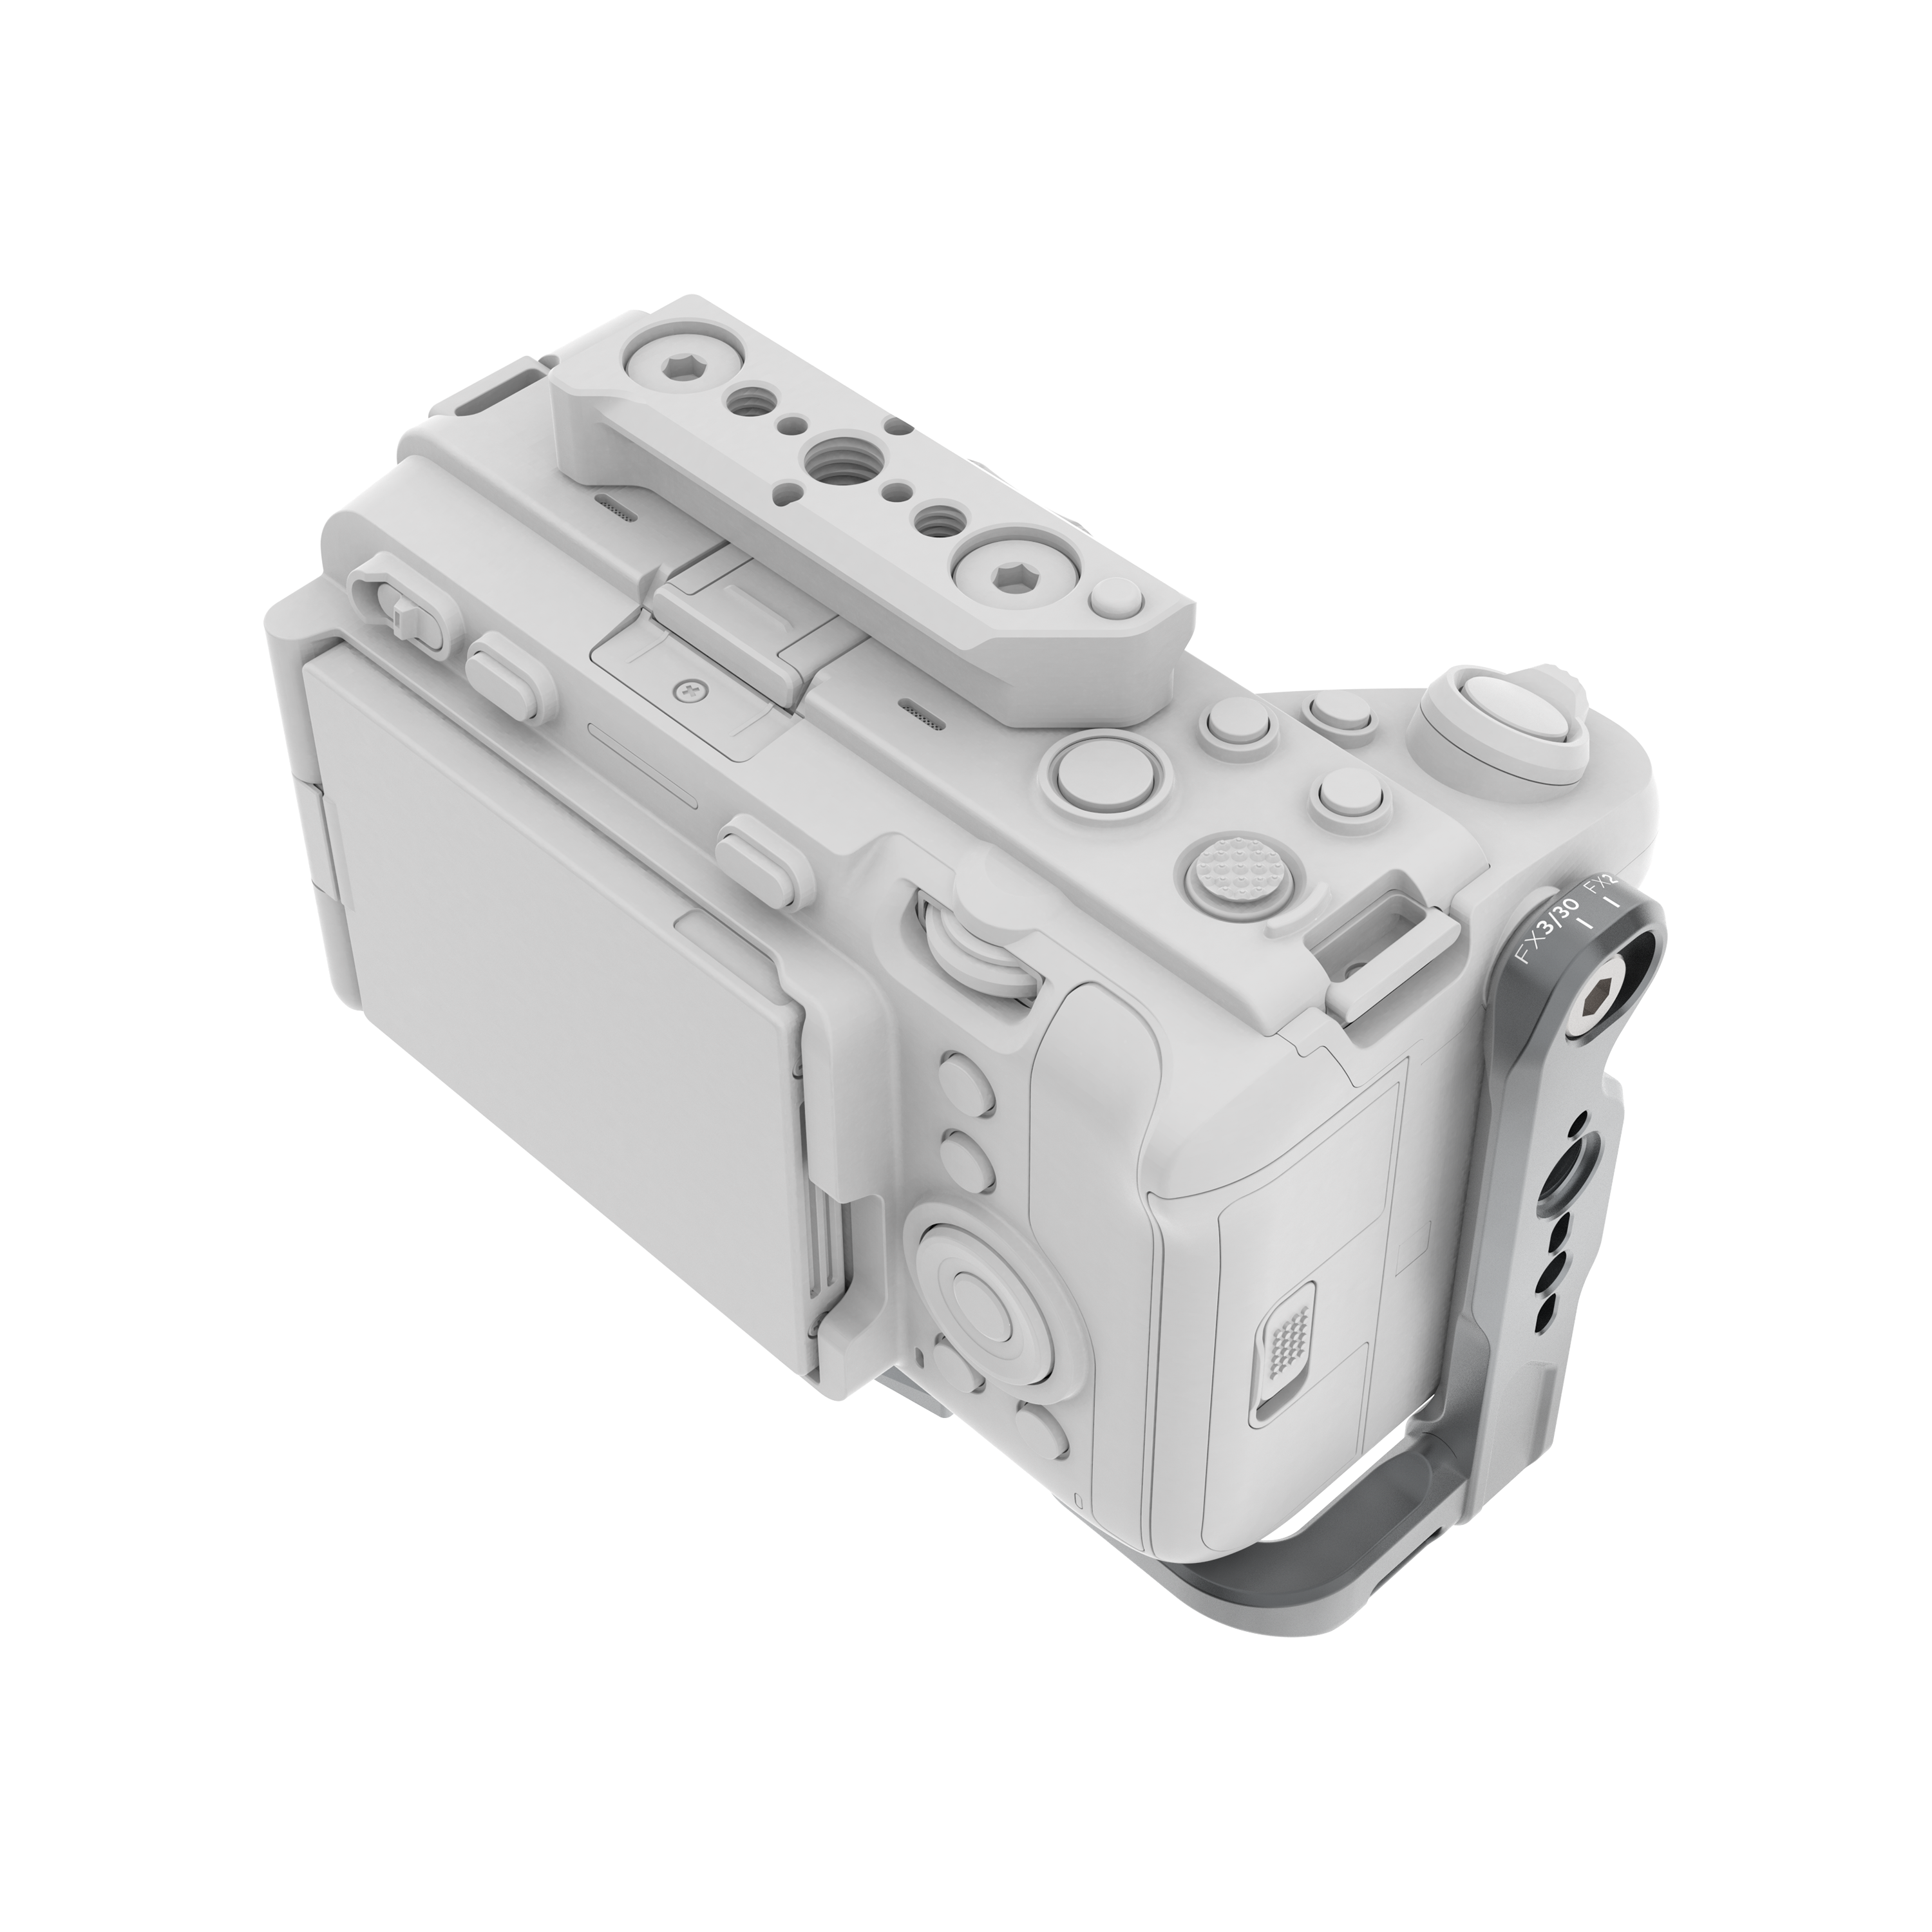
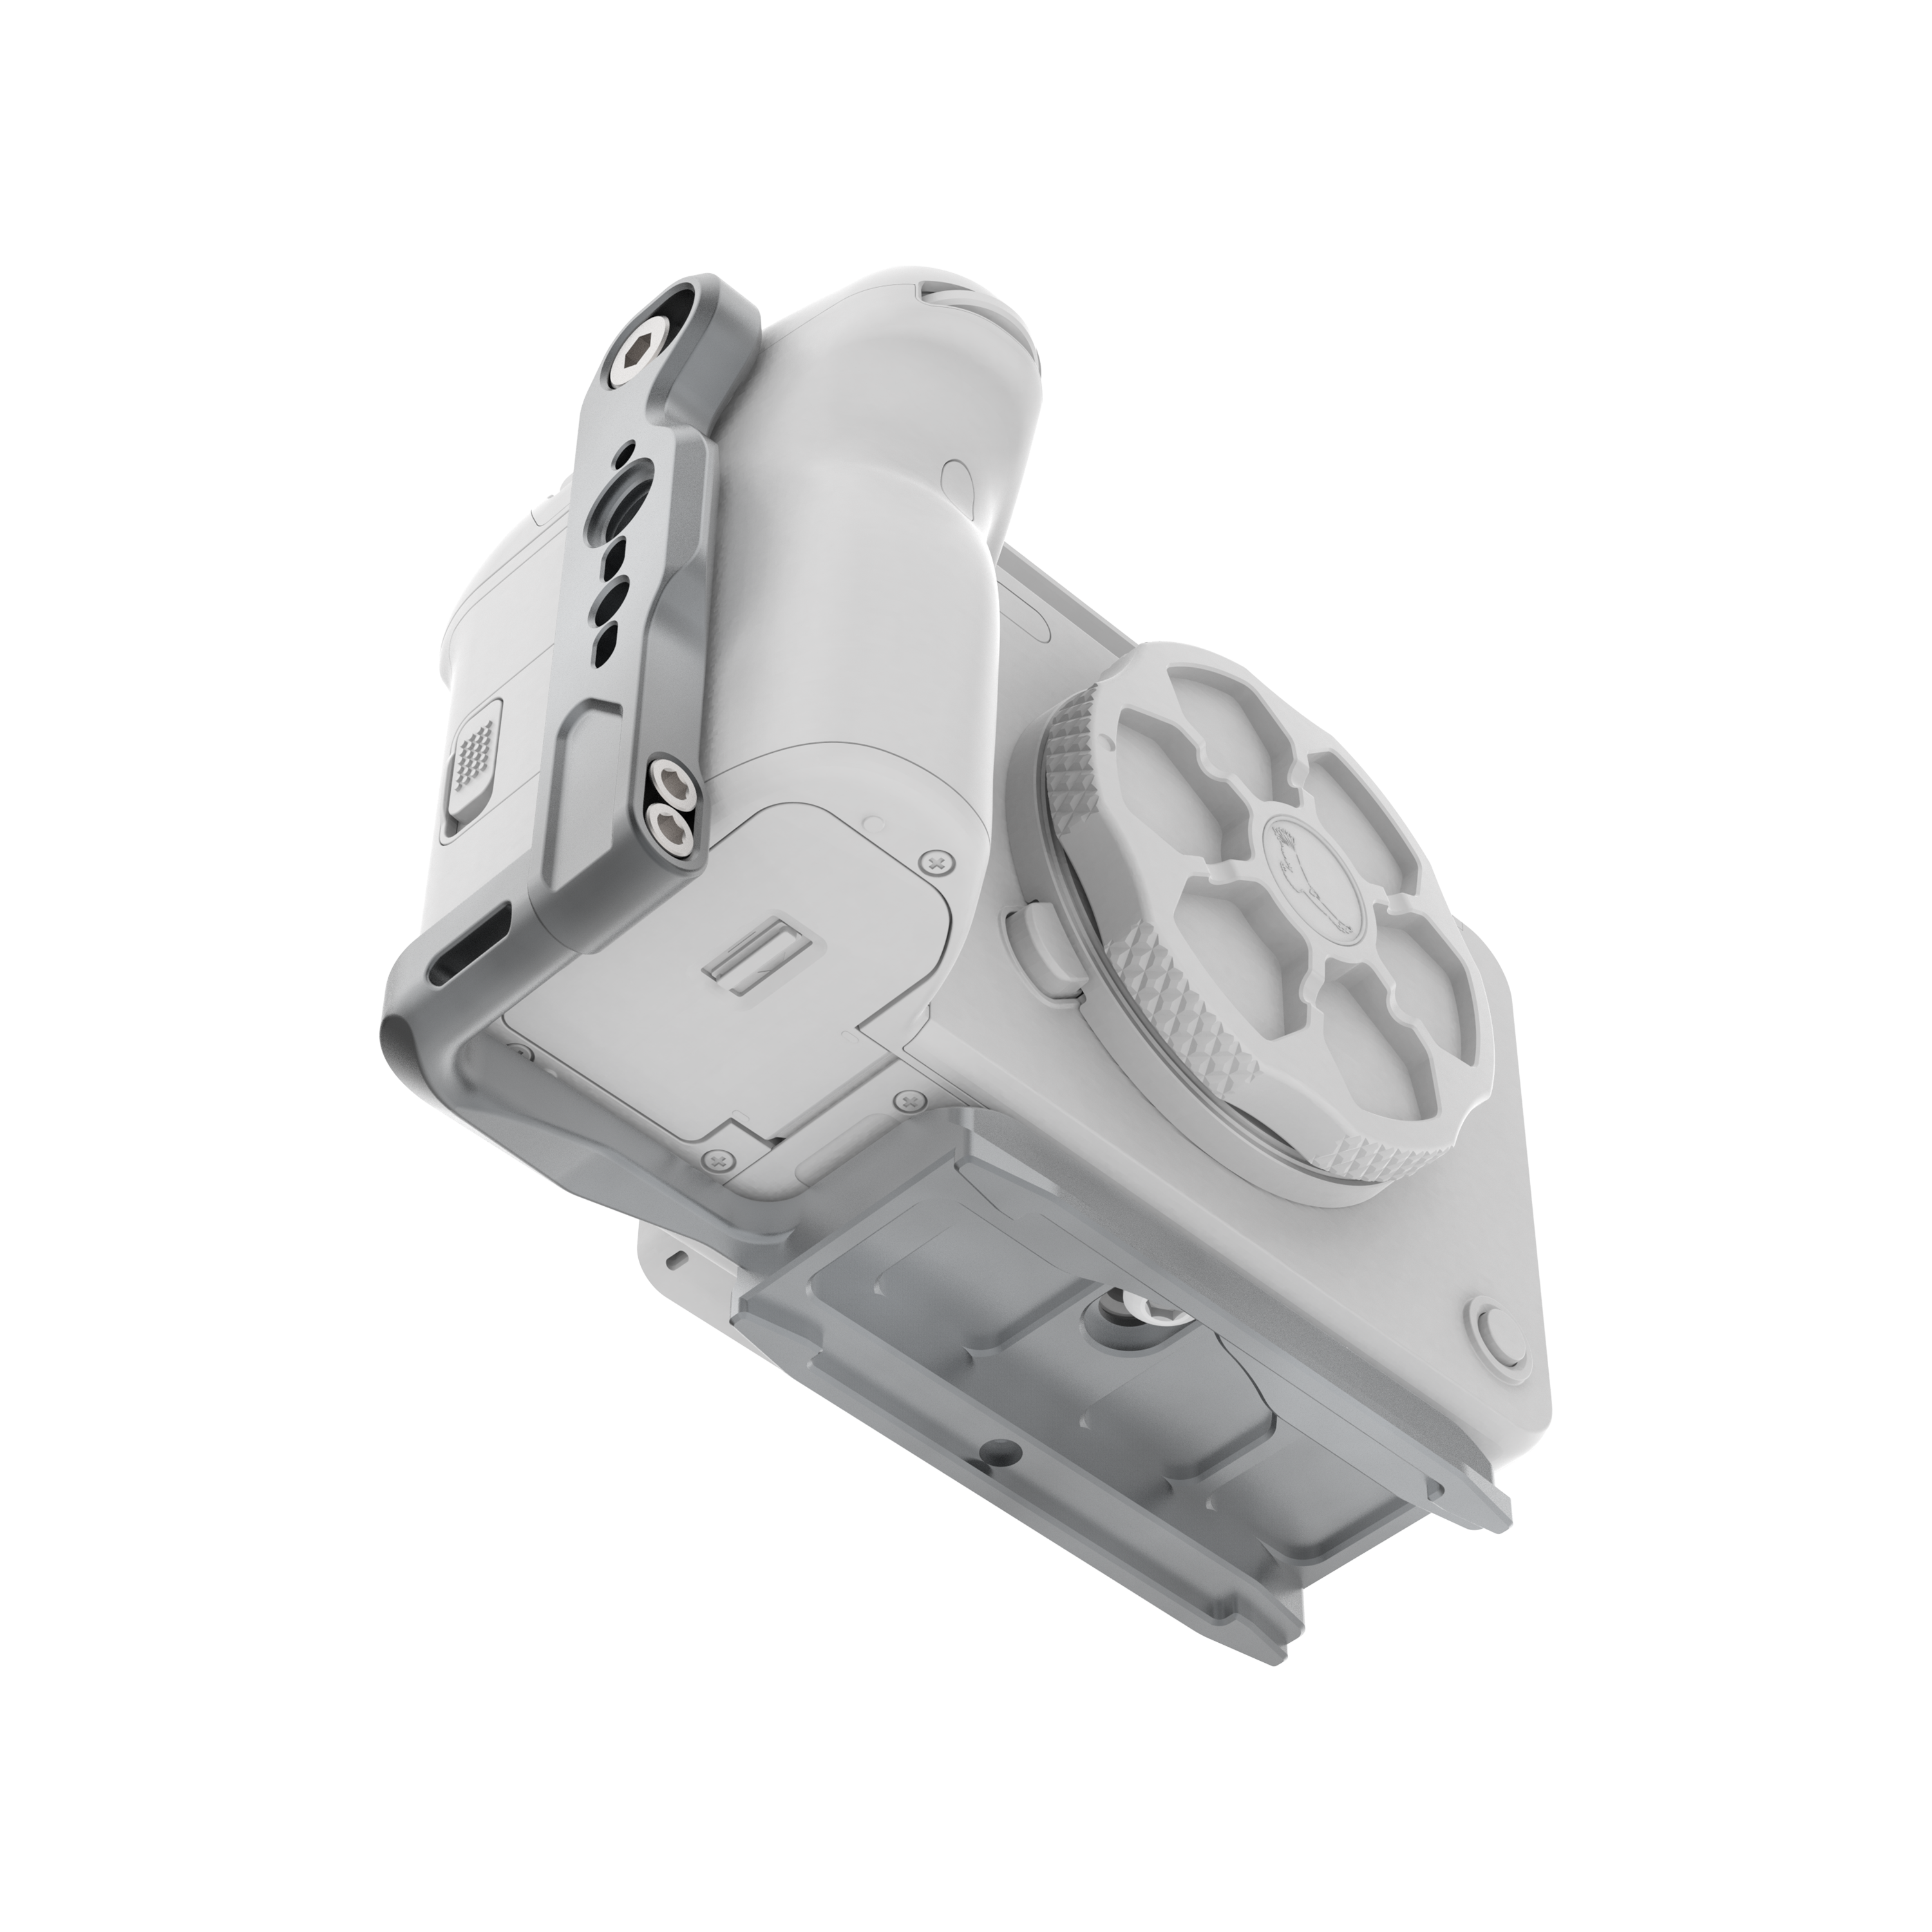
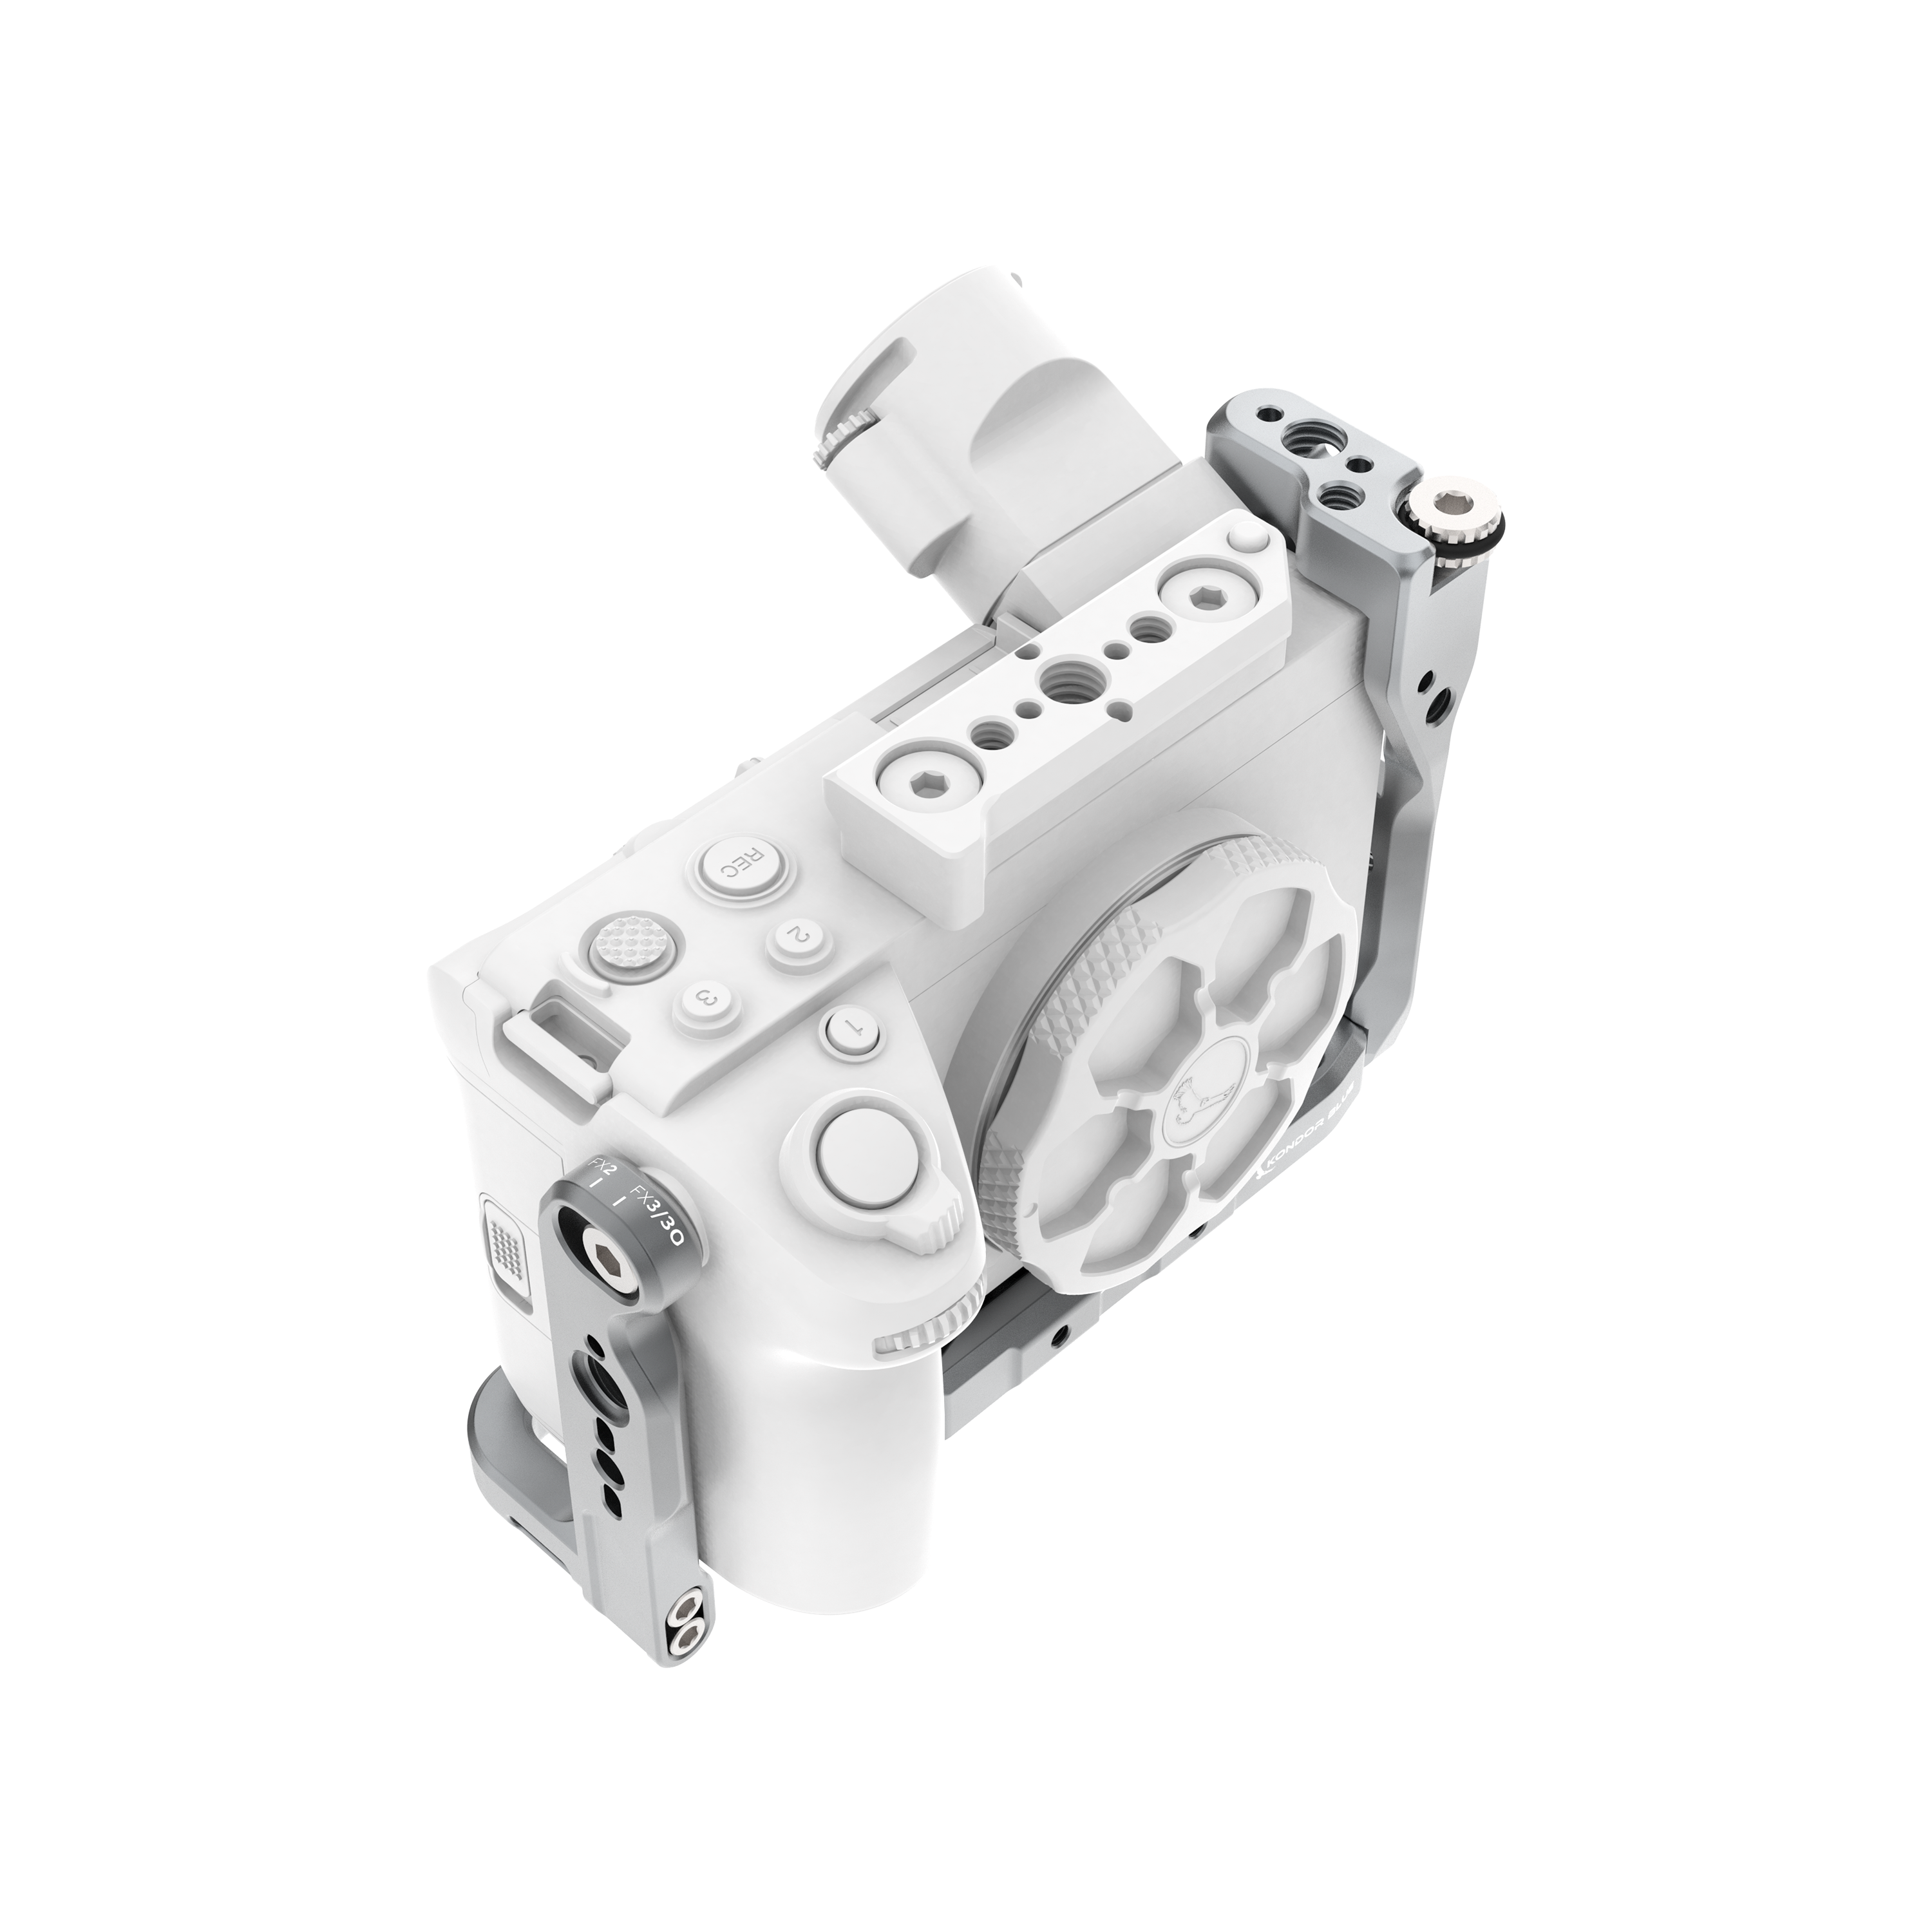
For example, the Sony FX3/FX30 Hybrid Camera Cage is built around fast hybrid workflows, with a DJI Ronin-ready Arca plate, NATO rail support, and a toolless design for switching between full cage and half cage setups. For a box-style camera, the PYXIS 6K and 12K Cage System takes a different approach, giving Blackmagic PYXIS users a modular platform for building out a more complete cinema rig.
The key is matching the cage to the way the camera is used.
| Cage type | Best for | Main benefit | Tradeoff |
|---|---|---|---|
| Dedicated camera cage | Most filmmakers and camera-specific builds | Best fit, port access, and camera-specific mounting | Only fits one camera model |
| Universal camera cage | Temporary or multi-camera setups | More flexible across different camera bodies | Usually less precise and less ergonomic |
| Full cage | Fully built production rigs | Maximum mounting points and protection | Adds more size and weight |
| Half cage | Lightweight handheld or gimbal setups | More compact and faster to strip down | Fewer mounting options |
| Modular cage | Shooters who switch setups often | Can be built up or stripped down | May require more parts |
What Should You Look for in the Best Camera Cage?
A cage is the foundation. The right accessories turn it into a complete working rig.
| Accessory | What it does | Best for |
|---|---|---|
| Top handle | Adds a secure grip for carrying, low-angle shots, and accessory mounting | Handheld and production builds |
| Side handle | Improves handheld stability and comfort | Run-and-gun and heavier lens setups |
| Monitor mount | Positions an external monitor for better viewing | Focus, framing, and exposure monitoring |
| Cable clamp | Secures HDMI, USB-C, SDI, and power cables | Port protection and cable management |
| Baseplate | Connects the camera to tripods, rails, shoulder rigs, or gimbals | Larger or more modular builds |
| NATO accessories | Let you add and remove handles or mounts quickly | Fast setup changes |
| Power solution | Helps run the camera and accessories from an external battery | Longer shoot days and built-out rigs |
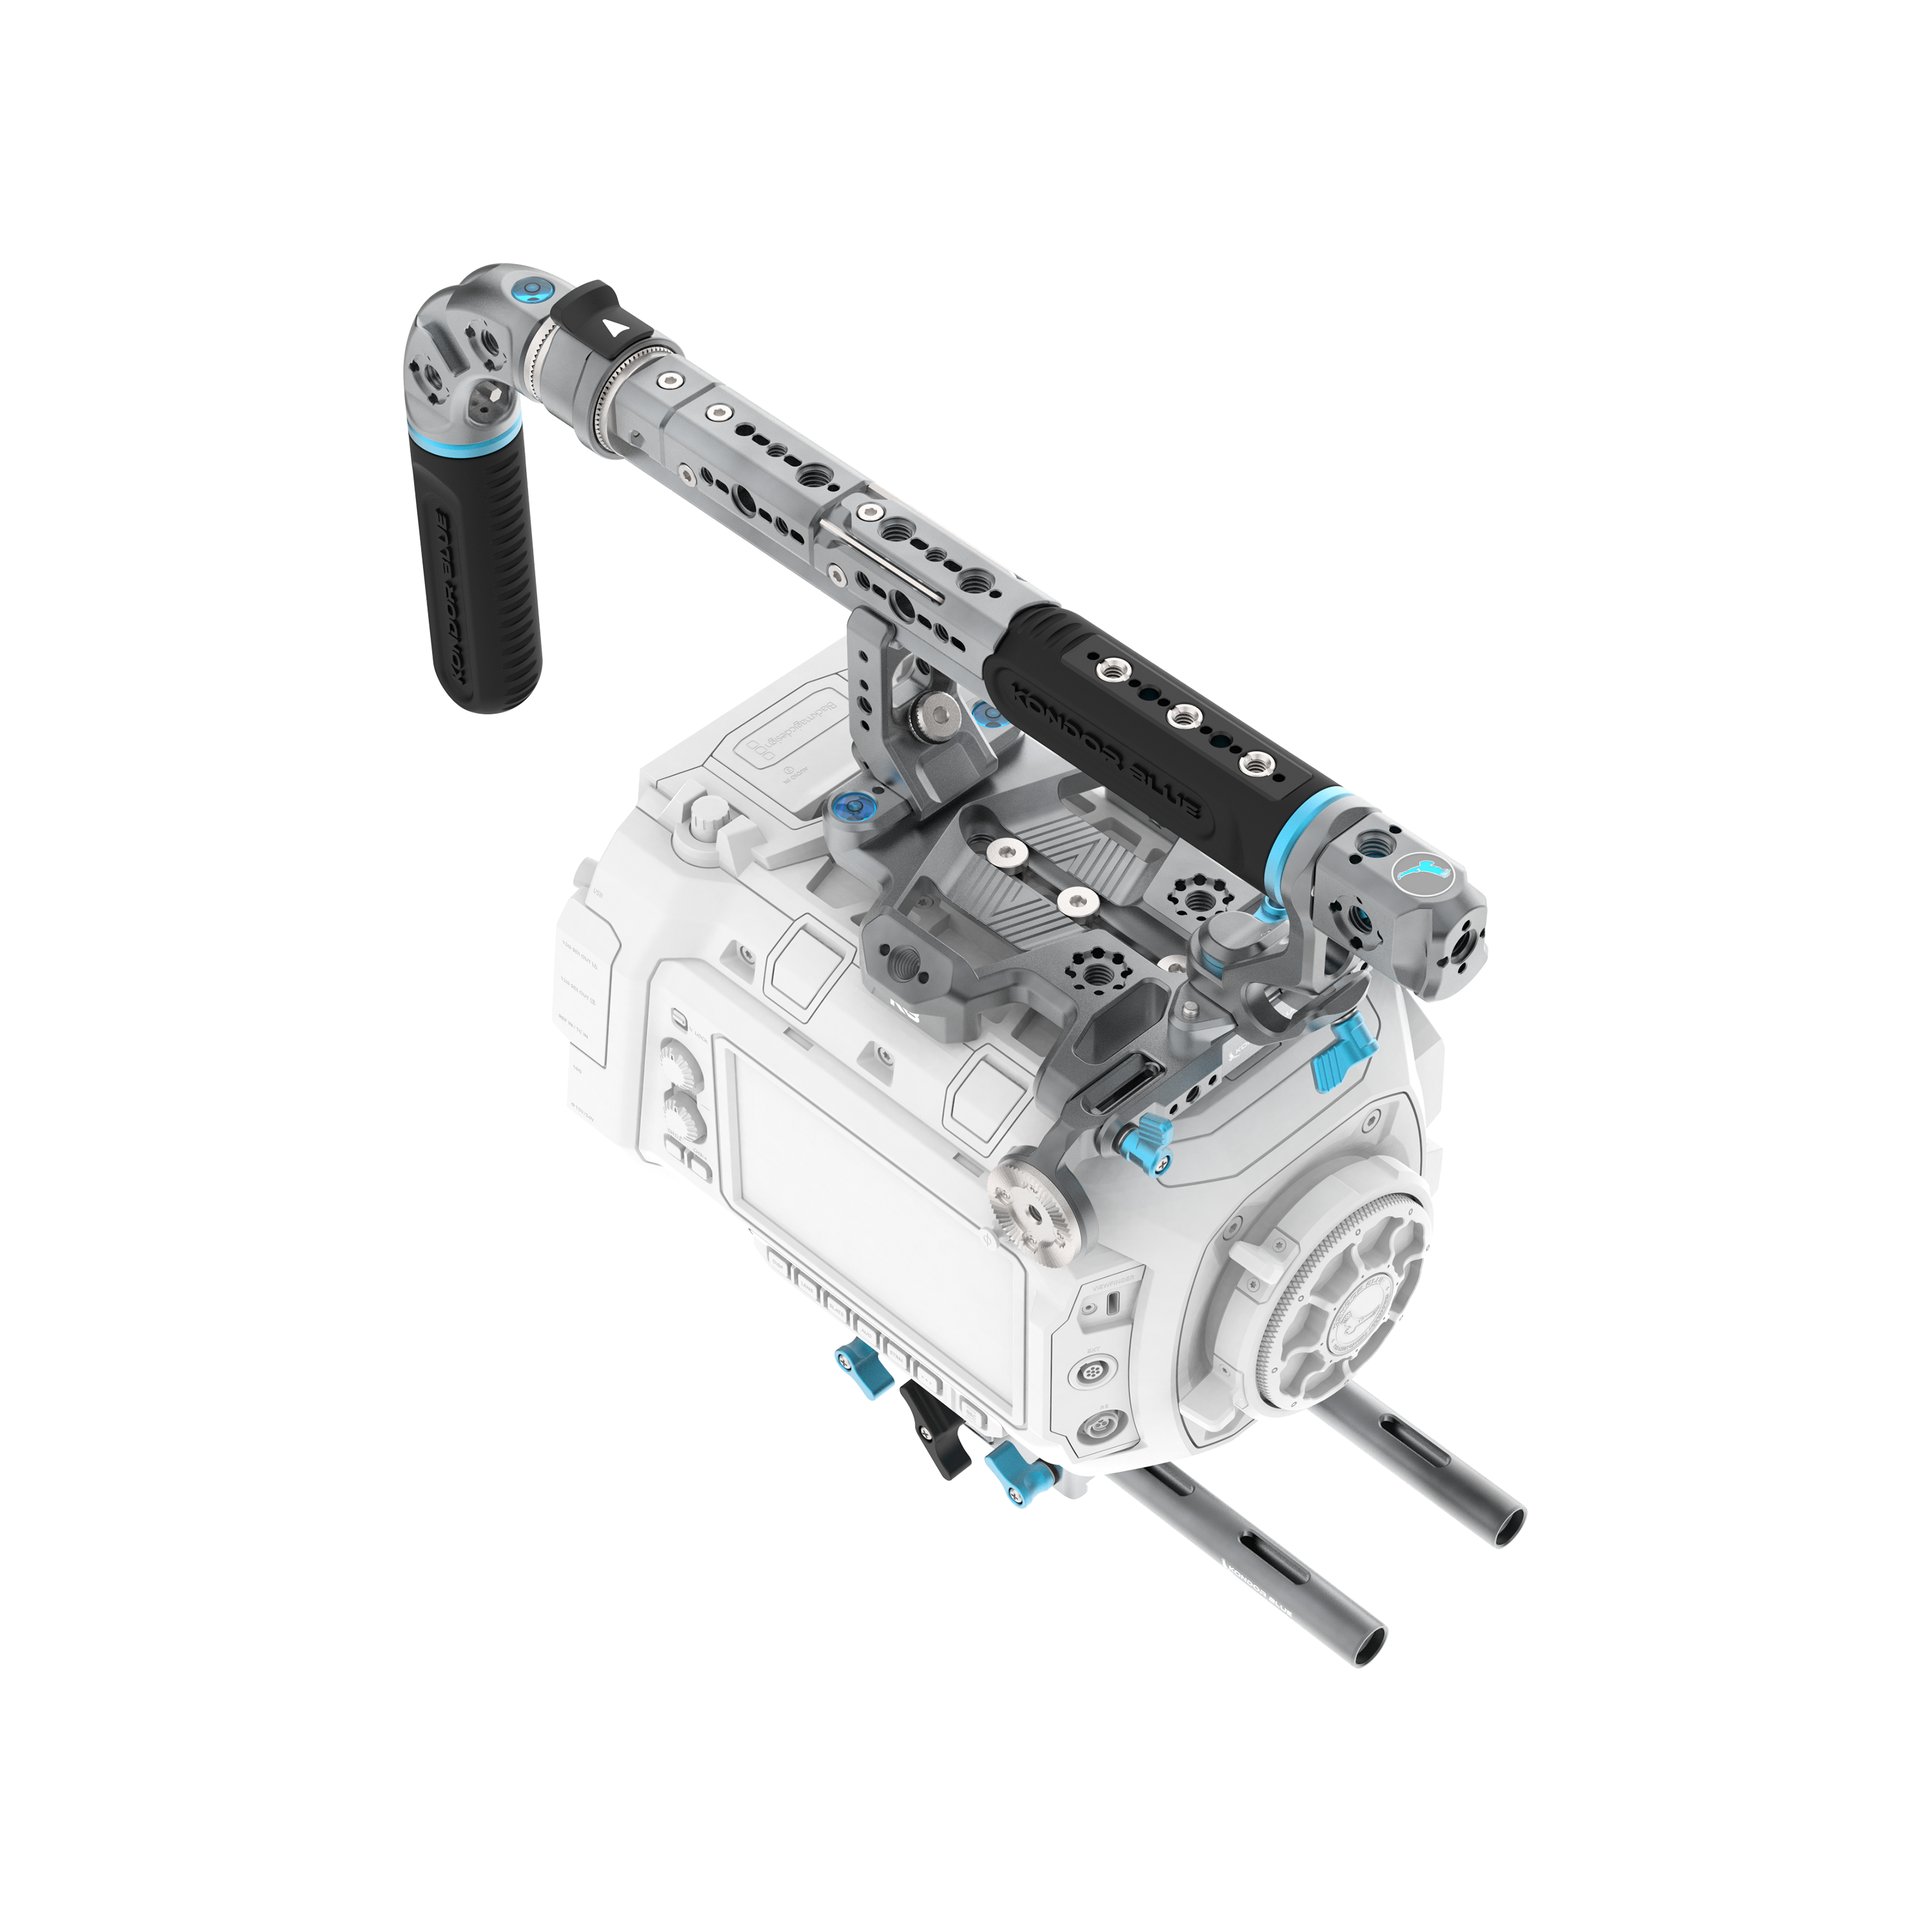
Top Handle
A top handle makes the camera easier to carry, reposition, and shoot from low angles. For handheld setups, a handle like the Talon Top Handle gives you more control and additional mounting points for monitors, mics, and other accessories.
For heavier builds or start/stop control, the Talon XL Top Handle adds a longer grip and REC trigger support for compatible camera systems.
Side Handle
A side handle gives your rig better handheld stability and a more comfortable grip, especially when using heavier lenses, monitors, or accessories.
Monitor Mount
An external monitor is one of the most common cage-mounted accessories. Mounting it to the cage gives you a better viewing angle while keeping the camera body itself less crowded.
Cable Clamp
Cable clamps help protect HDMI, USB-C, SDI, and power ports from accidental pulls. This is especially important when shooting handheld, on gimbals, or in tight production environments.
Baseplate and Rod Support
A baseplate can help connect your camera to tripods, shoulder rigs, rails, matte boxes, follow focus systems, and power accessories. For larger builds, rod support can make the rig more stable and easier to balance.
Camera Cage Setup Checklist
Before you take your rig on set, run through this quick checklist:
- Make sure the cage is fully secured to the camera body.
- Confirm anti-twist pins are engaged where available.
- Check that the battery door, screen, ports, and controls remain accessible.
- Mount handles, monitors, and accessories to the cage instead of weak camera points.
- Secure HDMI, USB-C, SDI, and power cables with clamps when possible.
- Balance the rig before using it handheld or on a gimbal.
- Remove accessories you do not need for the shoot.
A clean cage setup should make your workflow faster, not more complicated.
Frequently Asked Questions
What is the main purpose of a camera cage?
A camera cage gives your camera more mounting points, added protection, and a stronger foundation for production accessories. It helps you mount handles, monitors, microphones, power solutions, and cable clamps without relying only on the camera body’s limited mounting points.
What should I look for in the best camera cage?
The best camera cage should fit your camera body securely, maintain access to ports and controls, include multiple mounting points, support anti-twist accessories, offer cable protection, and match the way you shoot. Hybrid shooters may prioritize Arca and gimbal-friendly builds, while cinema users may need more modular mounting, power, and monitor support.
Is a dedicated camera cage better than a universal cage?
For most production setups, yes. A dedicated cage is built around a specific camera body, which usually means better fit, better port access, better screen clearance, and more secure mounting.
Does a camera cage make the camera too heavy?
A cage does add some weight, but it can also make the camera easier to hold, balance, and rig. The goal is to choose a cage that matches your workflow and only add the accessories you actually need.
What accessories should I add to my camera cage first?
Most shooters should start with a top handle, monitor mount, and cable clamp. From there, add a side handle, baseplate, rod support, power solution, or wireless system depending on the shoot.
Why are anti-twist mounts important?
Anti-twist mounts help keep accessories from rotating or loosening during operation. They are especially useful for handles, monitor mounts, and any accessory that experiences pressure or movement while shooting.
What is the benefit of NATO rails on a camera cage?
NATO rails allow for fast mounting and removal of compatible accessories. This makes it easier to switch between different builds without fully disassembling your rig.
Do I need a camera cage for a gimbal setup?
A cage can be useful for gimbal setups if it helps you mount accessories, protect cables, and balance the camera more efficiently. For gimbal-heavy workflows, look for a cage with a compact footprint and Arca-compatible or quick-release mounting options.
Can a camera cage protect HDMI and USB-C ports?
Yes, many cages support cable clamps or cable management accessories that help secure HDMI, USB-C, SDI, and power cables. This reduces strain on the camera’s ports during handheld shooting, gimbal movement, or production work.
Build a Camera Cage Setup That Matches the Way You Shoot
The best camera cage is the one that supports your workflow. A run-and-gun Sony FX3 build, a compact Canon C80 rig, a box-style Blackmagic PYXIS setup, and a lightweight Nikon ZR handheld kit all need different cage features.
Start with your camera body, then build around how you actually shoot: handheld, tripod, gimbal, shoulder rig, studio, travel, or commercial production.
Shop the full Kondor Blue camera cages collection to find the right cage and rigging accessories for your setup.